Crochet a 3 Hour Cowl


Cowls are a hot item right now, blending fashion trend with practical usefulness.
What is a cowl?
As a clothing item, the word originally referred to the large, loose hood that was part of a monk's habit, or any similar hood. Eventually, it referred to a draped neckline in a woman's garment.
Today's fashion cowls refer to a wide, circular band of fabric worn around the neck. Some are shaped and cover the neck and shoulders. Others are designed to be worn as a scarf or a hood, as desired.
If you knit or crochet, cowls are a great garment to make to practise stitches and patterns. They are relatively small, making them quick to work up (though complexity of stitch pattern can change the time significantly).
A basic cowl can be made in an evening, making it a great last-minute gift. This pattern can be worn as a hood and neckwarmer or as a scarf, and is suitable for beginning crocheters. You only need to know how to do a chain, single crochet and double crochet, and how to sew the ends together, if that method of joining is preferred. Using a large hook and bulky yarn, it works up with satisfying speed. For someone comfortable with these basic stitches, this cowl will take only about 3 hours to work up, including sewing time.
Here is an abbreviation list for the pattern below.
- ch = chain
- sc = single crochet
- dc = double crochet
Note that in this pattern, turning chains do NOT count as the first stitch.
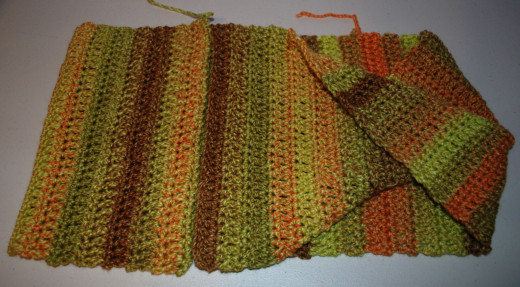
The gauge is not important for this pattern, however the finished cowl before joining should measure about 43 inches long and 10 1/2 inches wide. It's easy to change the dimensions, but if you make it larger, you may need an extra ball of yarn.
Time required: 3 hours
Difficulty: easy
Cost: cost depends on yarn used
Materials:
- 2 skeins bulky weight yarn of at least 144 yd/132m each. Yarn used in sample is Tweed Stripes in the Rainforest colourway. Add an extra ball if you wish to make a larger cowl.
Tools:
- N/9.00mm hook
- yarn or tapestry needle
- scissors
Instructions:
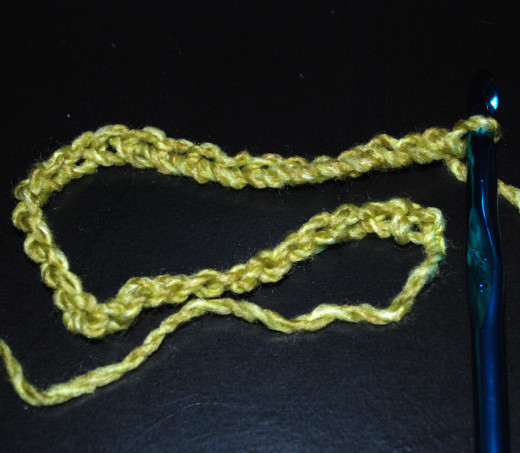
1. Ch 31
If you plan to sew the ends together, leave a tail long enough to do so; about 12-18 inches.
If you wish to make a wider cowl, chain to desired length, plus 1.
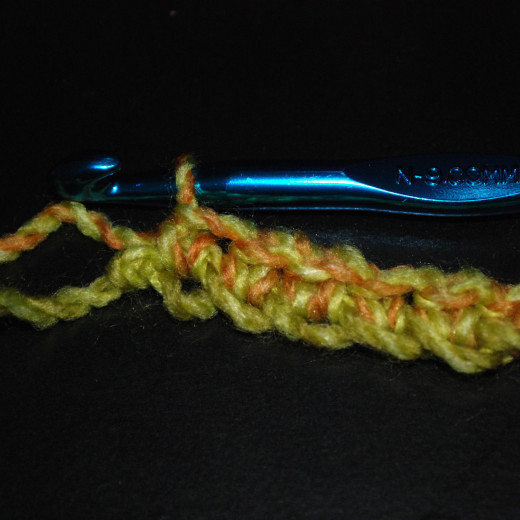
2. Skipping first ch, work sc into each ch across. 30sc
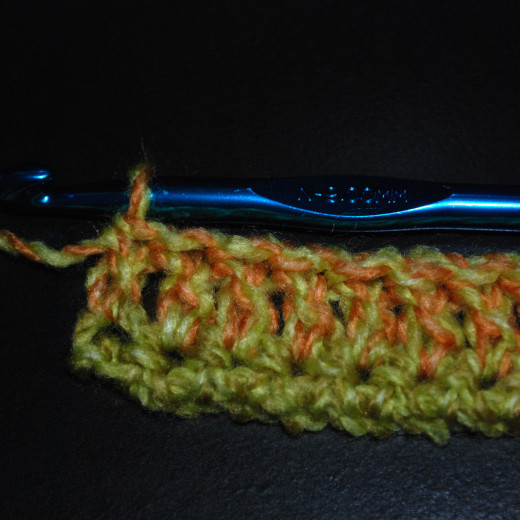
3. ch 2. Turn. Dc into each sc across. 30dc
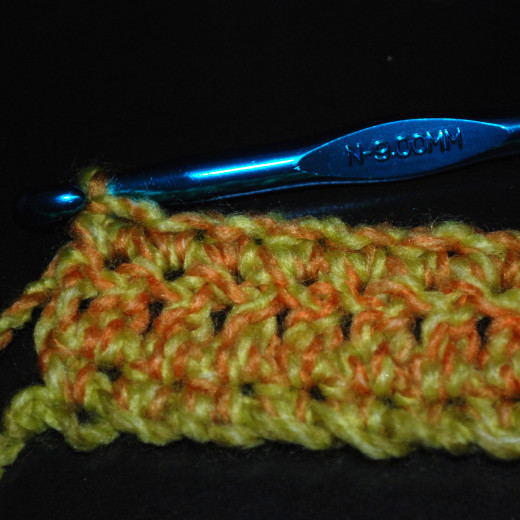
4. ch 1. Turn. Sc into each dc across. 30sc

5. Repeat steps 3 and 4 until both skeins of yarn are done, or until desired length, finishing with step 3 (the dc row).
If you are sewing the ends together, finish off your yarn end now. If you are crocheting the ends together, move on to the next step.
6. Time to make some decisions!
For a regular cowl, join the short ends together. For a moebius, or infinity, cowl, add a single twist on one side, as pictured here.
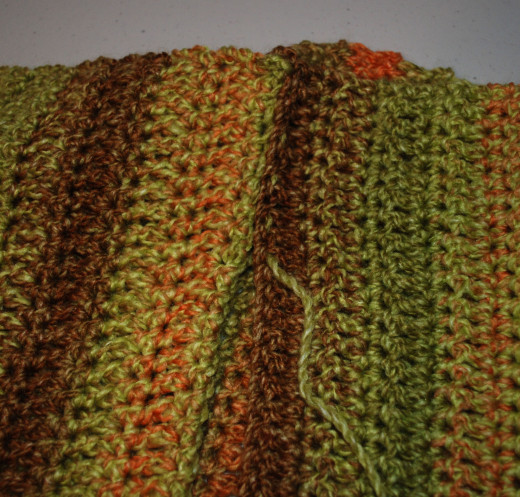
7. If you wish, you can crochet the ends together with a slip stitch. This makes for a slightly bulkier seam that will be visible on one side. I wanted a less visible and more flexible seam, so I chose to sew it, as pictured here.
Whichever method you use, take care to match the stitches from the first and last rows.
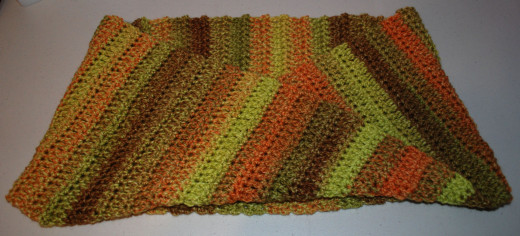
8. The finished cowl with moebius twist.
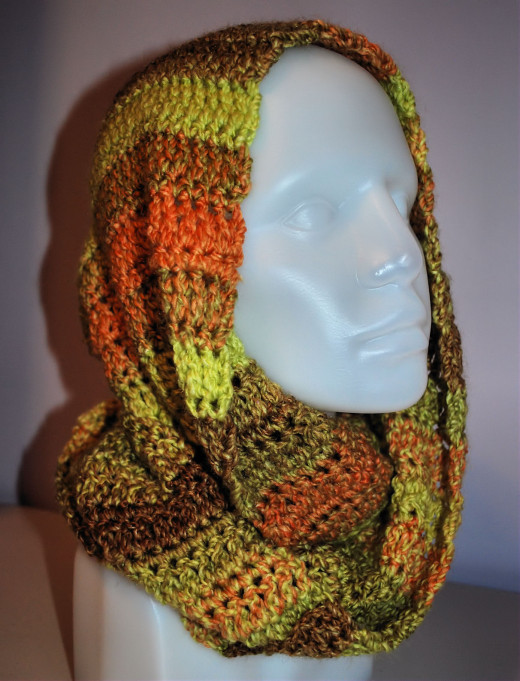
9. Here, the cowl is modelled by my Darling Dolphina, doubled up to make a hood and neckwarmer.

10. Or you can double it up around the neck alone to make a snug neckwarmer.

11. Dolphina doesn't have the shoulders to demonstrate it worn as a scarf, but as a loose hood, you can see how the moebius twist would lie while worn as a scarf, too.


