Decoupage Organizers from Cardboard Boxes
My office/craft room had gotten to be a real mess. My craft supplies were piled all over my bookshelves, and mixed in with my office supplies. My desk was a total nightmare of bottles of glue and paint, boxes of straight pins, paper clips, notebooks, patterns.......I simply could not find anything. It was really getting me down.
A few things that really annoyed me were the markers that were scattered everywhere and my large assortment of paint brushes that were always crowding out my pencil holder. I decided I needed a container to keep these two things in, so I found a box around the right size and put the post it notes and my glasses in it. It was nice to have them in one place, but the box sides were too tall, I couldn't reach the smaller post its, and I had to keep dumping the box to get to them. I also wasn't very happy because the box was ugly, making my desk look even worse than it already did.
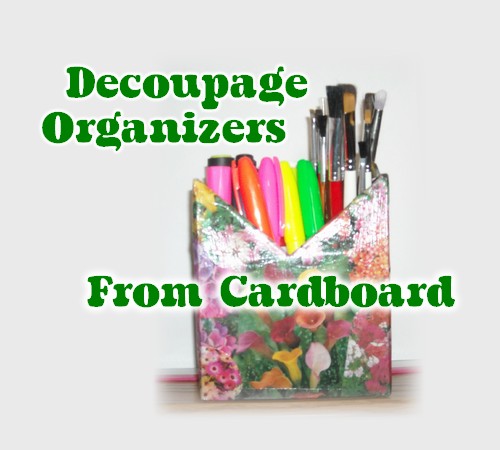
The next day, a seed catalog came in the mail and I was sitting at my desk looking at it. It had so many beautiful pictures of flowers, they were particularly stunning since there was a dozen inches of snow on the ground outside. That is when it occurred to me to use the beautiful pictures in the catalog to cover my ugly little organizer box. I cut a V in the front so I could see and get to the contents, and decorated with decoupage! Here's how:
*Images by author
Time required: 3 or 4 hours
Difficulty: easy
Cost: Less than $5
Materials:
- Cardboard box
- Toilet paper roll
- Sponge brush
- Mod Podge
- Cut Outs with pictures of your choice
Tools:
- White glue
- Ruler
- Pencil
- Razor knife
- Scissors
- Small clamps
Instructions:
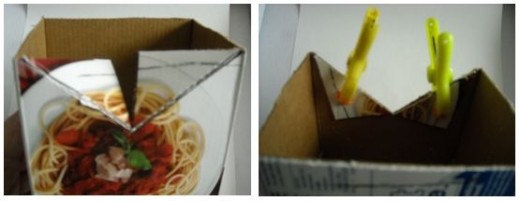
1. Take your box and cut it to the proper height for what you plan to use it for. Measure the V for the front with your ruler and mark it. Score the lines with your razor knife, being careful not to cut all the way through. Bend back to make a straight V. Glue down the flaps and clamp until dry
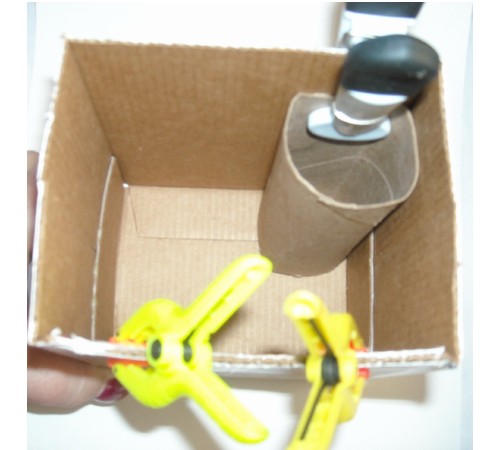
2. Take your toilet paper roll and trim it to about an inch and a half below the top of your box. Fold it so that it has a flat side and glue to the back wall. You can put it in either corner or in the middle, it is your preference. Clamp the roll in place until it dries. I use the roll for holding small paint brushes, but it would do just as well for pens and pencils.
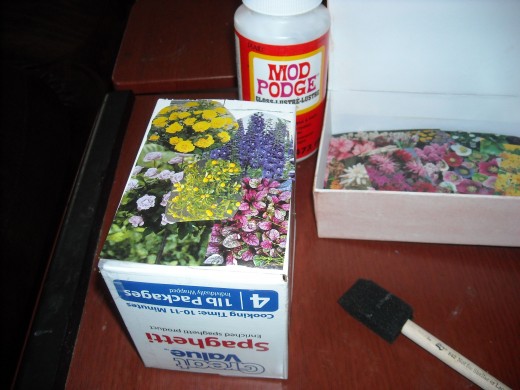
3. Take the pieces of paper that you cut out and start placing them on your box. Brush the box with Mod Podge and place the picture where you want, and then brush a thin coat over the picture as well. Place your second picture and Mod Podge it down, and then continue till the whole box is covered. I fold the pictures over the top and take them about half way down the sides inside. I do not cover the toilet paper holder, but I do give it several coats of Mod Podge so it will stand up to wear and tear.
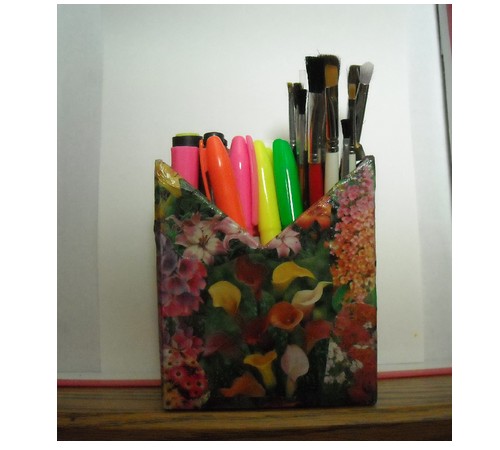
4. When the box is completely covered with the cut outs, I brush on a coat of Mod Podge over the whole box and let dry for at least an hour, and then I brush on a second coat, to make sure the whole thing is sealed. Let it dry overnight and then you are ready to fill it with whatever you need organized.


