Designing Art Pillows with Painting and a Sewing Machine
Hand Painted Pillow
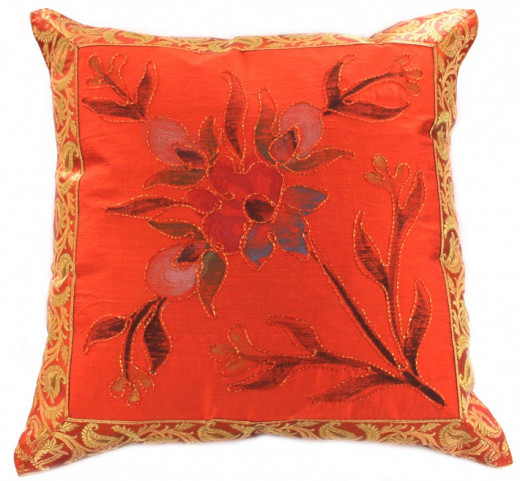
Art Pillows with Painting and a Sewing Machine
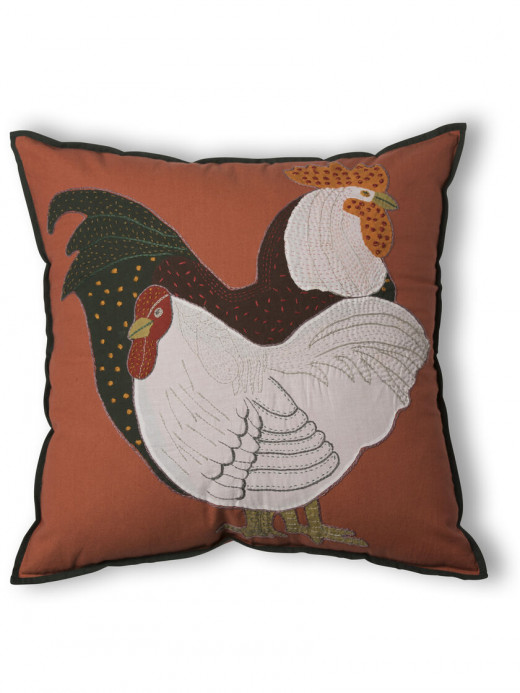
I am designing Art Pillows with Paintings and a Sewing Machine. I like to spend time relaxing by designing and creating art projects. In addition, I enjoy sewing, painting, and most artistic things. One of the projects I am working on includes both image and sewing. I painted fabric without intent on what to do with it. I decide to paint on muslin and embellish my image by sewing some decorative stitching afterward.
Once the decorative stitching was complete, I made the paintings into decorative pillows. The first thing I did was to draw out the picture on the muslin. Next, I pinpointed the center of the fabric, which measured 20 x 20 inches, a good size for a decorative pillow. My goal was to have a finished pillow size of 18 x 18 inches, a standard pillow form size, or the pad could fill it with polyester fiber after sewing. I usually prefer polyester fiber, it is easy to work with, and discrepancies in the size are quickly filled in with the product. It also makes it easy to overfill the pillow for an extra fluffy loft and adds a bit of luxury to the entire pad. Finally, it is finished by hand sewing the end to close the opening.
I start by deciding my colors first and think of a design of a picture I want to put on the front side of my pillow. If I have an idea of the design, my home decorating theme is coastal since I live near the Gulf of Mexico. I generally type in a search for some line drawing of sea creatures, and then as I draw them onto the muslin fabric, I add my interpretation of the design. I generally add playfulness to my art and usually choose beach colors. So I use a lot of blue, tan, and teal in my actual painting.
Let's Get Started!
Getting Started With Painting and Sewing - Paint your first pillow
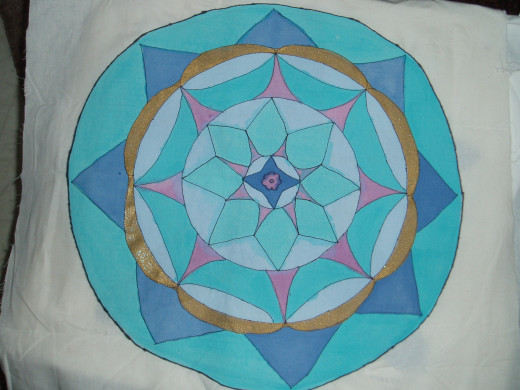
DIY Hand Painting
Painting With Craft Paint
I use craft paint and dilute the color to a very thick consistency. It gives the painting a watery look, perfect for my beach-themed pillows. Then, I carefully paint the designs to the lines of my drawings, and since they are a bit wet, the colors tend to run past the picture. I use this as a way to blend different colors, and the result is a painting that is watery looking, and when it dries, the paint is not stiff. I use acrylic and water-based craft paint, so when thinned down, it acts like watercolor paint.
My color selection of paints is a collection I made over the last several years for various projects I do while crafting. I first take a piece of muslin fabric and pin it to an old pizza box top with straight pins. This makes drawing very easy, and the cardboard soaks up any excess water in the color when the paint is applied. Next, I use a large selection of paint brushes to paint on the fabric, so tiny brushes for tiny spaces and larger ones for other areas. I use a nice stiff brush to stipple the surface of some of my paintings to give them texture and use a slightly darker color on the meeting. I find that when I pounce the tip of the brush onto the picture, it hides any flaw or mistake I make simultaneously.
For my final step, I use two permanent sharpie markers, one with a fine tip and the other with regular information. I use the markers to trace the edges of the drawing to give it more shape. Since the paint tends to have a mind of its own, the identification redefines the original form of my picture. If you are not good at drawing on the fabric, another alternate technique I use is Aunt Martha's iron-on embroidery designs. They are inexpensive, and they can get five you a place to start painting in a few minutes. You place them face down on your fabric and use a hot iron to transfer the design to the material. A printed picture can also be traced out onto the fabric using carbon paper.
After sewing the two sides together, I have created a beautiful pillow.
Pillow with Freehand Design
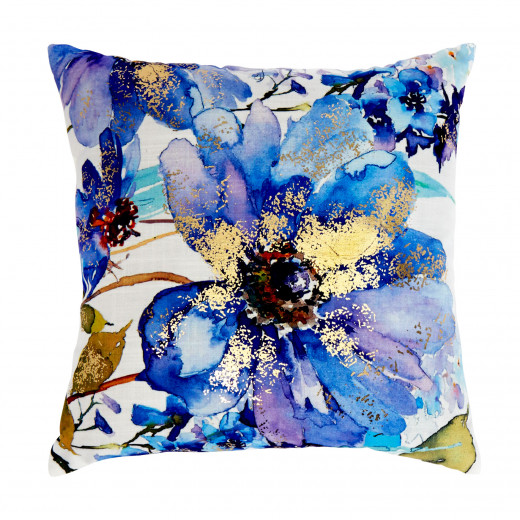
Tips for Painting and Using A Sewing Machine
Paint and Stitching a Mixed Art
If you are an experience painter or a beginner this is an easy project to make start with your art gallery or find a design you want to paint. When I complete my painting I make sure that the fabric is loosened from the cardboard I used for painting. Simply reach you hand under the fabric while it is still pinned to the cardboard to be sure it will not stick when dry. I usually do this several times during the drying process.
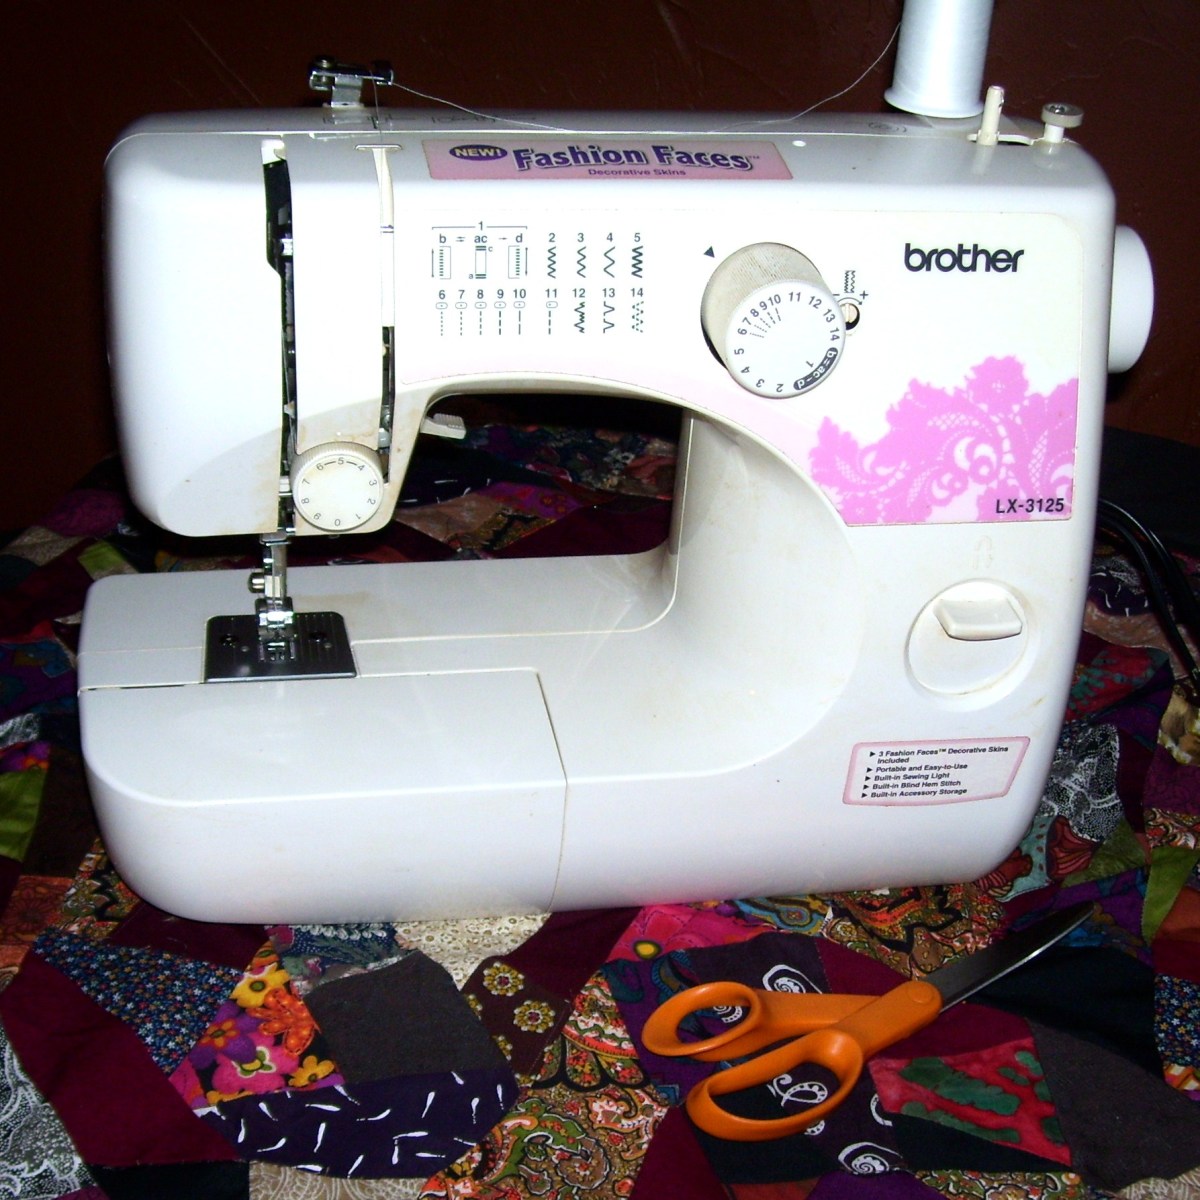
The next steps involve sewing on a sewing machine. For my final touch to the picture on the muslin I take another piece of muslin with a layer of fusible pellon or other fusible interfacing material and iron it to the backside of my painting. So first, I fuse the interfacing to the backside of the painting and then use another piece of muslin the same size and the one I painted and pin it to the back of the picture with the fusible interfacing sandwiched in between.
The I use the sewing machine and choose a decorative stitch to add another layer of interest to my painting. It can be done in an area of the painting or to edge the perimeter of the painting. I use the a similar color thread to stitch the decorative design onto the picture. The final step is to add another piece of fabric to the front of the picture fabric facing the right side to the painting and then stitching a straight stitch to create the pillow. I always back stitch from the beginning of my sewing turning at each corner and back stitch at the end. I leave an open area for my stuffing material to be placed inside after turning the pillow right side out. Then the opening of the pillow is closed with hand sewing to securely to close the open portion and the pillow is finished.
TIP: Start your sewing from the middle of one edge of the pillow so you have all four corners nicely stitched at 90 degree angles. This will make the hand-stitching easier.
Hand Painted Chickens
