- HubPages»
- Arts and Design»
- Crafts & Handiwork»
- Textiles»
- Textile Dyeing
Batik and Tie Dye Techniques
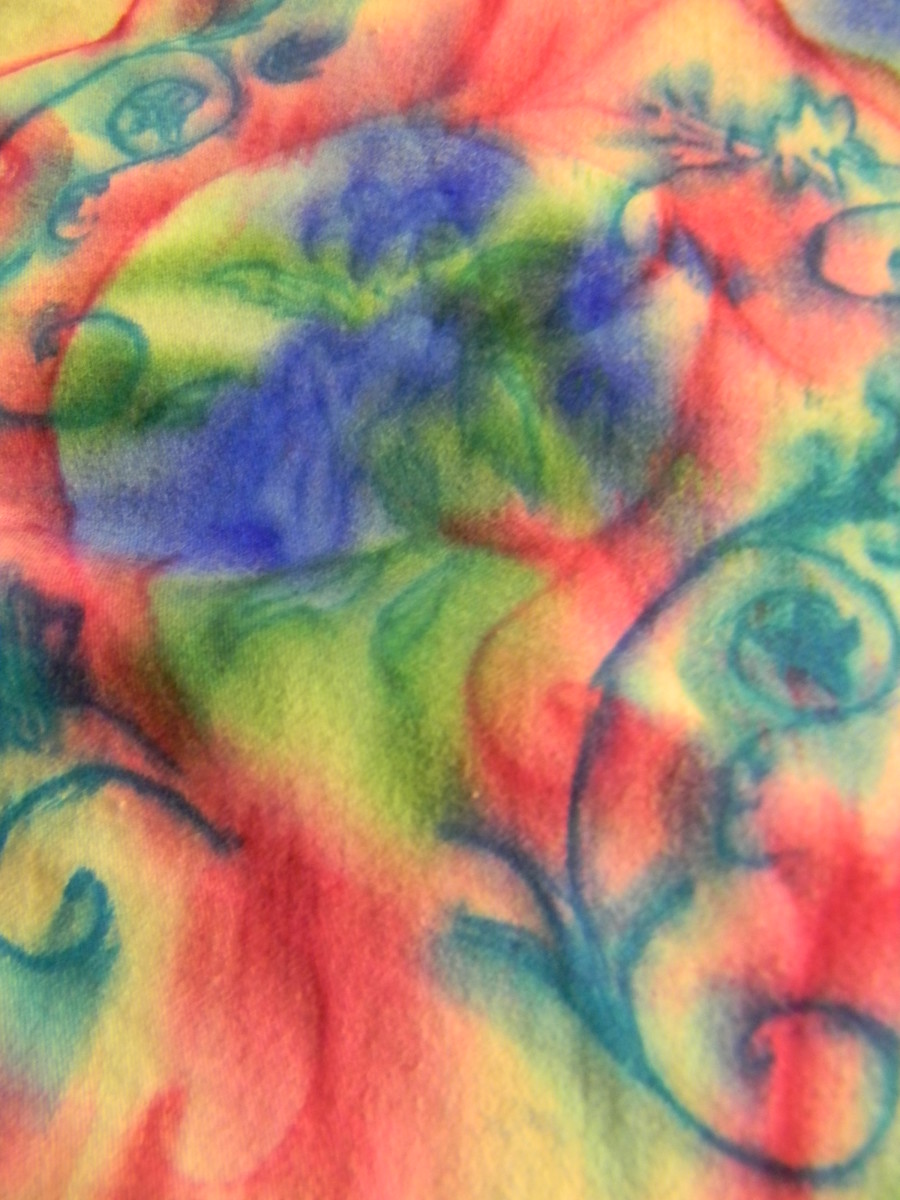
Batik as we understand it today indicates the art of decorating a piece of fabric by means of applying wax and dyes. The wax acts as a resist to prevent the colour of the dye from penetrating areas of the fabric where it is not wanted.
The word Batik is not specifically Javanese but is used by various Polynesian and Malay people. Originally Batik was used in the sense of tattooing with a needle. Tik means a "little bit" or a "little dot" and this resembles the Javanese word tritic or taritic. At a later stage the word acquired the meaning of writing or drawing.
In Java the word Batik is exclusively-used in a purely technical sense to decorate fabrics by means of wax and dye. This wax is applied with a tool called Canting (pronounced "chanting") which means "suitable for ladling". This little drawing tool was developed in Java and batik solely done with the Canting is called Tulis Batik. It would take a batiker about three months to finish a Tulis Batik. A batik made with a copper stamp called Cap (pronounced "chap") would only take one day.
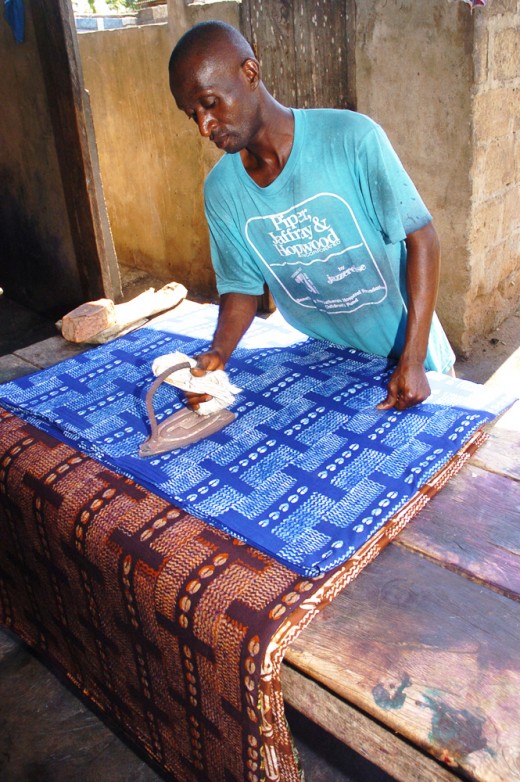
History of Batiking
The development of batik took place in the palaces of the Hindu or Buddhist rulers who reigned from the 7th century A.D. over several kingdoms on central Java.
Around 1500 A.D. the Hindu Kingdom collapsed and was replaced by the rise of Islam. The Hindus wore white robes, while the Islamites loved colourful garments. Consequently the craft of batik experienced a high light during this Islamic period. In 1575 the great Mohammedan empire Mataram was founded in Central Java. At first batik was merely a pastime of the ladies of the courts and it became a matter of social status to wear batiked sarongs. Gradually batik developed from first blue indigo and brown soga dyed fabric into more colourful materials. The demand by Europeans was so great during the 19th Century that cheap imitations were soon developed by the textile industry in Holland. Using engraved copperplates and rollers, the industry could reproduce very well, even snowing the fine cracking lines characteristic of the batik and caused by the dye getting into the cracks of the wax.
Also in the dye techniques, dyeing processes changed. The use of natural dves took several weeks and often months. And after the discovery of synthetic dyes this process was shortened to only several hours or even minutes.
At present batik is done mostly in large factories where women do the fine canting work and men print with the copper stamps, called Caps.
Craftspeople today enjoy doing their own batik by using the same techniques and perhaps simplifying the methods, but nevertheless getting excellent technical and visual results. Materials and equipment needed. FABRIC: Because of the complex dye technology, it is best to use fine cotton linen, rayon or silk. It is necessary to wash the fabrics first to get rid of all starches and dressings.
Waxes you need:
1. Microcrystalline wax or beeswax
2. Paraffin wax.
If you wish to follow the more complex Indonesian recipes then you also have to obtain pine resin, Damar gum and fat, such as lard or coconut fat. I have found over the years that results can be as good by using microwax or beeswax and paraffin wax. Microwax is, like paraffin, an oil product, but has a higher melting point and is sticky.
Containers for Wax
We usually work with two kinds of waxes. One for giving many crackles when dyed, and a more sticky wax to enable the craftsperson to control working with the canting, because the wax does not flow as fast as a wax composition with paraffin. So we need two electric frypans or skillets, which are thermostatically controlled. This is mainly for safety, because if the wax gets too hot, it could ignite. In pan No. 1 we put microwax to fill up to a third when melted. This is our non-crackle wax. In pan No. 2 we put a proportion of micro or beeswax to a proportion of paraffin. Usually a ratio of 2:1.
The more cracking lines required, the larger the proportion of paraffin. Never use paraffin on its own because it won't adhere properly to the fabric and when dyeing, the wax will flake off causing a messy dye bath and bad results on the fabric.
Tools for Waxing
A set of three Indonesian type cantings, fine, medium and large. For painting with wax you need bristle brushes from fine to 3 inches wide or any brush which can cope with the hot wax. Do not use nylon brushes.
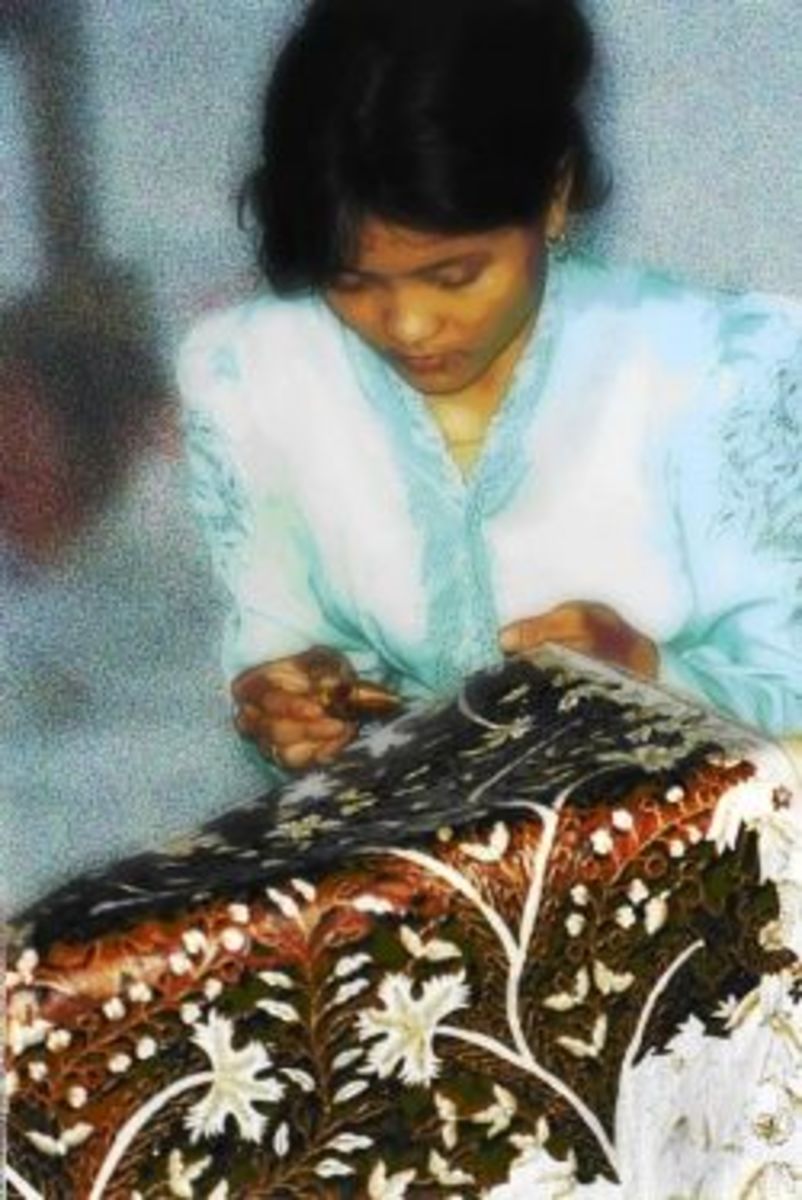
Sponges can give an interesting mottled effect and you could also use stamps such as potato mashers or metal biscuit cutters, which you could hold with a pair of pliers when immersing in the wax. The canting is used to draw lines, which are fine or thick, depending on which canting you use. This tool is fragile and used very carefully. You scoop up the hot wax in the metal cup and let it flow out through the spout by holding the canting slightly facing upwards. This enables you to control the flow of wax coming out of the canting. For best results you can hold the fabric over your hand, which doesn't use the canting and then apply the wax. This is how the Indonesian women work. But this method is only satisfactory when dealing with small motifs.
For drawing long lines and large patterns it is better to stretch the fabric on a frame or large embroidery hoop.
Dyeing
Use plastic containers, such as containers used for dishwashing or large plastic crates or photographic trays. This depends on the amount of liquor ratio required for your dye bath. When dyeing, wear a pair of rubber gloves.
Dyes
Any reliable industrial dye powder which will not wash off after doing all the hard work would be suitable. According to the recipe of these dyes, you also need some chemicals such as salt, soda ash and a wetting agent. This all depends on which dye class you have decided to use.
Making up the dyes
A pair of scales, able to measure gram quantities of the dyes and chemicals. For mixing you need two plastic 1-liter jugs with two stainless steel spoons.
It is best to weigh the chemicals and dye powders in separate paper pattipan paper cups, which then can be disposed of. This method also keeps the scales clean. Now we are ready to start:
1. Cover your table with newspaper and place your wax pans in such a way that you have close access to your work and the wax has no time to cool while it is being applied.
2. Make sure your room is well ventilated, and if the wax smokes, it means that the temperature is too high and this can also cause ignition. On the other hand, when the wax is too cold the wax will not penetrate well through your fabric.
Planning your Batik
For a start think of a small article, perhaps a piece of fabric which can be made into a cushion. Measure a piece of fine cotton and draw a line in the centre with a soft pencil (3B). Take area 1 and draw a design consisting of solid shapes and lines, so you can practise with brushes and cantings, when you do your waxing.
Area 2 can serve as the other side of your cushion, so you can keep it plain or put a different related design to the one you put on area 1.
Stretch the fabric on a frame and proceed with the waxing using the crackle wax for the brush work and the non crackle wax for canting work. When you have finished the waxing, look at the other side and make sure the design has penetrated right through, because the dye should be resisted on both sides of the fabric.
If the wax didn't come through, make sure you patch it up on the other side.
This content is accurate and true to the best of the author’s knowledge and is not meant to substitute for formal and individualized advice from a qualified professional.
© 2010 Longtail

