How to make a color image monochrome

Transform any colored image into black and white in just two minutes
There are many reasons why you might want to do this. And luckily, gone are the days when you'd have to have Photoshop or a similar expensive program installed on your computer.
I often like to use black and white images, especially if I'm writing about something historical. They have a clean look that can be more striking than color.
You can use an online editor and transforming a colored image into monochrome takes under three minutes - I just timed it.
Here's how:
Materials:
- No special materials required
Instructions:
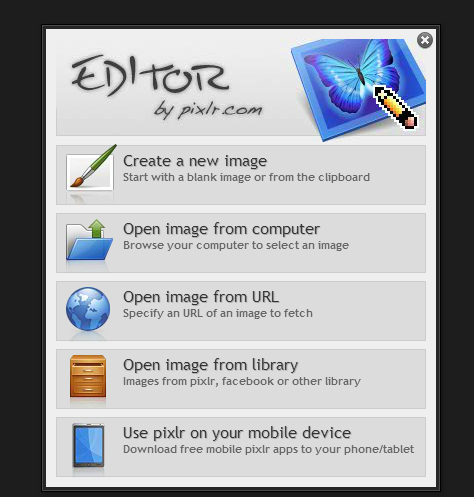
1. Once you're sure that you have the image saved to your computer, go to the website shown on the image on the right - pixlr.com. There is also a Google Chrome app.
Choose 'editor' from the navigation bar.This is the screen that you'll see. Select the second option - to upload your image from your computer.
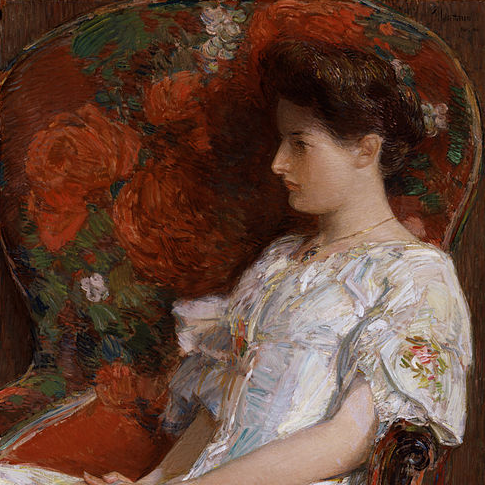
The one I'm using here is a copyright-free image from Wikimedia.
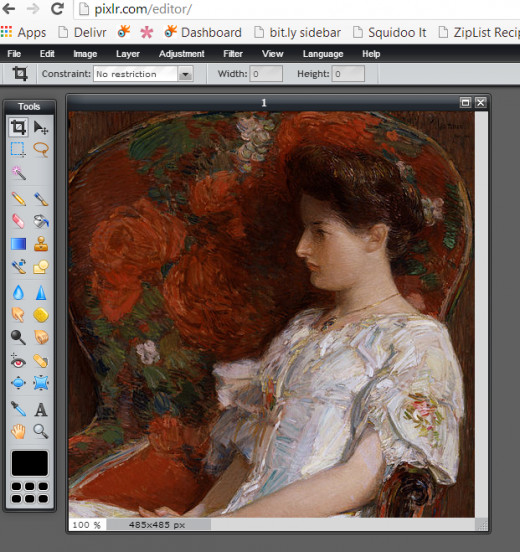
2. See below. You will now see your image in editing mode. If you are familiar with Photoshop or a similar drawing program, the tools and navigation will be familiar to you.On the top navigation, you need to select the 'adjustment' option.
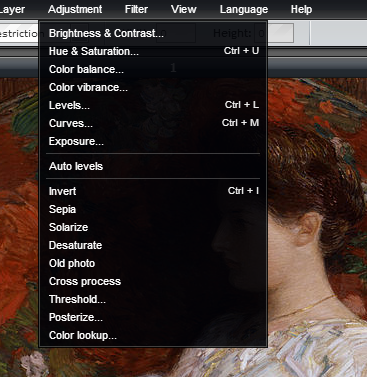
3. Then select 'hue and saturation'.
One of the reasons I'm explaining this is because if you are accustomed to Photoshop, this online editor is different for this function.It took me a while to figure it out.
Why aren't I using Photoshop and working with an online editor instead? Because often these days I'm not necessarily working on my trusty computer and I can use the online service from any device, wherever I am.
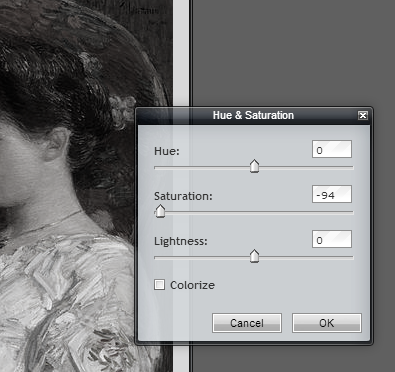
4. This pane will then appear. Move the middle slider way over to the left hand side.
You'll see the image becoming monochrome as you do so.
There's no need to adjust the other two sliders.Click 'OK'.
The alternative is to use the 'desaturate' feature although this doesn't give you the same amount of control.
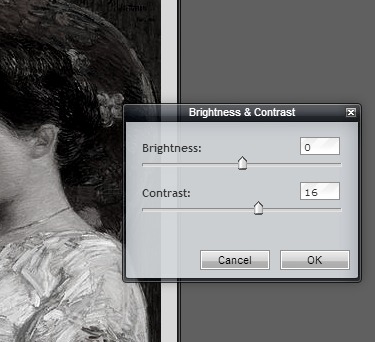
5. Sometimes, not always, I find that the image doesn't have enough contrast once the color has been removed.
If this is the case with your image, then you can quickly adjust it using the 'brightness and contrast' pane - also to be found under 'adjustment'.
Simply move the sliders until you're happy with the result.

6. And here is your monochrome image - so much more suitable for certain uses than for the colored version.Save your image and you're done.
Either use file > save or CTRL + S. If you're saving it to the same location, and don't want to overwrite the original, simply give it another name by adding 'bw' at the end of the file name.
If you'd like to learn more about graphic design, I recommend the book below.
Why use a monochrome image instead of coloured?
One of the most obvious reasons is if you are preparing the artwork to be printed. Colour printing is generally more expensive than printing in black and white. So one reason might well be a financial one.
Another reason is if the images you have are wonderful in their content but have no overall colour scheme.Often in this case, several images in different colours that don't go well together can look very messy.
This can particularly the case if you have to add several different companies' logos to your work. For example, a charity event, an art exhibition or a sporting occasion might have several corporate sponsors whose logos will have to be including onto the programme or guide book.
In this case, by simply making them all black and white, the mish-mash of colours are no longer a problem.
If your images are accompanying writing about an historical event, then black and white images might well be a more appropriate feel.
Several designers believe that in certain instances, images are clearer in black and white - the colours can be a distraction from shapes, forms and textures.
If the shapes or textures of your images are more important to your viewers than the colour, then black and white images are certainly the way to go.