How to Make a Hello Kitty Battery Operated Glow Light - Upcycle Jar Craft Demo

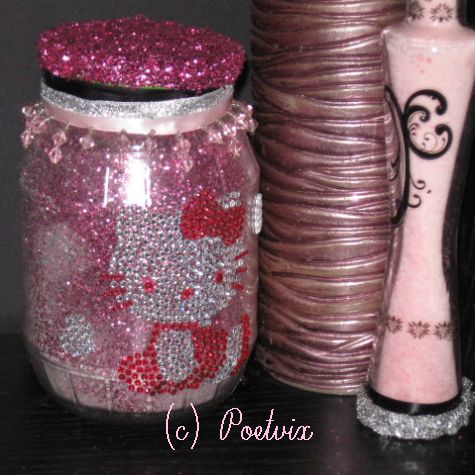
DIY Hello Kitty glow light
Let's make a glowing light, Hello Kitty style. We're going to take plain Jane and pretty it up.
This actually lights up with no candle, no flame, and no electricity. How's that work? Follow along to see how to assemble this Hello Kitty glowing night light.
It was really easy. For the last week of summer, I've been totally sucked off into doing glass crafts. I do that sometimes, get on a crafty kick. How about you?
Today's project combined my new found fun glass crafting with something else I really like, Hello Kitty. I started out with the idea of making this a candle holder. I ended up changing my mind because in all honesty, I have very little patience today.
It was taking the sealant too long to dry and I was afraid to drop a lit candle in it for fear of going up in flames. Not a good thing. So, I had a brain fart and got this. The secret is a battery light.
This night light started life as a pickle jar. Why die broken and alone in a landfill when it can light the way for someone for years to come?
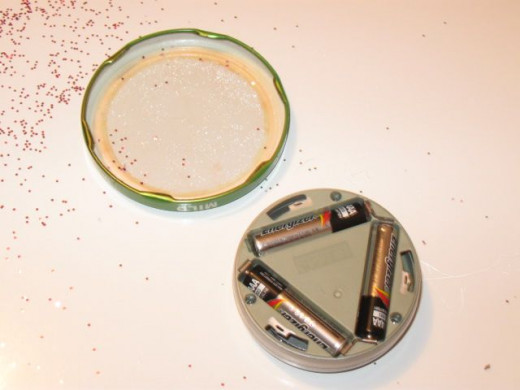
Just stick, Velcro or glue the little light to the inside of the jar lid.
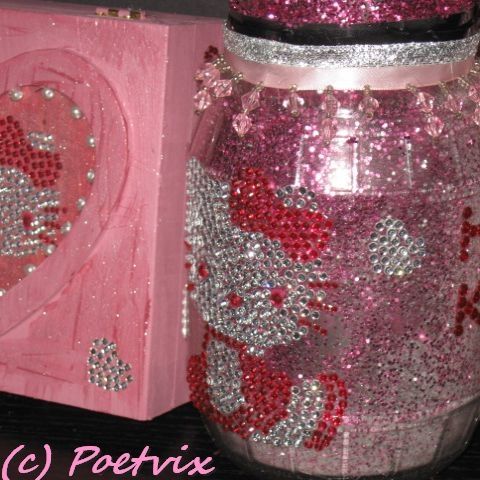
In this picture, the light is glued to the bottom of the lid. In the introductory photograph, the lid was left off and another click light was placed in the bottom of the nightlight. I like it in the bottom better but it works either way. Let's shine some light on this.
The world's cutest kitty glows

What do we need to make a Hello Kitty DIY glowing nightlight?
Not much really, a jar, some glitter, this and that.
I got several click-able lights that just stick on to the undersides of shelves and such some time back. They run on batteries which is cool but they aren't very bright. Ambient lighting only I guess you would say.
One lost its sticky and fell off the bottom of the shelf I had it stuck to. I had been putting off fixing it for a while now. Seeing as how I just lost my patience waiting for this kitty light to dry and air out really well, I commandeered it for this project.
If you don't have a click battery light, a flame free candle would well for this or even glow sticks. I would not recommend burning a real candle in this. I used a good bit of acrylic and the smell is not leaving. Since fumes can ignite, I'm thinking the big not on the flames.
These are the same lights I used.

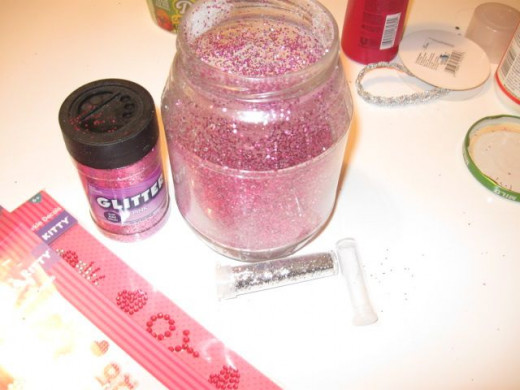
Get the jar, glue and glitter.

We are going to use a good bit of glitter here.
Things may get a bit messy.
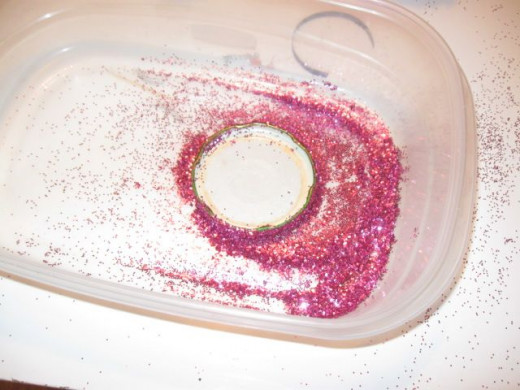
This would be best done outside. If not, be sure to put down something to catch any glitter that may get away from us. I recommend working over a large plastic container of some kind so the glitter can fall into it, not on the floor.
When we are done, pour it all into a vial to be used on another project in the future.Start by cleaning and drying the jar really well. We don't want it to smell like pickles or have any sticky stuffs left on it.
Save the dollars on the disposable batteries. Seriously, these things can really pack a bunch on the budget over time.

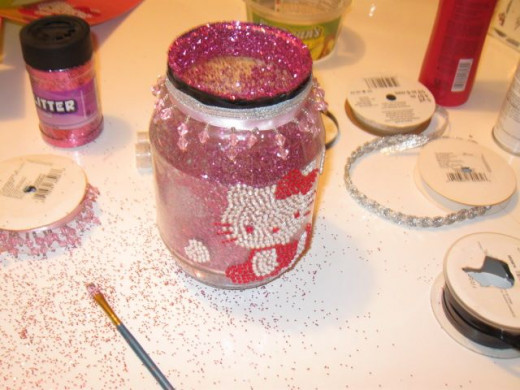
Doing the inside of the jar is so simple. Spray the acrylic and sprinkle on the glitter.
Roll or rotate the jar as you go. I alternated coats of hot pink glitter with coats of a super fine white glitter. There were a few shakes here and there with some sliver too. It took about five rounds total to get the inside like I wanted it. You can do as much or as little as you like.
Raised texture stickers give a great look
The cutest kitty around.
How much do you love Hello Kitty?
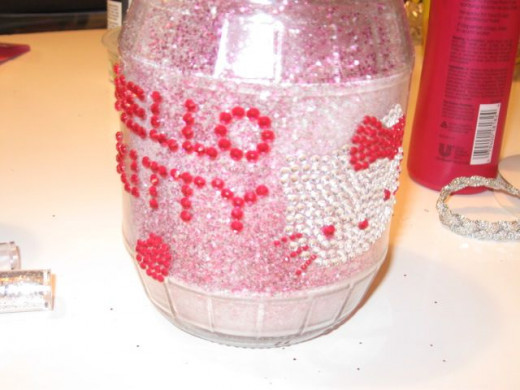
When you get the inside as coated as you want, grab the stickers.
There are so many Hello Kitty stickers and decals available these days.
The decals used here are pretty common rhinestone type peel and stick. It's as simple as pull up from the backing and press down onto the glass.
Be sure to stretch just a tad over curves in the glass to avoid air bubbles.
Do a few here, maybe a few there, just play with it until you get a look you like. The kitties and hearts are a breeze. The letters are a bit harder to get straight.
Personally, I wish they came attached as in the entire word being one sticker, but not. Each letter is its own individual sticker making lining them up harder.
Beaded fringe on Hello Kitty light
Rate the kitty.
Grab the glue gun.
Let's get going on some ribbon.
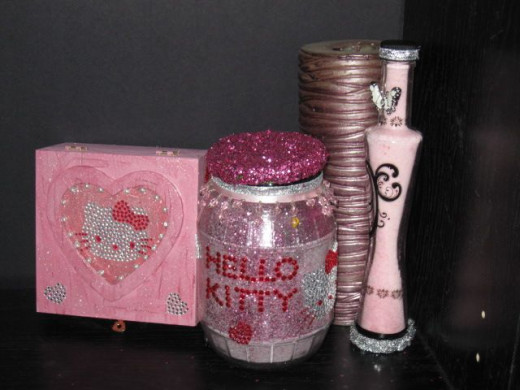
The top of this light is done with one strip of pale pink ribbon with the beads already attached. On top of that is two thin strips of black ribbon.
Laying on the seam line where those two ribbons meet is a thin silver shimmery ribbon.
If you decide to do this project on a thinner glass, don't use the glue gun. It might crack your glass.
You might get cut. Then, you might want to slap me cross eyed.
I don't need that. If using thin glass, white glue will work just fine.
If you're like me and just don't like waiting for things to dry, try rubber cement or spray adhesive.
The battery powered light part
To do the lid, just drown it in glitter.
On the bottom of the lid, hot glue on the clickable battery operated light.
A good alternative to hot glue for this would be peel and stick Velcro squares.
Eventually, you will have to change the batteries. If you use hot glue, it will peel off with a little effort.
Velcro would be easier really when it comes to changing batteries.
This could also be cute without the lid at all. Just drop the light into the bottom of the jar for an up-lighting.
I found it easier just to dip the lid in the glitter.
Before you know it, you will have one DIY Hello Kitty glowing night light.
WARNING
If using spray on acrylic or any kind of spray adhesive, avoid any kind of open flame or heating element as this stuff is highly flamable. That's another reason I'm not buring a candle in this puppy. It's cute, but no flame on this one.


