How to Make a Reindeer Christmas Soft Sculpture Decoration

Faux fur for a Soft Look
Oh Dear! A Reindeer Christmas Soft Sculpture Decoration
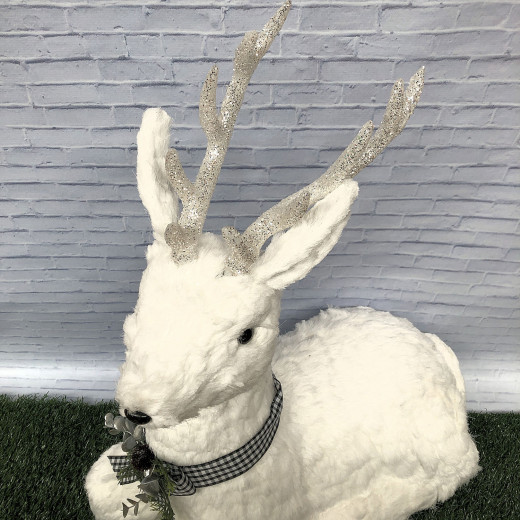
Here is the Reindeer I make for my holiday decorating, it was fun to create. He is about 20 some inches long and about 18 inches not counting is antlers. I made him for a pattern I found on Etsy and left over felt I had in my fabric stash. I think he is adorable and really fits in my theme well since I modified him to suit my fancy.
The pattern called for using tree branches for antlers and since I mostly have palm trees and tropical plants where I live I decided to draw out my own and made them from 2 pieces of felt that I sew together and stuffed without turning them This left the seam visible on the outside and save me the trouble of trying to turn a small piece. I stuffed it tight with fiber fill to make it stand upright.
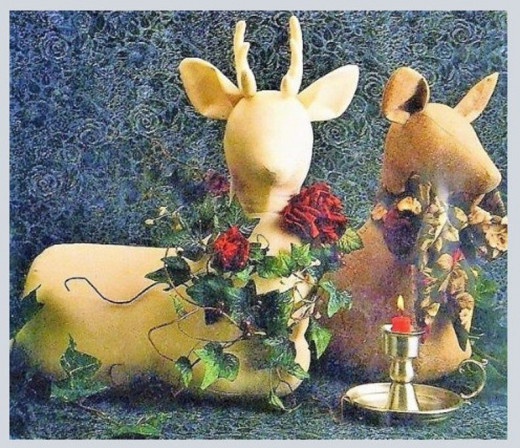
Make Several for Large Spaces.
Time required: 2 hours
Difficulty: easy
Cost: $5-15 depending upon your stash
Materials:
- Pattern
- Large piece of felt
- Fiber Fill
- Christmas Bow
- Christmas Jingle Bells
- Black Craft Paint
- Black Sharpie Pen
- Scrap Fabric for Saddle
Tools:
- Scissors
- Sewing Machine
- Needle and Thread
- Tacky Glue
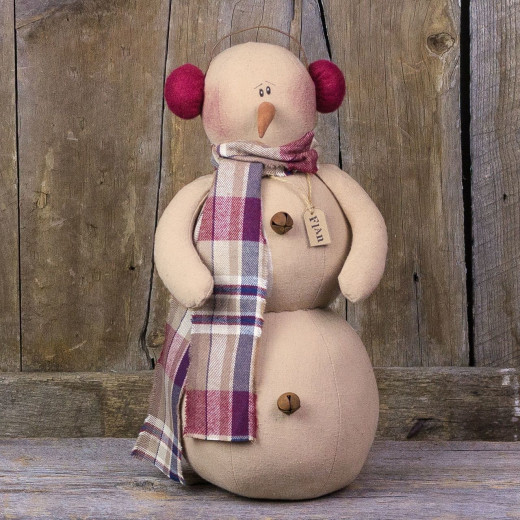
Consider Making a Snowman
Instructions:
1. Cut and tape pattern pieces together
Layout and cut pattern from felt
Sew ears and tail pieces together
Sew body leaving an opening for stuffing
Sew Front and Back Leg leaving an opening for stuffing
Attach ears and tail according to pattern directions
Stuff legs and body with fiber fill stuffing
Paint nose & hooves on legs and allow to completely dry
Glue legs in position using tacky glue or glue gun
Use sharpie marker to draw line slits for the eye, the pattern suggested a sewn stitch for eyes.2. I used pink for the inside of the ears and a scrap of white faux fur for the tail.
I also used my imagination to create a deer to suit my holiday decorating theme.

More Ideas and Suggestions
It's getting closer to the holiday season, the perfect time to start dragging out those ornaments and discovering new ones. You can use this pattern to make a Rudolf sculpture by adding a red nose. This is a classic decoration for your home. You can spend a positive pre-season making holiday decor. You can wrap a festive bow around your little reindeer's neck to make your color scheme.
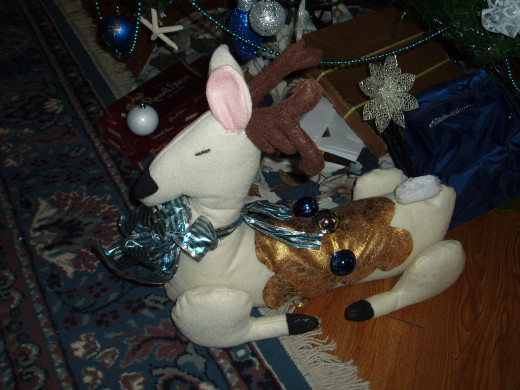
It is not advised to use this little guy as a toy since it is delicately made. However, you may want to create a team of reindeer to encircle your Christmas tree or several to place in a display on your fireplace mantle.
Another great idea is to make several deer give away as holiday gifts to friends or family members. Most people enjoy handmade holiday decorations, and this little guy is no exception.
Materials and Tools
Soft sculpture decor is made of soft, flexible fabrics. Lightweight jerseys, cotton blends, and swimwear fabric are all suitable. Cotton or polyester velour, elastic wool jersey, and different knits may also be appropriate. You will need filling, most typically polyester fiberfill, but cotton or wool stuffing will work well, particularly with weightier fabrics. The other notions required for soft sculpture are long doll-making needles, 4 inches to 6 inches, and matching quilting or upholstery thread. It would help if you also had a sewing machine, thread, scissors, and an invisible fabric marking pen.
Check out your local Goodwill for vintage sewing patterns. I found many great holiday patterns there. Look for uncut ways to ensure you have all the needed pattern pieces before you begin this project.
Get Started Today
The fundamental construction of a soft sculpture animal or character is often relatively straightforward. Details are sculptured into the body, usually snipped into a few parts. A doll may even be constructed with a simply felt fabric. The standard soft sculpture doll can be made of only two pattern pieces. The body piece includes arms and legs; the head only sews them together once cut. Pin both layers of fabric together, then outline your pattern piece onto the textile. Sew along the traced lines, leaving a small opening to turn and add stuffing. Once sewn, trim away the excess fabric. Repeat this process for the other parts of the body. While stuffing the sculpture, use a chopstick or wooden dowels to push the stuffing into the limbs, If you have a separate head Firmly press it in place then stitch the head onto the neck by hand.
Related

Fabric Sculpture - Creating Sculptural Forms with Textiles

Dakin Dream Pets, Christmas Reindeer, and Knee hugger Elf's

50+ DIY Christmas Presents for Family, Friends and Co-Workers
")
How to Knit Leg Warmers for Ballet Dancers (Free Pattern)

Easy Christmas Craft: No-Sew Winter Holiday Decorative Pillow
")
