How to Make A Washcloth Travel Tote
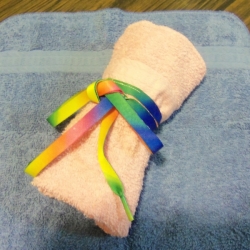
Washcloth Travel Totes for the Family
I was first introduced to the concept of a traveling tote almost fifteen years ago. Looking through a magazine I ran across an article for a craft. With some alterations I came up with my version of the Washcloth Traveling Tote.
Back then I didn't have a sewing machine and made quite of few of these little gifts by hand. Now I can make one in about 30 - 40 minutes depending on the size.
My little companion has traveled quite a bit and lasted for years. When I fly I usually freshen up before landing. I like the fact that I am using a clean linen of my own, with the things I use on a regular basis. It's washable, reusable and economical all while meeting my hygiene needs when I'm away from home.
You can make this craft for your family and friends by following the step-by-step instructions on this site. When you are finished you may be interested in some of my other articles and social sites.
Photo by Favored1
Copyrighted Material by Favored1. Do not copy. Photo credit byFavored1 or Amazon unless otherwise noted. This artwork is licensed under the Creative Commons Attribution-ShareAlike 3.0 License.
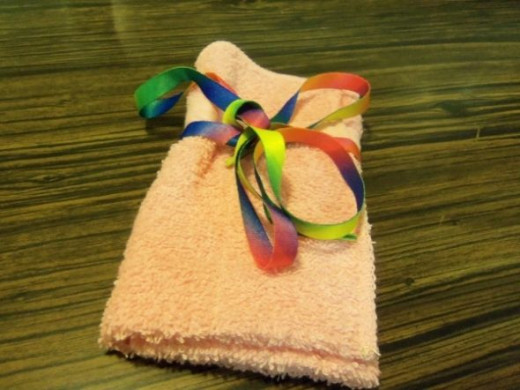

Extra Large Washcloths - This is actually a better size to make this project.
You can make this project using 12x12 inch, 13x13 inch or 14x14 inch washcloths.
I have found the 14 inch ones work best because it makes a longer pouch, but the other sizes also work out especially for a child's pouch.
These work great for every member of the family if they are a different color. If making several it's best to purchase them in a packet of 6 or more, because it is much less expensive.
For more selection see below.
Poll: Bon Voyage
Have you ever heard of a washcloth travel tote?

Sewing on the Shoelace
Step 1 - Sewing on the Shoelace - Instructions for a 12 x 12 inch washcloth tote.
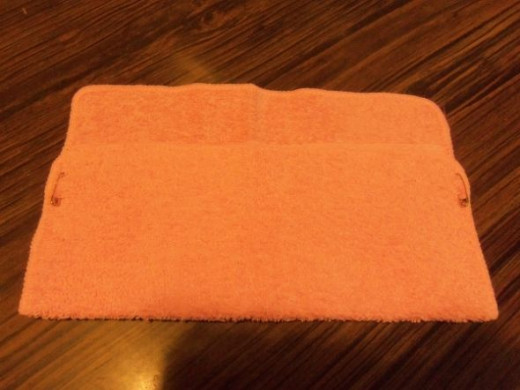
Fold up washcloth 5 inches from the bottom and pin it in place. Attach the sides together with a small safety pin.
Step 2
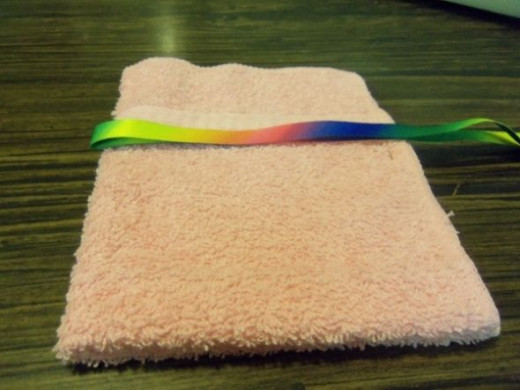
Fold the washcloth in half with the safety pins on the inside. The outer part of the washcloth should be showing. Fold the shoelace in half so you can see where the center will be.
Sewing Accessories - These are the items you will need for this project.
Step 3
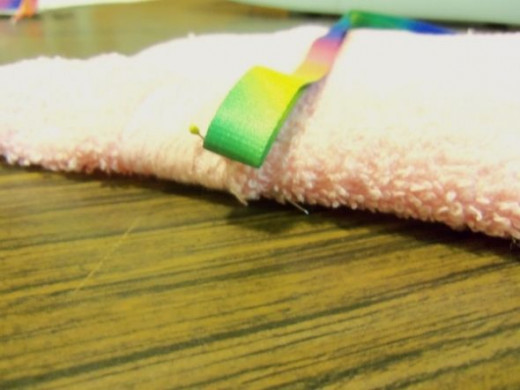
Put a straight pin in to mark the seam 5 inches from the bottom of the fold.
This is the place (mark) where you will sew the shoelace in place.
Step 4
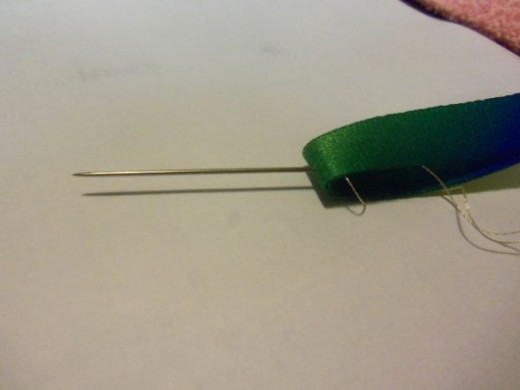
With a needle, pierce the shoelace at the center length so both sides are even.
Tack the shoelace in the center where you marked it with a few stitches to hold it in place.
It's harder to sew this on after you have made the pouches, so I do it at this point.
Step 5
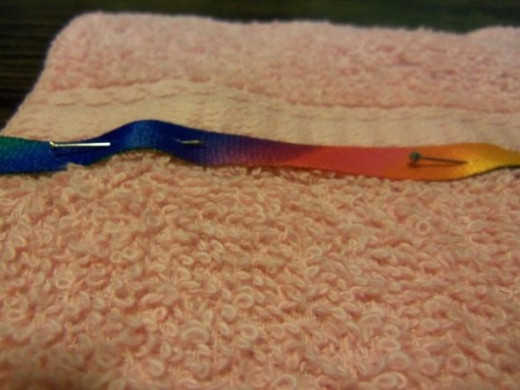
Use straight pins to hold the ribbon in place evenly.
Step 6
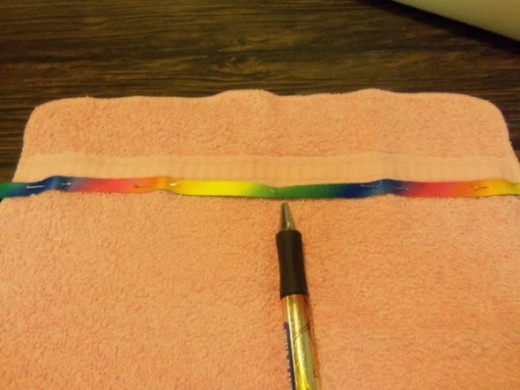
Use straight pins to hold the shoelace in place on both sides. You won't be sewing this, but it will prevent you from sewing crooked.
In the center where the pen is pointing, stitch this down by hand or machine. The sewing machine works better and holds the shoelace tighter preventing it from coming off after several uses.
Step 7
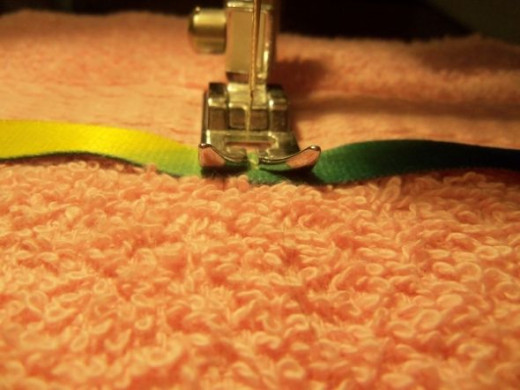
Go over this shoelace 3 x's using reverse and back. Only stitch the width of the lace.
Step 8
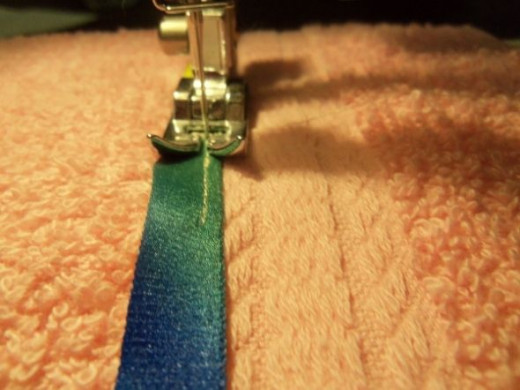
Lift the foot on the machine, but make sure the needle is still all the way down holding the material in place.
Turn the washcloth with the shoelace vertical and sew it in place. Sew one inch of the center. Reverse back to the center.
Step 9
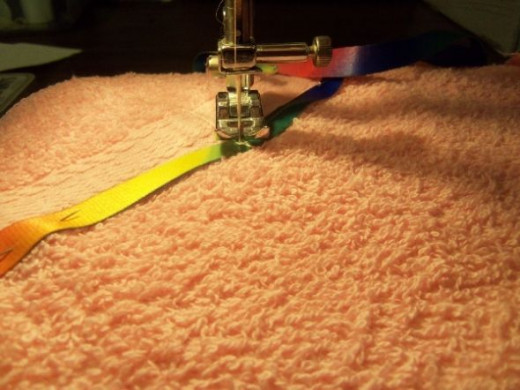
Repeat the last step lifting the foot without raising the needle and sew a one inch length on the opposite side of the center point. What you have already sewn should be facing you. Basically all you are doing is making a one inch hem on both sides of the center point to secure the shoelace.
Step 10
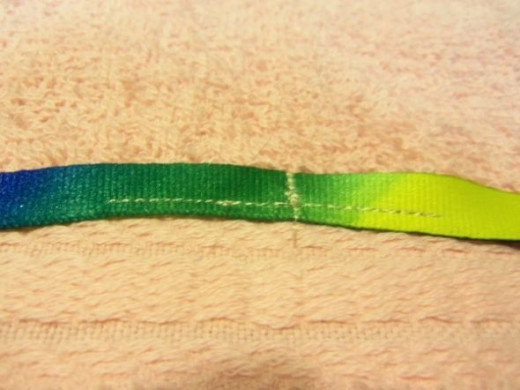
See how the hem should look? I used light thread so you could see it, but you should use the color that matches the washcloth so you don't see the hem at all.
Fashionable Shoelaces - Select cotton laces 30-36 inches in length and 1/4 inch wide.
Using a silky lace won't work, because it doesn't hold a tight bow. Solid colors are more suitable and don't run when they are washed. I used a silkier lace to show you how it doesn't take a knot very well. It may look pretty, but for this project it isn't as functional.
Where can you use a washcloth travel tote?
Airplane
Train
Bus
Overnight trip
Road trip
Backpacking
Camping
Campus
Gym
Any place really
Sewing the Sides
Step 1 - Sides
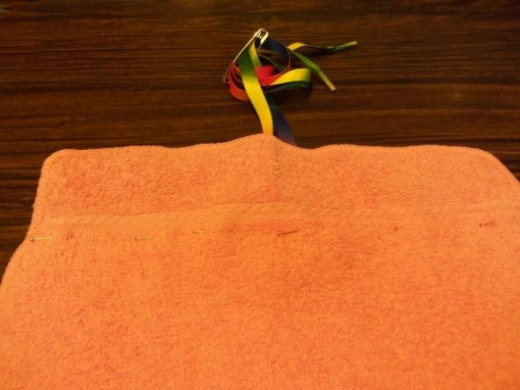
Flip over the material and fold the bottom up 5 inches again just like you did in the beginning. This part is tricky. Pin the fold in place without touching the shoelace. Pull it up out of the way so it doesn't get sewn. I used a safety pin to hold it together and out of the way.
Step 2 - Sides
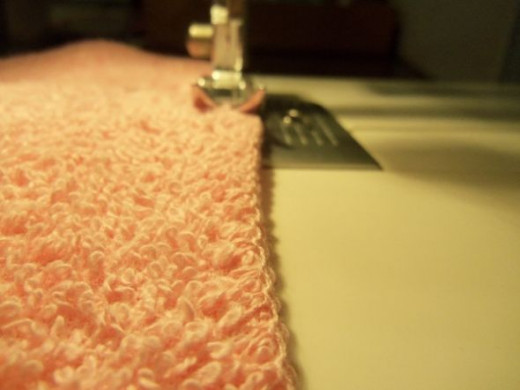
Sew both sides along the seam of the cloth. Get as close as you can without running off the edge. As you reach the ends (top and bottom) go back a forth using the reverse tool a few times to strengthen the ends.
Making the Pockets
Step 1 - Pockets
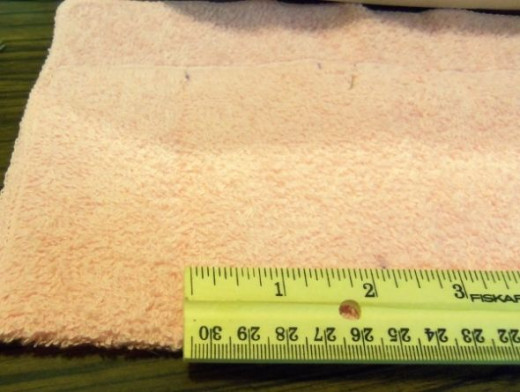
Put straight pins at top to hold the fold in place. This keeps the cloth from shifting so you can make even pouches.
From the left side, measure 2 and 1/4 inches (if using a 12 inch washcloth). Mark the top and bottom with laundry marker.
Be sure to keep shoelaces out of the way to avoid sewing them to the washcloth.
Move the straight pins as you progress to the right.
Trim off any threads along the way on both sides of the washcloth.
Step 2 - Pockets
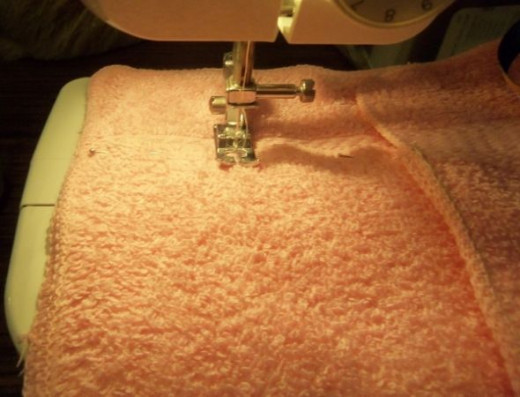
Sew a seam from the top mark to the bottom mark.
Hold the cloth in place so it doesn't bunch up or twist on you making a crooked line.
Step 3 - Pockets
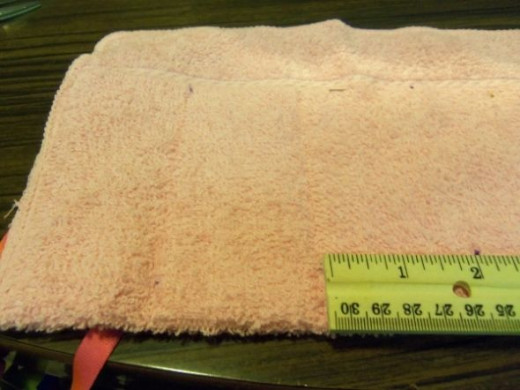
Measure 2 and 1/4 inches from the last seam and mark it (top and bottom). Measure 2 and1/4 inches from every seam until you have 4 seams that will make 5 pouches. When you are done you will have 5 pouches 2 and 1/4 inches wide.
If you only want 4 pouches, divide the washcloth evenly and do the same thing marking them as you go. You should have 3 seams. However, smaller pouches help to keep things snug.
Note: Remember to use a measuring tape for accuracy. I'm using a ruler to show the approximate distance from one pocket to the other.
Step 4- Pockets
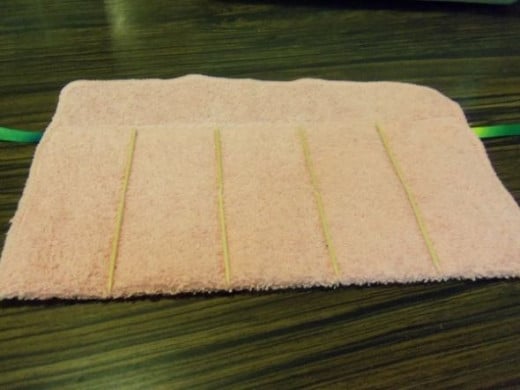
Here I have placed toothpicks along where the seams are so you can see the width of the pouches.
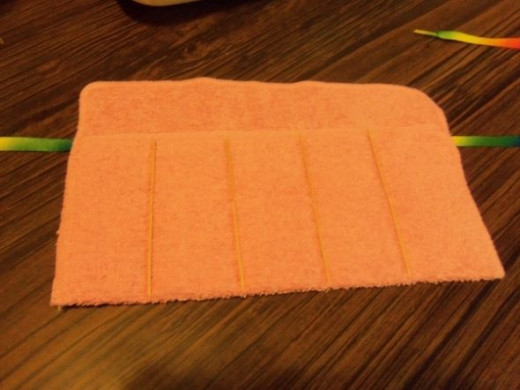
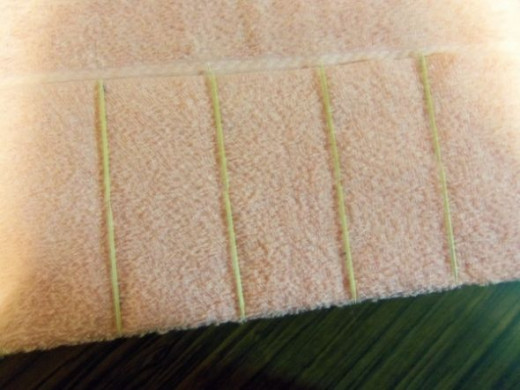
The pockets begin below the decorative trim. You won't be able to see that from the other side.
However, you do want the distance from the top so that nothing falls out of the pouch.
Adding the Products
Fill Your Travel Tote
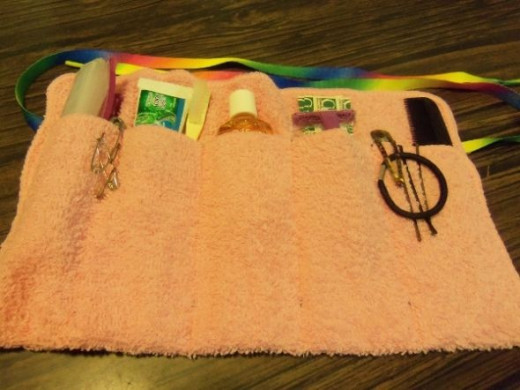
There are all sorts of things you can put in your pouches. The main thing to remember is to only put what you may need in a hurry or emergency when you do not have access to your normal toiletries. For this ladies travel tote I packed:
travel size toothbrush
travel size toothpaste with Scope mouthwash
travel size razor with cap
flat bottle of Neutrogena facial wash (1 oz)
a few bandaids
long hair pins, band, clip, comb
large zip bag for wet cloth after use
sandwich bag (to put items in after using washcloth)
several sizes of safety pins (this is a must)
Fill the Tote with Travel Sized Products
A few items for a women's travel tote.
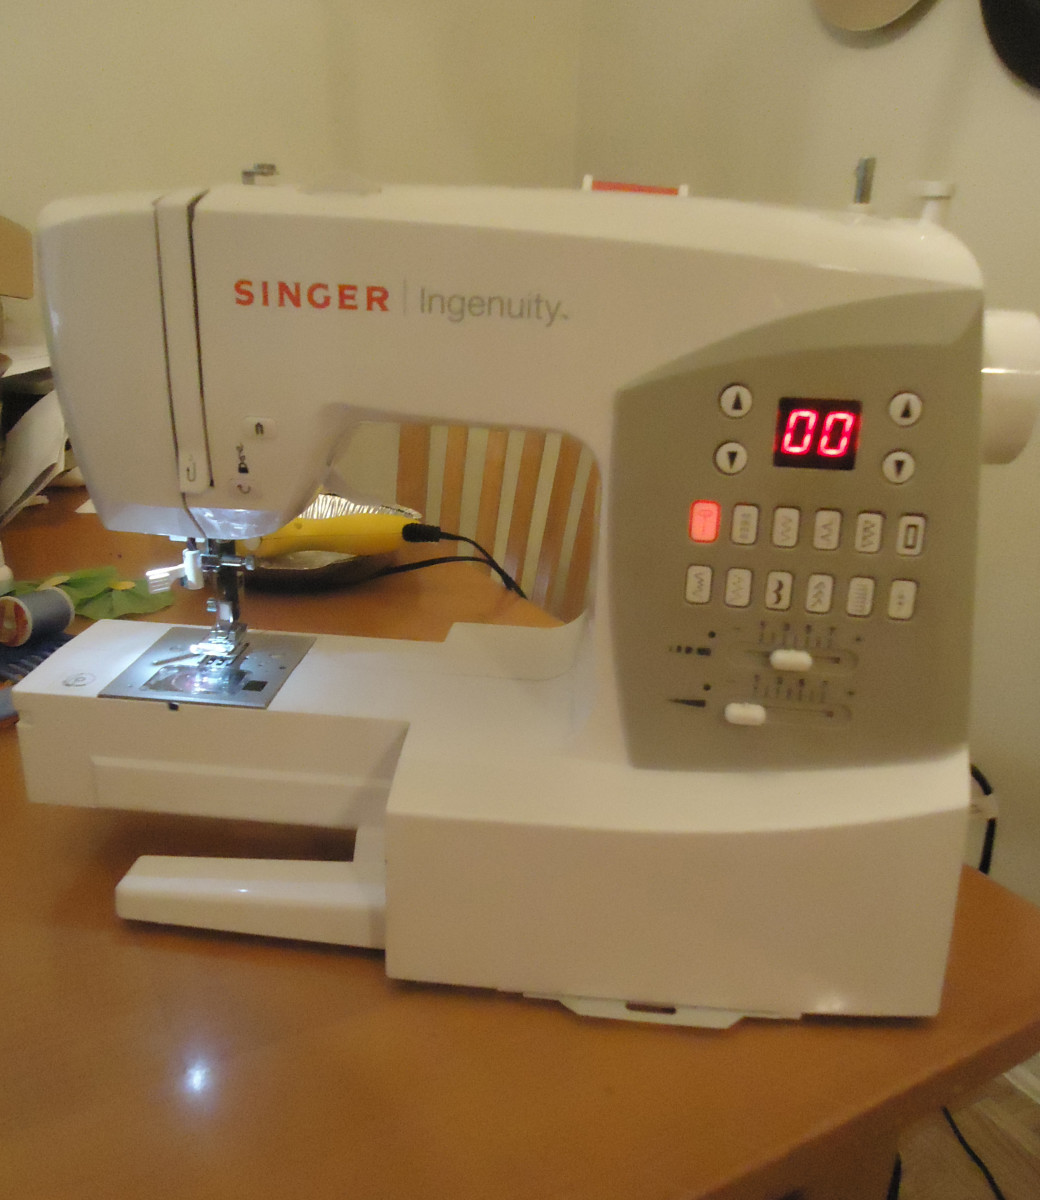
Brother Sewing Machine LX 3125 - Carrying Case Sold Separately
This is the machine that I have. It isn't an expensive sewing machine, but it has done a fabulous job on my crafts. If you are looking for a lightweight product that is easy to transport, the Brother LX 3125 sewing machine is a good choice.
It has the ability to do 16 stitch patterns, has automatic stitch length, built in sewing light and auto wind bobbin (which I really like). But don't be fooled by its petite size, you will be able to make some really neat things with this machine.
Folding the Tote
Folded without products.
Step1 - Folding the Tote
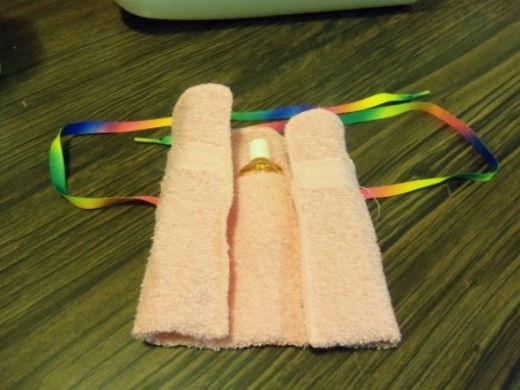
To fold your washcloth bring in each side and fold it over one another as if you were rolling in from both directions. Make sure items are as far down in the pouch as they can go. This is why you need that few extra inches from the top and why you don't want anything sticking out the top. It should be tidy and neat.
Step 2 - Folding the Tote
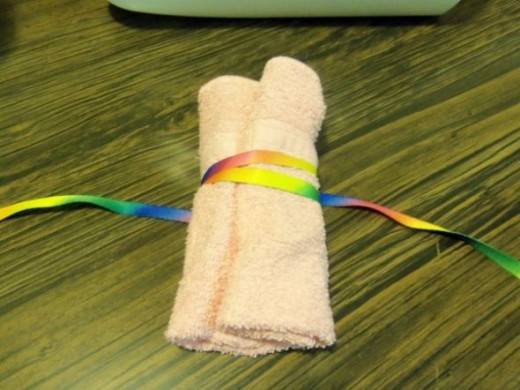
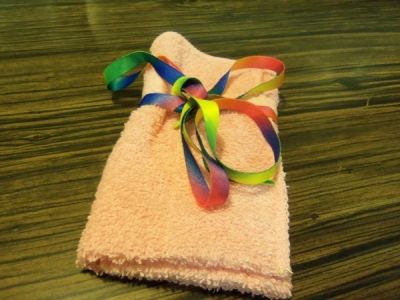
Take one shoelace and wrap it around to the right and another one to the left. You should have enough material to wrap the cloth twice. Pull it snug.
Did you use the right shoelaces?
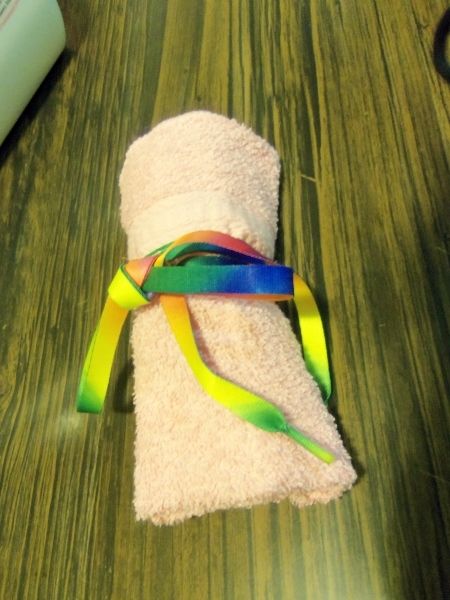
Tie together like you would on a shoe making a bow.
Here I used 45" shiny laces to show you what NOT to buy.
The "fancy" laces do not hold the tie and slip out.
Cotton laces work the best and a 30-36 inch lace is sufficient.
Side View
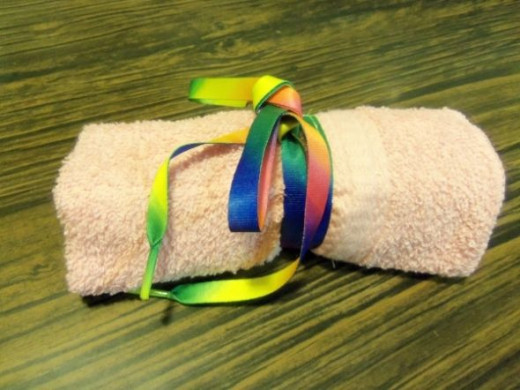
All Done ... Take A Look!
Packed and Ready to Go
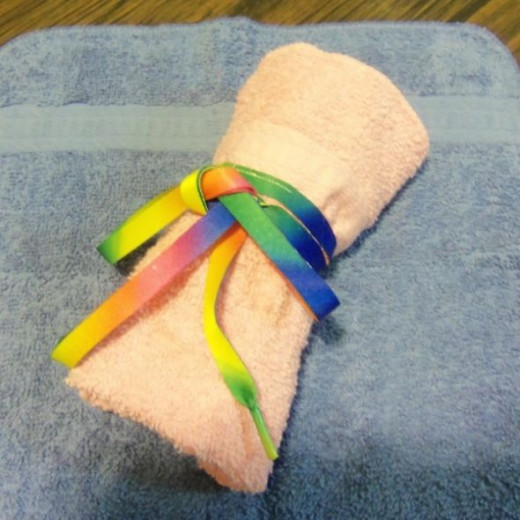
Take A Peek
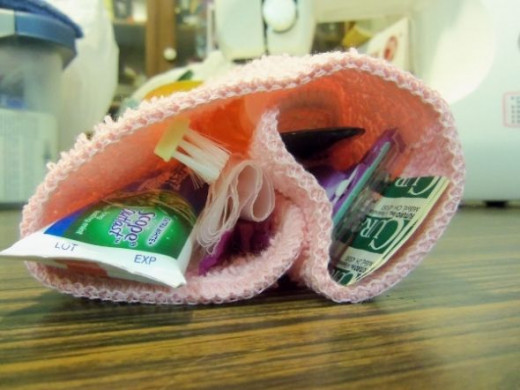
Final Product
So here it is.
What did it cost?
Total price was about $5.00.
Cost included:
Washcloth
Shoelaces
Facial Wash
Toothpaste/brush
Comb
Other things I had already.
This week's challenge on my: Daily Favor Blog
© 2013 Fay Favored


