DIY Tutorial: How to Make Hair Bow Clips

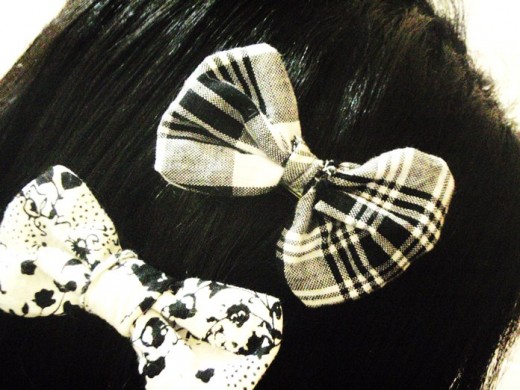
Hair bows clips are all the rage right now, and come in many sizes, shapes, colours and patterns. However you can make these fun accessories yourself! This is a tutorial for making a simple hair bow with a clip backing.
These are great to give as gifts, both to others and to keep for yourself. These are also great to sell at craft fairs and stalls, as well as online.
Items you'll need:
- cloth of your choice
- scissors
- thread (that matches the cloth)
- sewing pins
- pencil/tailor's chalk
- ruler/measuring tape
- hair clips (the type that snap)
- sewing machine (you can also sew these by hand, if you like)
- fabric glue
Step 1:
Measure out the cloth that the bow will be made of. Use your pencil to draw out the rectangle onto the cloth - this will help you when you're cutting. I measured 3 1/2 inches by 1 1/2 inches, and my bows were a pretty decent size. Of course, measure and cut the cloth larger or smaller to your liking.
Be sure to cut with extra space around the measured area. This can serve as your seam allowance.
Step 2:
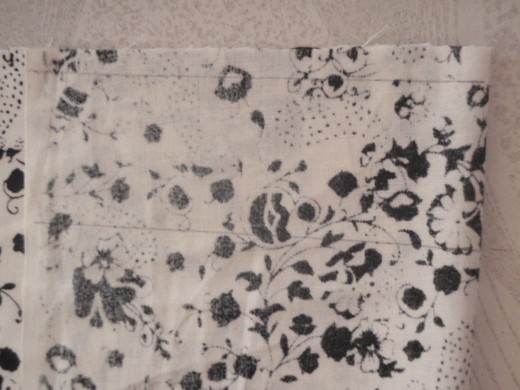
Cut two rectangles of the same size - this will be the main body of the bow. I drew out the rectangle on the cloth, then folded it over, and cut around it, therefore ending up with two identical rectangles.
Step 3:
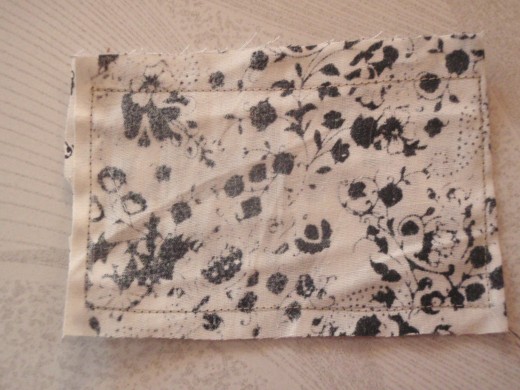
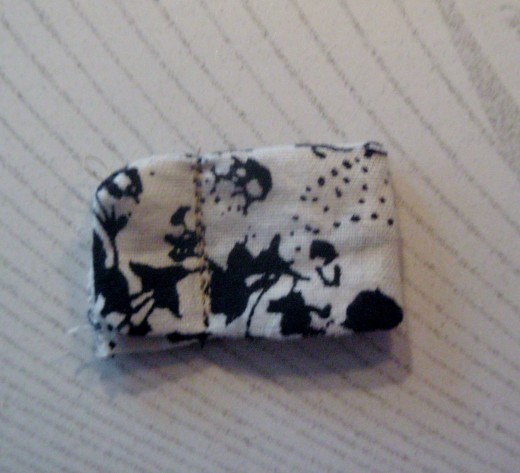
Pin these two pieces of cloth together along the lines of the rectangle you drew – the line will act as a guide for when you start sewing. Simply sew along the line. When you're done sewing, you should have something similar to the picture to the right:
Step 4:
Take the scissors, and cut a small hole in the centre of the rectangle. Make sure that hole goes through only one 'side' of the cloth!
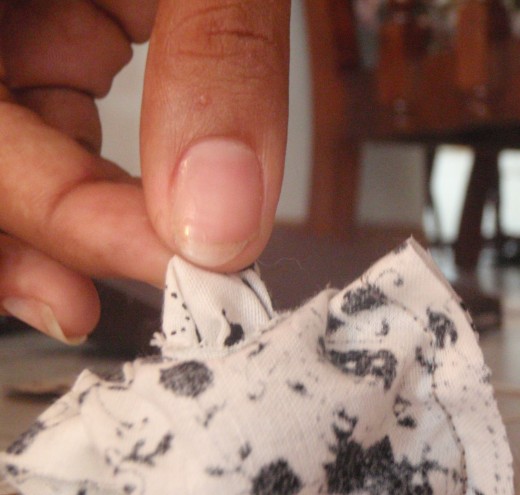
5) Now using the little hole you just created in the cloth, you're going to turn the rectangle inside out. This is an important step since it will turn all the raw edges and stitching of the cloth inside of the bow. Don't worry, it's a pretty simple process.
Using your thumb and index finger, pinch the other side of the cloth rectangle, and pull it through the hole, like so:
Be sure to do this gently! You should end up with this
Step 5:
Don't worry if it looks a little misshapen - it won't be noticeable when the bow is finished. I used the eraser side of a pencil to poke around in the rectangle to get the corners fully turned out. You can also use an iron to fully smooth it out.
The rectangle you just made is going to be the main body of the bow. The next step is to create the little ribbon that will hold the bow's shape, and will also attach the clip. Again, very simple!
Cut two thin strips of the same fabric and sew them together.
Turn it inside out, so that once again all the raw edges will be hidden inside. You can use a pencil to help with this step.
Now, fold this strip in half, and try it on for size on the bow. You don't want it to be too loose or too tight. Also, the strip should be wide enough to hide the small hole you previously made. Once you're happy with how it's fitting, sew across the folded strip. You will end up with something similar to the photograph at right:
You can snip off the extra length. Now turn this inside out (yes, a lot of turning in and out!) and slide it on your bow!
You can pleat your bow before sliding on the strip to give it that cute 'folded effect'.
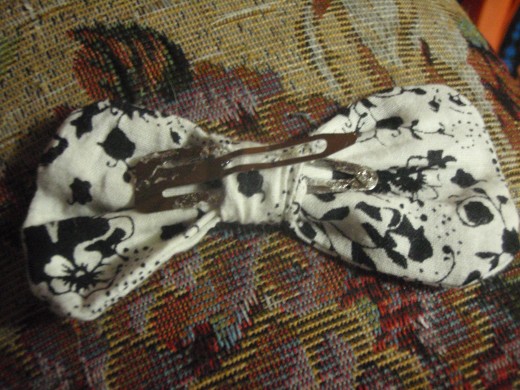
Now for the simplest part - get your fabric glue and hair clip. Put some glue on the bottom edge of the clip (this piece will be touching the bow) and slide this through the strip at the back of the bow.
Squeeze it so that the glue really adheres to the cloth. I used my hands, but if you want to leave it overnight you can use a clothespin.
Bonus Ideas!
- Place thinner or smaller ribbons in loops around the bow for a more decorative effect. You can attach these by using a glue gun.
- To give your bows an edgy look, use metal studs or spikes to decorate your hair bow.
- Using fabric paint or permanent markers, you can draw your own words, patterns and designs onto the cloth. Try 'puff' fabric paint for a cool 3D effect!
- Rhinestones, beads and sequins can be sewn on by hand, or even attached with a glue gun.
- If you want to wear your bow as an accessory or on your clothes, attach a brooch pin or safety pin to the back.
I hope this tutorial was helpful! Good luck!


