How to Make Rainbow Rice for Sensory Trays and Discovery Bottles
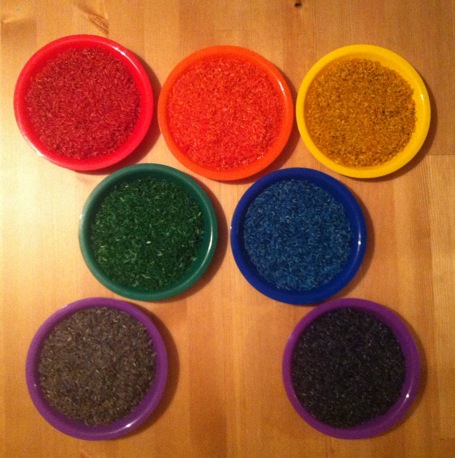
Rainbow rice is one of the most wonderful things to put in a sensory tray, and it is SO easy to make! Follow this Little Crafty Kids step by step recipe for making your own beautiful coloured rice to use in discovery or i-spy bottles, sensory tubs, tuff spot trays, crafts and more.
The process is simple and fun, so it makes a great craft for your preschooler to join in with as well! And best of all, everything in the mix is edible and child-friendly! All you need is some cheap rice (or use up that unwanted or out-of-date rice at the back of the cupboard!), vinegar and food colouring.
So whether you want one shade of dyed rice or a whole rainbow, follow this how-to and get making your own right away!
Photo Credit: All photos are copyright of the author
Materials:
- Cheap rice (I used a couple of 1kg bags to make up these 7 bowls - you will need more if you want to fill a larger tub or tuff spot tray)
- Food dye (I used Wilton Food Colouring Gels)
- Vinegar
Tools:
- A tub with a lid for shaking
- Containers for each batch of rice to dry in
- A spoon for mixing
Instructions:
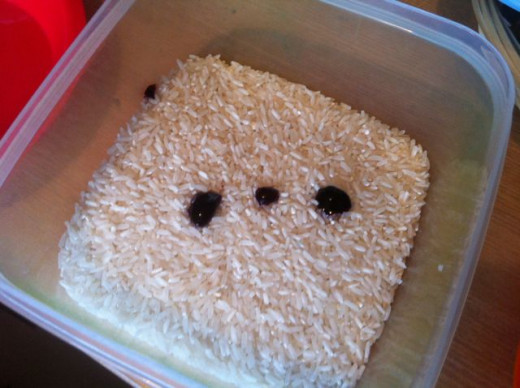
1. Measure out the amount of rice you want to dye, and pour into your shaking tub (we used a lock and lock style food tub but you can just as easily use an empty margarine carton etc). Add a few blobs of food colouring gel (or drops if you are using liquid dye) and a few drops of vinegar - this helps to prevent the dye coming off on your hands once it is in the sensory tub etc, and is a great substitute for alcohol used in other recipes (meaning that your rainbow rice is completely safe and edible should little ones get any in their mouths)
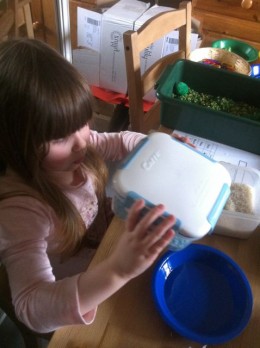
2. Put the lid on and shake vigorously. This is the super fun bit for kids - here is Pud giving one of the colours a good shake!
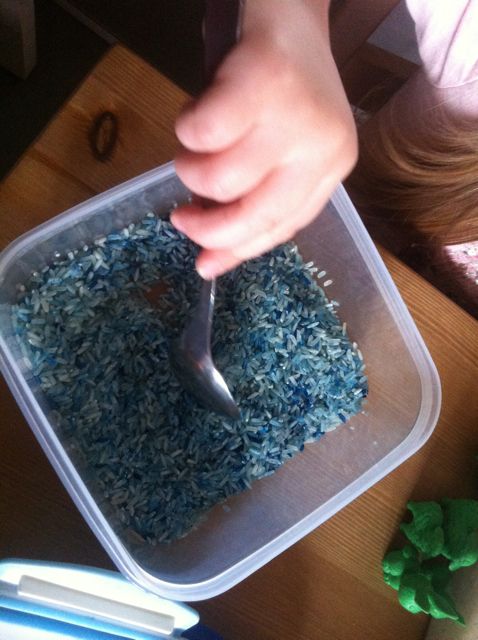
3. Open up the tub and give the rice a good stir with a spoon, to loosen up any gel blobs that are still not mixing, and to evenly spread the colour. Then pop the lid back on and shake once more until you are happy with the colour
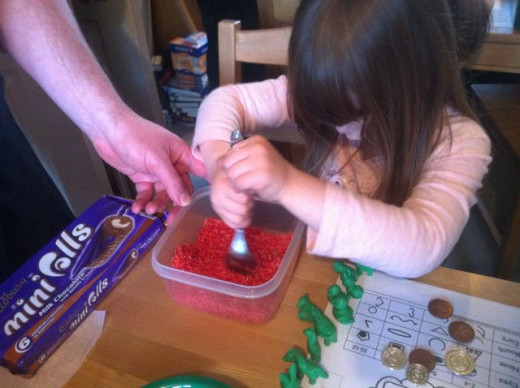
4. Repeat with all of the other colours! If you don't have all the colours you need, you can mix your primary colours to make others. I added two large blobs of yellow and two small blobs of red Wilton gel to make orange, and to make the two shades of purple (violet and indigo) I just used less purple dye in the violet one and added a little ivory as well
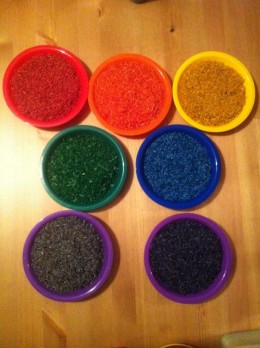
5. Leave to dry overnight.
TIP: To get equal amounts of rice, put them in bowls or, if you want to be really precise, use scales. We just wanted roughly equal amounts so I used our sorting set rainbow bowls for each colour.
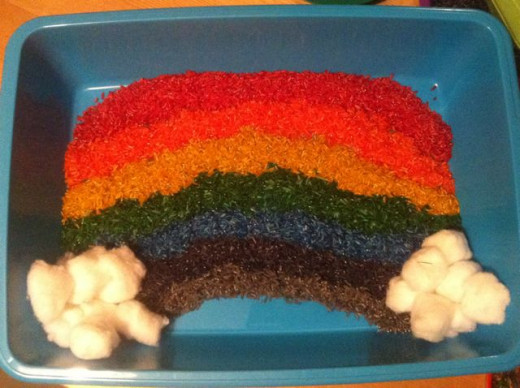
6. Use as you wish! I used some of this batch to make a rainbow sensory tray, as you can see in the picture. There's plenty left over so I'll be using the rest in a sky/weather sensory tray later in the week, and will probably dye some more blue rice for an ocean themed sensory tray, too. When it's all mixed up after Pud has played with it, the whole lot will get put in the tuff spot tray for more sensory fun, before ending up in a discovery bottle for shaking and exploration games!


