Make Your Own Earrings
Summer shores
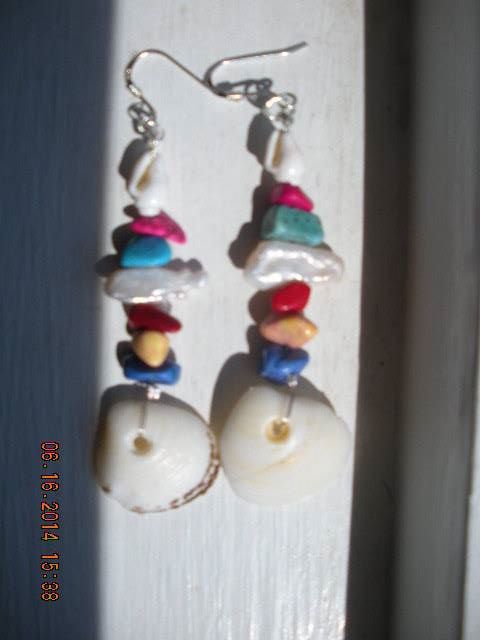
Make your own Affordable Custom earrings!
Have you ever seen a pair of earrings you liked on someone else? Maybe you just wanted something to fit your style better or match an outfit or just something custom without having to pay an extravagant price from the jewelry store.
Here's your chance!
Here I will do my best to show you and explain step-by-step how to make your own earrings.
I will do my best to explain the steps it takes of how I make mine as well as another way.
Supplies
Time required: 1 hour (?) tops even if it's your first time this should take no longer than that)
Cost: Varies
Now there are a couple of different ways earrings can be made. I usually make my dangle variety of earring with head or eye pins. If you want a loop or plan to make a 'flexible' design use wire.
Materials:
- Head or Eye Pins
or
- Crimp beads*
- 32 Gauge Wire (whatever color you want)*
(if you are making loops or spirals and other designs be sure to do that when you have already added your beads
+ you will need
- small jump rings
- Earring hooks (or whatever your preference they do make a post earring with a loop on it so you can make a dangle with it as well)
- variety of beads large & small (see image above)
- 1 -3 styles of spacer beads
Tools:
- crimper tool*
- wire cutter
- round nose plier (or an all in 1 tool with a Wirecutter)
- Flathead plier
- Jump Ring tool (Looks like a ring for your finger)
here's a list I made via Amazon.com Widgets to show you what the items mention look like and included some summer themed beads
Pooka earring
Instructions
1. First Gather your materials. Be sure you have your beads, tools, Head/or eye pins or wire
2. To start if you can draw, draw up a few designs of your beads together as the earring
(if like me you are not able to draw well (or need something to look at to draw it) then we need to wait until Step _5_:
The other option is to arrange the beads to a way you like them and take a photo, then arrange them in another way and take another then whichever version in the photo you like best is the one you follow to make!
Using wire....
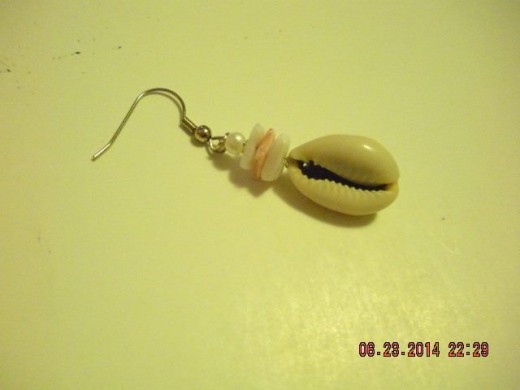
(which I used for the design for the earrings pictured)
3. Depending on how many beads, spacer beads & crystals you are going to use, measure out double the length of what the beads will take, then fold doubling the wire (if it's a thin wire) then add a crimp bead (both sides of the wire need to go through the crimp bead)
or using Eye or head pins
(this is my preferred way)
If using a HEAD pin add the biggest or main bead first. Spacers and crystals in between the beads and whatever else you want on it. Just be sure the head of the pin won't slip through the hole of the bottom bead. If it looks as though it might, try using a seed bead to keep it from slipping through a bigger hole. (also make sure it looks right)
if using an EYE pin then you have to do the opposite. The eye pin is the one the jump ring(or if you do not have any) the 'fish hook' will go through.
4. Use your crimp tool to secure the bead (no need for crimp bead with the pins)
5. now as I noted with Step 1 to draw.. well some of us can do a rough sketch but that doesn't always look well so I also play around with the beads
Do a few different designs (this is easiest when using the eye & head pins) by rearranging the beads & take a picture of each design. usually 2-3
look carefully & you will see the similarity
6. Once you have the desired look you like, add the beads to your preferred design
7. here you add a crimp bead to the top of your design (if using wire, or chord)
8. put down design add your jump ring to your hook
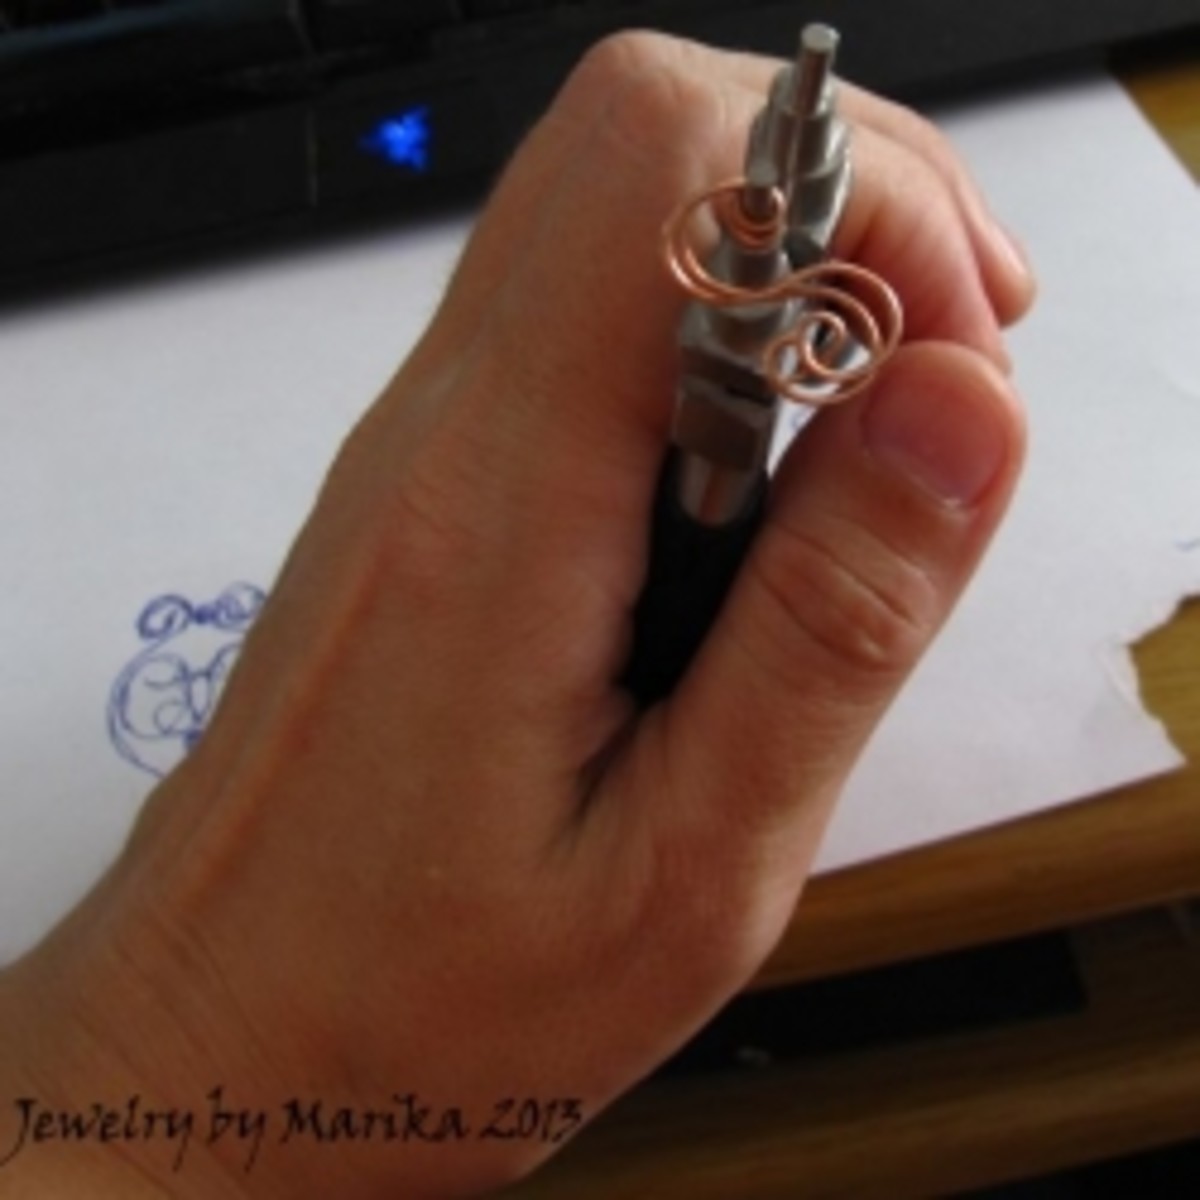
9. now slip the wire through the jump ring (or if using a head pin... you will need to use a rounded plier (or that's what I use) to make the top like an eye pin. (only I wind it around 2-3 times depending on how much is left. sometimes I need to snip off some excess)
using an EYE pin you can do whichever is easier for you, use a crimp bead to stop your beads from falling off, or do like I do with the head pin to put it on the hook & jump ring.
To see what I mean by winding or 'curling' the wire you may be able to see what I mean in the items I have made https://craftercrums.wordpress.com/k3o-jewelry/
10. pull through as far as possible then put the wire through the crimp bead and secure
(this one, in particular, I didn't use a crimp bead, this should show you how to hide How you finished it off
11. cut off the excess wire & you are all done

