How To Make A Palm Box
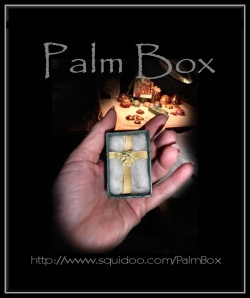
About The Palm Box
The Palm Box is a hand made treasure box that fits in the palm of one's hand. This is an instructional craft page about how to make a palm box with an eggshell mosaic top.
This project is simple, and not very time consuming. Below are the items you will need:
1. Palm from Palm Sunday.
2. Hand full of egg shells for mosaic.
3.. Flat Brush for spreading glue.
4. Paper mache box or recycled box with lid.
5. Mod Podge Gloss-Luster sealer/glue/finish.
6. Sharpie Markers to color box and egg shells.
7. Tweezers to position egg shells on glue.
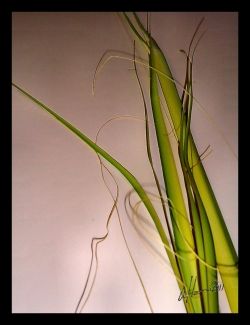
The Palm Box Begins With Palm
Many people make a conscious effort to attend church on Palm Sunday to receive a piece of blessed palm to protect home and family.
Sharing a blessed palm is a heart felt gift. Some people find security carrying a piece of blessed palm with them. Over the years, I've seen palm braided and worn as a bracelet. Some people wear a locket with a piece of palm placed near the photo of their loved one. I've seen palm folded into the shape of a cross and hung on the wall as a work of art, and loosely draped over the steering wheel of a car.
Although blessings are meant to be treasured, they are also meant to be shared. When possible, I try to get a couple extra pieces of blessed palm to share with loved ones who are sick or infirmed.
This year is special in that the blessed palm will be housed in home made Palm Boxes.
The Palm Cross
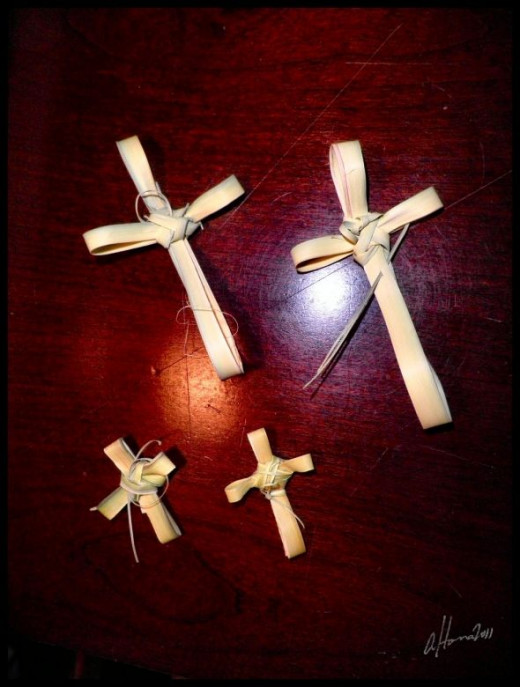
A palm folded into the shape a cross is symbolic of Christ, and Easter. The palm is folded before it dries, otherwise the palm becomes too fragile to fold.
Depending on size, a palm frawn may be broken into more than one piece, and can make more than one cross. There is no precise or exact way to fold a palm into a cross. From what I've seen, everyone does it differently, and each cross is one of a kind.
This is the order in which we will proceed:
1. Fold Palm into cross design in the desired size or size to fit box.
2. Assemble egg shells and color
3. Select box and add color.
4. Line or color the bottom box interior, and finish.
5. Lay out colored egg shells on box top.
6. Set egg shells aside, and coat the box lid with Mod Podge.
7. Lay colored egg shell pieces - largest first into position on glued surface.
8. Continue filling in areas around large pieces with smaller pieces of egg shell.
9. Once pieces are all set into glue and into position, top coat with Mod Podge Gloss-Lustre.
10. After surface is completely dry, repeat process to desired gloss effect.
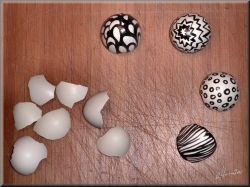
Preparing Egg Shells For Mosaic
NOTE: When working with egg shell mosaics, it is often recommended to remove the membrane attached to the inner shell so the egg shell will set better with the glue.
Once the egg shells are clean, I draw patterns on them with a sharpie marker. Sometimes I color in the designs, other times not. It depends on what design you have in mind.
Palm Box Supplies
For this project, I used a hand full of egg shells in various sizes. (As one who recycles egg shells, I always have some on hand. ) The products herein from Amazon are the same products that I use to make my palm boxes.
Coloring Egg Shells
Permanent Sharpie Markers

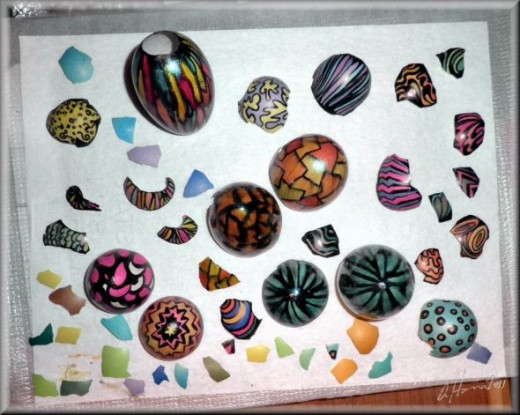
The above photo is how the egg shells look colored. The egg shells shown in this photo are examples of what can be done with a Sharpie marker and a little time. I drew freehand designs on some of the egg shells, and solid colors with others. Water soluble markers and oil based markers work well, dry fast, and save time overall. You can use left over colored shells from Easter eggs, if you wish.
Once the egg shells are colored and the marker is dry, I pull out my trusty clear high-gloss nail polish and lightly varnish over the colored egg shells. This makes the shell a little more sturdy for handling. When using the clear nail polish, brush lightly without scrubbing because the varnish will run the marker colors on the egg shell.
Preparing The Palm Box
Little Paper Mache Boxes

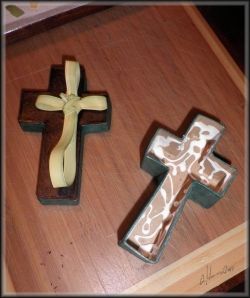
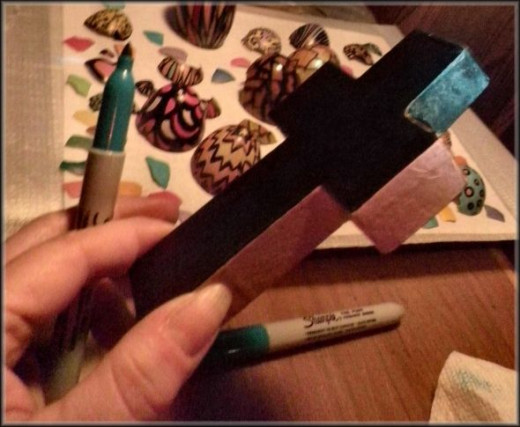
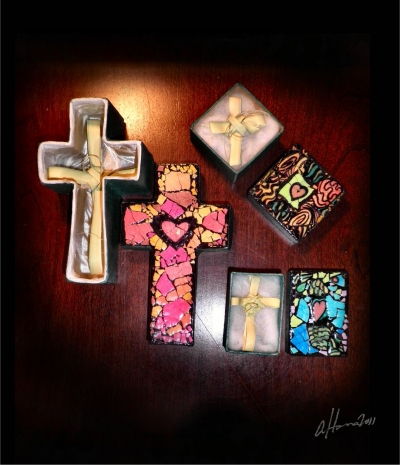
For this particular box, I used an old paper mache box in the shape of a cross. To save time and mess, I used a Sharpie marker to color the exterior of the box. In this particular case, I used a turquoise Sharpie for the exterior of the box top, sides, and bottom. For the top of the cross box top, I used a black Sharpie to enhance the mosaic effect.

Preparing The Box Interior
For the cross box interior, I used Aleen's Tacky Glue and coated the bottom and sides of the interior of the box bottom.
I happened to have a scrap of white satin material, and positioned the cloth, shiny side up, on the glued surface of the box bottom.
With sharp scissors, I trimmed the satin around the edge of the box, and repositioned the fabric corner to corner within the box and let it set.
How To Finish The Box Edge - Bonding The Cloth With The Edge Of The Box
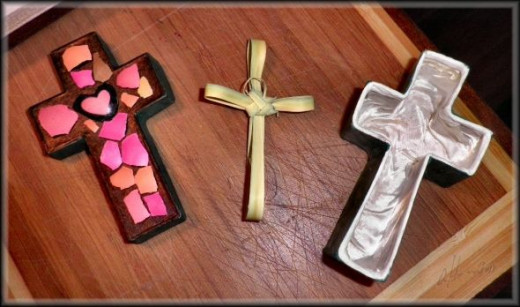
For the top of the palm box, pieces of colored egg shell are laid out to give theme to the box design. Once you've decided on an overall look, remove the pieces and coat the top of the box with ModPodge. Begin wth the larger pieces, and press firmly into position. Do not worry if you crack the shells while pressing them into place, as this will only add to mosaic effect of your design. Let set until dry. ModgePodge goes on looking white, but dries to a clear glaze finish. While the first layer of ModgePodge is drying, I go back to work on finishing the interior edge of the bottom of the box.
Finished seams and edges give a box a clean, crisp appearance. To smooth the frayed cloth edges of the upper edge of the interior box lining, I used scraps of hand made paper cut into 1/4" strips and Aleen's craft glue. The paper strips were measured by leading the strips around the edge of the box, and creased where cuts and folds take place.
Fold paper strips in half and fill the center seam with Aleen's Tacky Glue. From that point, place the paper on the top side edges of the box and wrap down around the inside edge pressing at the center seam. Hand smooth paper to top edge and inside box covering the raw edge of the fabric.
The hand made paper bonds with the fabric, and good to work with. NOTE: Make sure you do not go over the exterior of the box with the edge paper, and only wrap the top edge inside only.
Finishing The Box Top
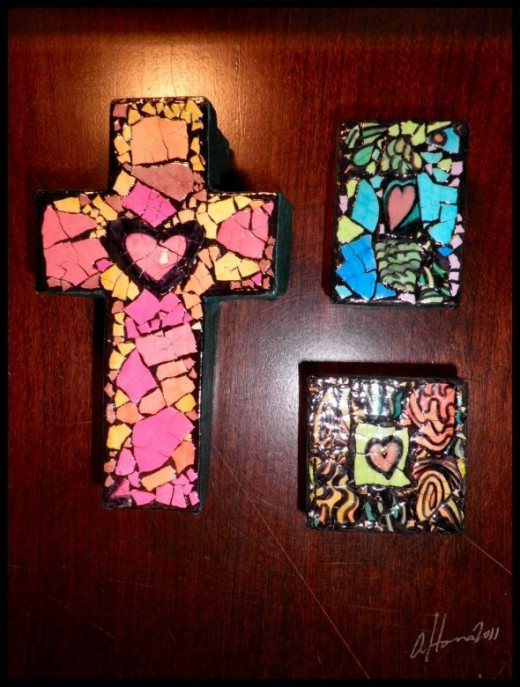
As you can see, the Egg Shell Mosaic Box Top is truly easy to do. Select the colors you wish to use for your box top, place the largest egg shell pieces in position first. Place the first coat of Mod Podge on the top of the box lid. Set the larger colored egg shell pieces into position with tweezers. Press egg shell pieces flat to crack into a crazed position within the glue surface.
Once the box top is filled to the desired pattern and pieces, spread top with first layer of Mod Podge, and let it dry completely. Mod Podge dries fast, so be prepared to reapply as needed. I used three coats of ModPodge to achieve the the look you see on the above boxes.
Quick Little Palm Box
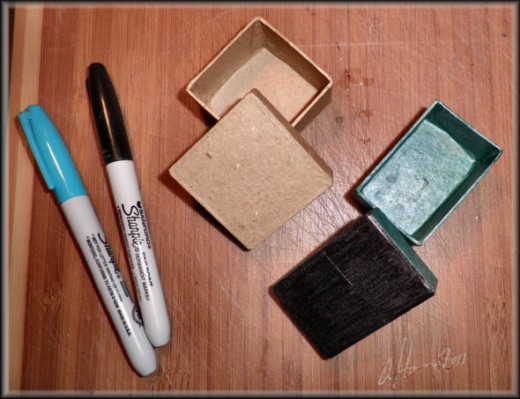
Lining the bottom of the Palm Box is optional, as well as coloring the interior, too. The two Sharpie markers covered the three boxes you see displayed here, and did not go dry.
Egg Shell Mosaic Palm Boxes
Did you know . . .
The Palm Box can be used to hold any treasured possession, and makes a perfect one of a kind gift or jewelry box.
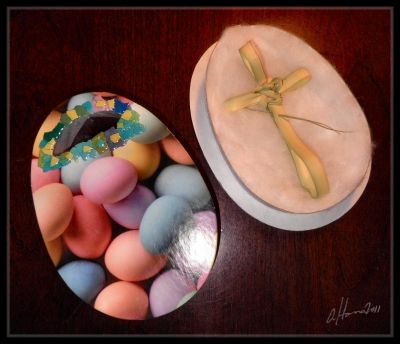
Palm Box Made From Recycled Candy Box
Thank you for stopping by. If you have any comments, tips, or suggestions, you are most welcome to share them here.
© 2011 Tonie Cook
