Photo Editing Software

Taking Your Images to The Next Level
Taking good pictures can be challenging and fun but once you start using image editing software you will realize that taking the picture was just the start of the fun. With good image processing software you can correct errors, eliminate unwanted elements, add elements or turn your photograph into a dramatic work of art. Post processing (PP) is the term used for processing an image in software outside of the camera. Today, you can accomplish amazing things with post processing in your digital darkroom.
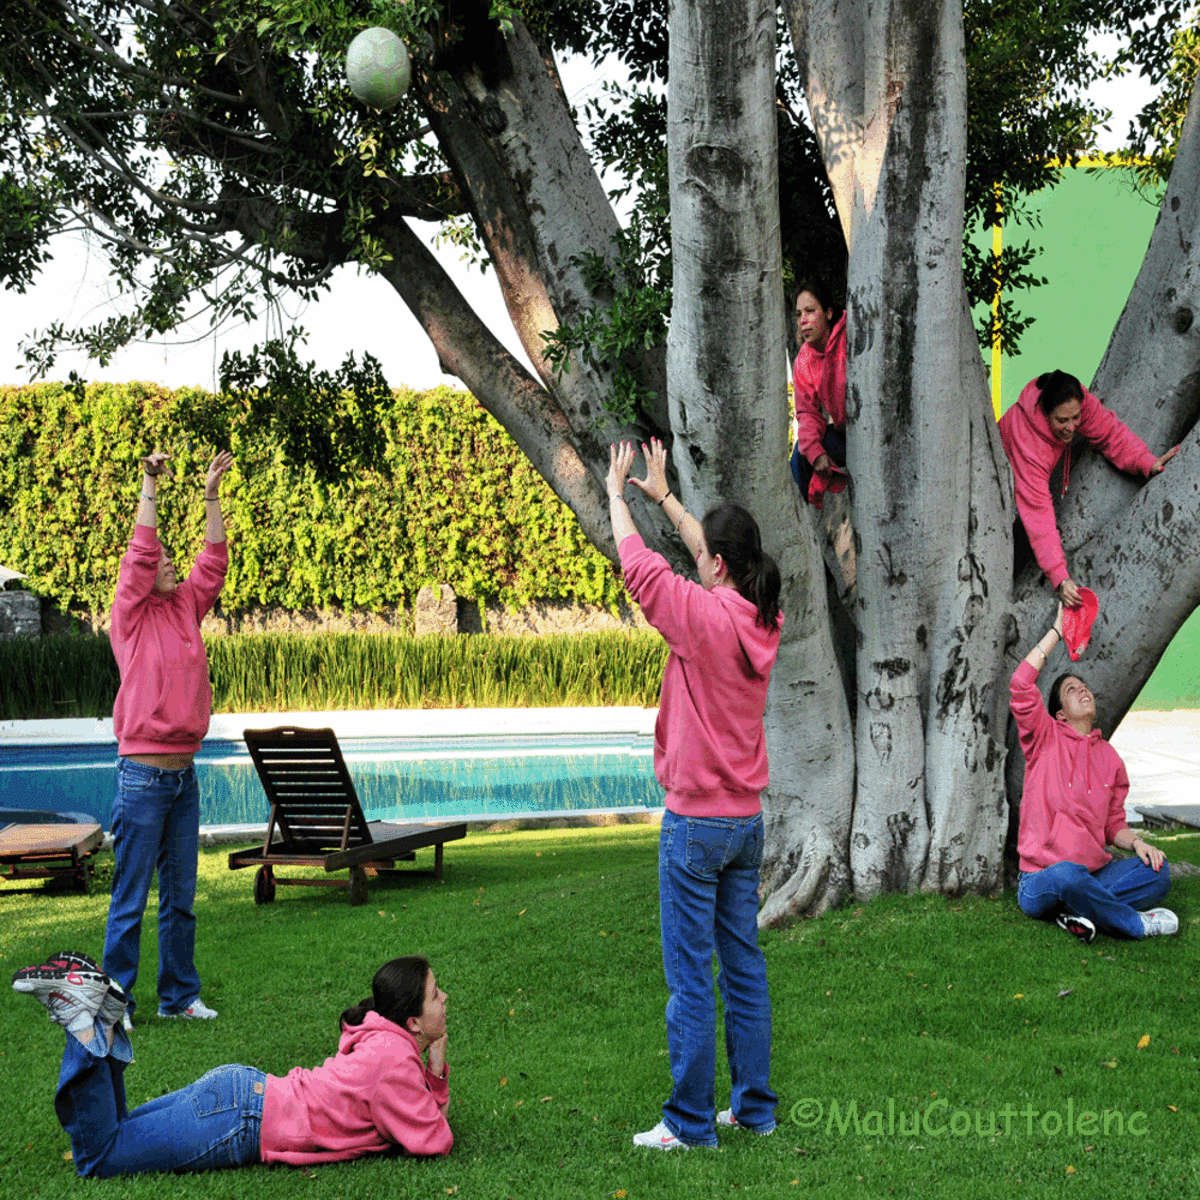
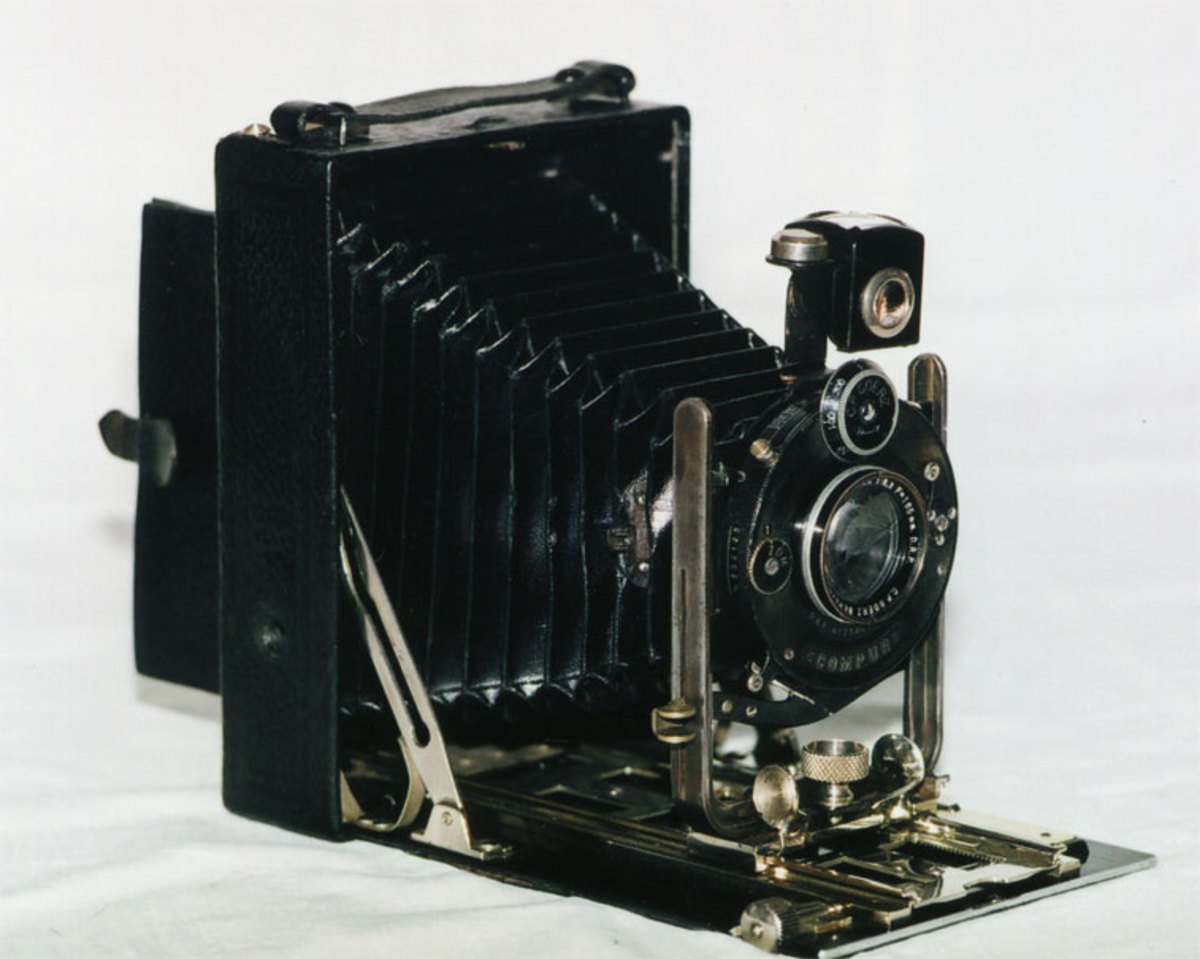
The image above is a collage created by combining four separate images into one in post processing.
In college I did some darkroom work and later during my working career I did some more darkroom work and even had some of my images published in law enforcement publications. However, this darkroom work required special rooms where light could be controlled, a water supply, special equipment and chemicals and a lot of things I couldn't afford for my own photography. For years I wished I could afford a darkroom, then along came digital photography and with it, some amazing image processing applications. Today I can do far more in my digital darkroom than I could ever have accomplished in a physical darkroom. Best of all, I don't need all the chemicals and equipment, just my computer.
In this article I'll be illustrating and talking about some of my favorite image editing or PP software.
All photographs are my own.
Why Should I Use Image Editing Software?
You probably won't be surprised to find that different photographers have different philosophies or views about what makes a good picture. Some photographers insist that only film gives an image that "special" look and they refuse to go digital. While there may be some applications where film is still the best medium, I think that for most photographers, film is a thing of the past. Digital quality can match film quality in most applications and most professional photographers today are using digital cameras.
Some digital photographers insist that an image shouldn't be tampered with when it comes out of the camera. Some will allow for a little adjusting in post processing but with a very light touch. These photographers are in the SOOC school. SOOC stands for Straight Out Of the Camera. They say if you adjust the camera properly for your shot you shouldn't have to tamper with it once it comes out of the camera.
I agree with the SOOC school in that a photographer should use their camera to take the best possible image but I don't agree that the processing must or should stop there. Some images are best left alone as they came out of the camera but with today's post processing capabilities, the technically good SOOC image can be the starting place for an artist's eye. After all, today's digital cameras are computer driven and do a lot of processing inside the camera at the time the picture is taken, why should the image processing stop there if you can improve on it or take it to another level outside the camera? Of course it's possible to over-process an image and turn a decent image in to trash. Some images profit from heavy handed post processing and some are best with little or no post processing. You, as the artist, must determine how best to present each image because each image is unique and you know what look or feel you want your image to present..
You don't need image processing software if you are happy with the images as they come out of your camera and aren't interested in taking them to another level. If you just take pictures to document people, places or things and don't care how they look as long as they are good basic shots and you don't want to spend extra time enhancing the images, you probably don't need post processing software. If you just want a picture of aunt Millie with her dog Spike you may not need post processing software, however, if you want to make it a portrait to remember or if you want to switch heads with Millie and Spike, you are going to need post processing software. In summary I would say post processing software is for people who enjoy photography and want to take their images to another level or to create a work of art. It's just about a necessity for professional photographers.
What About Image File Type and Size
I apologize for this slight detour from image processing software but I think I should say something about image file size and type. When I take a picture I try to get the composition and camera setting correct for the subject I'm shooting and with the end result I have in mind. I often shoot in MANUAL mode so that I can control everything but I sometimes select an ISO and shoot in a program mode that allows me to set the aperture or shutter speed and let the camera made the other adjustments.
Most point-and-shoot (PAS) cameras will produce a JPEG image when you take a photograph. That's OK for most people because a JPEG image file is easily shared by email or on the web. It's a very common image file format. Most cameras will also allow you to select the image file size. You can select a smaller image file size so you can get more images on your memory card or you can select a large image file size to get more resolution but fewer images on your memory card. Unless you have a specific reason to shoot smaller image file sizes, I RECOMMEND YOU ALWAYS SET YOUR CAMERA TO CREATE THE LARGEST IMAGE FILE SIZE YOUR CAMERA OFFERS. If you set your camera to make small image files, the camera takes the picture at full resolution and then proceeds to throw away pixels to make the file size smaller. Now, if you happen to have just taken the once in a lifetime shot as a UFO lands on your lawn and vaporizes the neighbor's dog, and you have told your camera to throw away pixels so you have a smaller image file size that takes up less room on your computer, you have just shot yourself in the foot. The smaller image file will lack resolution and have limited capability for enlargement. I say shoot large and reduce image file size later if you must. Buy more memory cards rather than shoot at reduced resolution.
I don't set my camera to take JPEG images; I tell my camera to create RAW image files. A RAW image file is something like a digital negative. When shooting RAW images, the camera doesn't make any decisions for you, it keeps all the data captured by the image sensor. If you shoot with the camera programmed to take a JPEG file the camera will look at your settings and throw everything away it doesn't think you want in order to give you a smaller JPEG file. The RAW image file is much larger than a JPEG file but it is much more flexible when it comes to editing or adjusting your image. For instance, if you have your camera set to create JPEG image files and you are shooting indoors under tungsten light and forgot to set your white balance to the tungsten setting, your images will turn out quite orange. We've all seen these yellow-orange pictures taken inside under tungsten lighting. Our God-given brains compensate when we are in tungsten lighting and we see white objects as white but the camera doesn't have our brain and captures what's there and tungsten lighting is much warmer (toward red) than daylight so indoor pictures under tungsten light look yellow or orange. With post processing you can color correct the JPEG image to try to give a yellow-orange photo under tungsten light a more natural look but it's very difficult to get it just right. However, if you have a RAW image file, you can adjust the white balance after the fact because nothing has been thrown away, no decisions have been made for you. RAW image files have more information, greater dynamic range and a lot of advantages over JPEG files so I ALWAYS shoot RAW.
RAW image files are quite large and take up more room in your camera and computer memory but they are your digital negative and, if you are a serious photographer, you will want the best negative possible and you will want to keep your negative. However, in order to be printed or shared, a RAW image file must be converted to a JPEG or TIFF image file. This is an extra step and takes extra time so some photographers avoid this extra step by shooting JPEG. Most JPEG files taken by today's cameras are quite good so you will only shoot RAW image files if you want to give yourself an extra edge and you are willing to take the time to process the RAW files into TIFF or JPEG.
I should point out that JPEG image files have a drawback in that they are "lossey" image files. They tend to loose a little bit of data each time they are saved so if you think you might be processing and saving an image many time you might want to save it as a TIFF image file. A TIFF image file is much larger than a JPEG file but it doesn't lose data and resolution when saved. Most of the time a JPEG file is just fine, it looks good and can be saved a few times without noticeable deterioration. However, if I have a special image, I tend to save it as a TIFF until I'm through playing with it.
Follow Me as I Process an Image
I don't pretend to be an expert in all or even a wide variety of image processing software applications but I can talk about what I use and how I use it so you can begin to get an idea about what you might like to acquire.
After I've taken a photograph I have a RAW image file in my camera. I load this image file onto my computer and now I need to convert it to a JPEG or TIFF image file. If your camera allows you to shoot RAW image files it probably came with a software progam that allows you to process and convert your RAW image file into a JPEG or TIFF. For years I used Canon's software that came with my camera. Many other image processing programs such as Photoshop or Paint Shop Pro allow you to process and convert RAW image files.
These days I use Adobe Photoshop LIGHTROOM to process and convert my RAW images files. Lightroom is a powerful image processing application that facilitates cataloging, storing, accessing and processing image files. I have Lightroom 3 and can heartily recommend it but, as with any post processing software, there's a learning curve. Often I find an image needs no further processing after I have processed and converted to JPEG or TIFF from Lightroom. Lightroom includes a wide variety of powerful tools for editing and adjusting images and, of course, it works in concert with Photoshop which is generally considered the gold standard of image processing. Typically when processing a RAW image file through Lightroom I will check color balance, exposure and contrast, remove unwanted spots, check any crop and straightening needs, reduce noise, sharpen, consider vibrance and saturation adjustments make targeted exposure adjustments and then forward the image to Photoshop as a TIFF or JPEG image for any further adjustments I may want to make.
I currently have Photoshop CS6 and I can heartily recommend it. It's not cheap and it's difficult to learn but it is a powerful tool and will allow you to do wonderful things with your images and beyond. Photoshop is often called the gold standard of image processing and after using it for a few years I've only scratched the surface of what it has to offer. I've said it before, in photography the learning never stops. Photoshop has less expensive versions than the CS (Creative Suite) version. With a limited budget you may want to look at them.
You will find many on-line helps and resources for Photoshop so NAPP is not your only resource, although in my opinion it's the best resource. Just prepare yourself for a huge learning curve with Photoshop. Don't panic, play around the edges and learn bit by bit because knowledge builds on knowledge and soon you will be amazed at what you can do.
In addition to all the things that can be done with Photoshop, the program serves as a platform for other image processing software that can operate within Photoshop. These secondary programs are called PLUG-INS because they plug into Photoshop and operate on top of the Photoshop software. Some of these plug-ins can do wonderful things.
My favorite Photoshop plug-in is TOPAZ. Topaz has a variety of image processing applications and I have acquired and use most of them. They are quite reasonably priced and you can get a substantial discount if you buy them as a suite. Topaz is constantly upgrading and improving their products and the upgrades are free. I recommend you check out the Topaz line here and decide which applications will meet your needs and interests.
While I use Topaz products on most of my images, the adjustments are typically subtle. However, I love to take some images to the next level with a painterly look. There's a gallery on my website that features painterly images that I have created using various Topaz products. I've set it up as a slideshow and you can check it out here.
But Wait, There's More!
I can't leave my discussion of image editing software without talking about Corel's Paint Shop Pro. Paint Shop Pro (PSP) was my first photo editing software and I still use it and keep my versions up to date, even after acquiring Photoshop. It is very powerful software and quite reasonably priced. If you can't afford Photoshop then I heartily recommend Corel's Paint Shop Pro. While there is a significant learning curve with PSP, as with any image processing software, you will find it a bit more intuitive than Photoshop and there are lots of tutorial resources on the web. You can use the Topaz and many other plug-ins with PSP so be sure to check it out.
I also use a stand-alone noise reduction software program that is very good. It's called Noiseware and it's produced by Imagenomics. When I bought it I didn't have Photoshop so I bought the standalone version. If you're a Photoshop user, there's a plug-in version. Topaz, Lightroom, Photoshop and Paint Shop Pro all have noise reduction capability but I still use Imagenomics Noiseware on occasion.
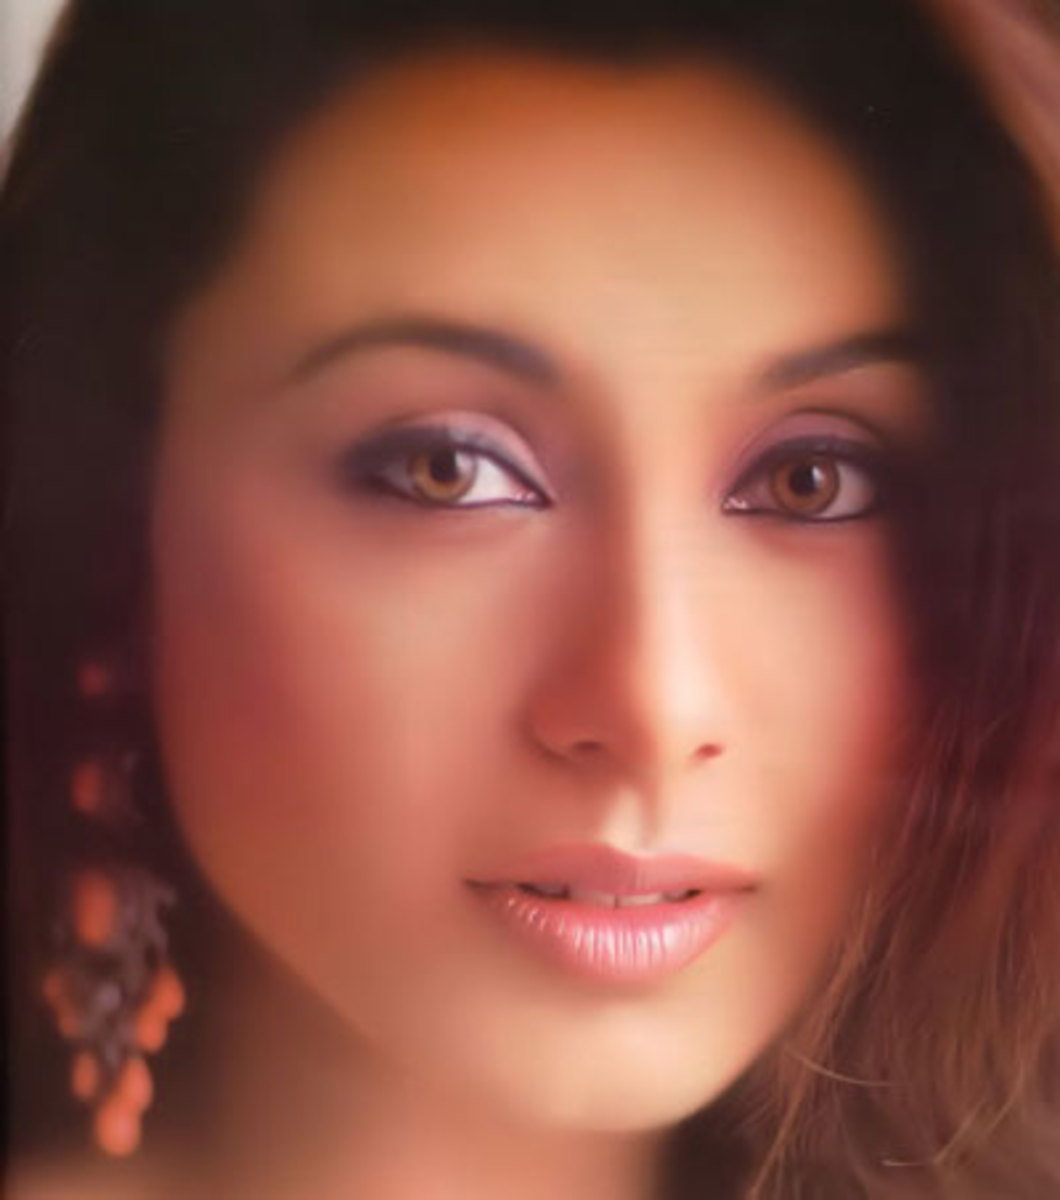
One more image processing software that I would like to mention here is Portrait Professional. I don't do a lot of portrait photography but this software is VERY helpful if you want to produce a great portrait. It's used by many professionals but it's quite helpful for those of us who don't do a lot of portraiture. You can check it out here.
There's another software program that I use for high dynamic range (HDR) photography but that's a subject that deserves its own Hub and you can read about it in another of my Hubs.
My Fine Art Photography Website
I have a fine art photography website where you can view my diverse photographic interests. I have a gallery dedicated to vintage vehicles and buildings, galleries for landscapes, waterfalls, birds, wildlife, painterly photography and a variety of other specialized subjects. Mount Shasta and various northern California scenes are prominent in many of my galleries. Most of the galleries have background music if you play them as a slideshow. This allows you to kick back and listen to the music as the images flow by. Whether you are looking for some interesting images or looking to purchase some photographic art, I think you will enjoy your visit to Chuck Nelson Photography.

