The Best PicMonkey Photo Editing Tricks : How To Remove A Background


How To Remove The Background Of Any Photo Using PicMonkey
The holidays are over and it is time to settle in for the rest of the winter. Why not take some of your old pictures and give them new life while you wait for the nice weather to arrive.
PicMonkey is an online photo editing website that is easy for anyone to use. You do not need any photoshop skills to use PicMonkey , but there are some tricks to use.
Isolating an object in a photo is easy once you have done it once or twice. Here is a step by step tutorial how to do it. You will need to be a member of Picmonkey.com. They offer a free trial so you can play with it before you decide to join. To become an advanced member is only $4.99 a month and you can join month to month instead of paying for a year in advance.
It has been a while since I used the free account they off during the trial period so I am not sure what features they include. This trick involves using adding layers.
Photo Credit : Picmonkey.com
Step One, Choose A Color Background - You can use a solid background or another photo
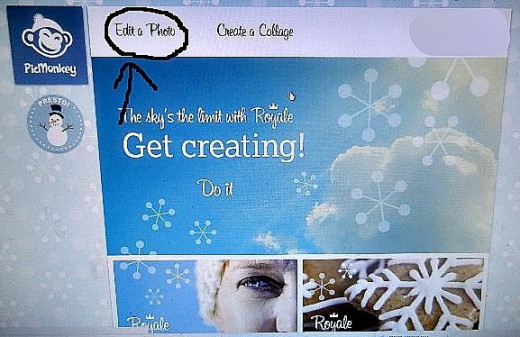
You will need to create a background. This is easy and you can use any photo or color. Start with Edit A Photo and bring up any photo in your computer. You will change the name of the file so the original picture is not touched at the end.
I used a fairly large photo. On the left hand side choose "Effects" and scroll down to "Color". Once you bring up the effect color you can choose which ever color you want. If your isolating a product you should probably use white or black as that will not distract the eye while looking at the object. Now bring the color to the photo and increase the brush size. Color in the entire thing with the color you are choosing.
Once the entire photo is colored in push save and rename the file. Save to where ever you want to put it in your file system. I have a folder with backgrounds and have made many colors.
Photo Credit : www.Rockinpicks.com
Create Your Background Using Any Photo - You will be coloring over the photo
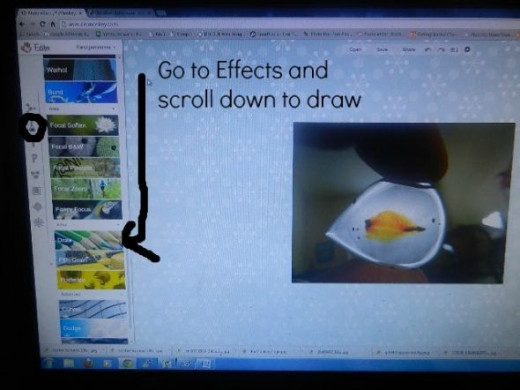
Photo Credit : www.Rockinpicks.com
Photo of a half colored background
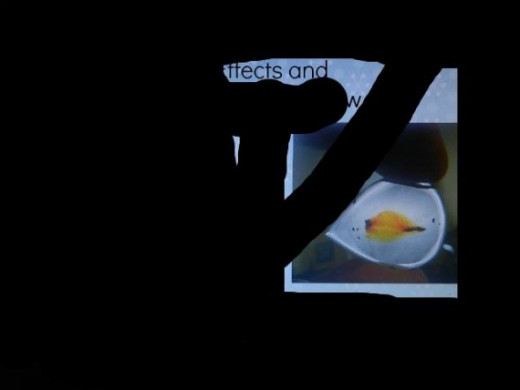
Photo Credit : www.Rockinpicks.com
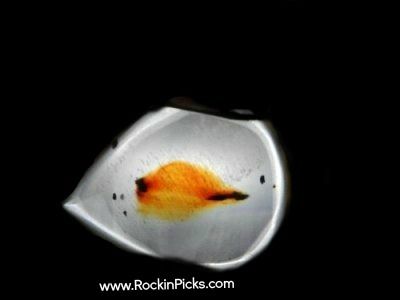
Step 2, Bring Up The Object To Be Isolated - Both the background and isolation photo can be seen in the picture with the background faded to 50%
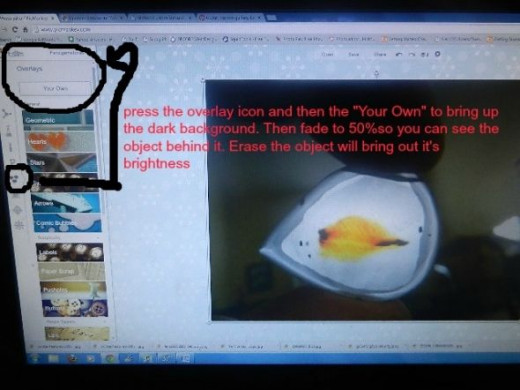
Now start from a clean slate. Bring up the photo that contains the object you want to isolate. I usually enlarge it a little so I get a good work site. Look to the left and find the overlay icon. It's the one with the 3 talk bubbles. Push it and at the very top you will see an icon that says "Your Own". Push that and it will take you into your computer files. Find the background and push bring it up. It will come up very small, but on top of the object photo. This must be on top for this trick to work properly.
Enlarge the background so it covers the entire photo. Don't worry if it goes past the edges. It won't make a difference in the end.
Photo Credit : www.Rockinpicks.com
Step 3, Fade Out The Background
On the right hand side is a work box. Use the fade button to fade out the background color to 30-50 percent. Which ever your most comfortable with. You should be able to see the object though the background. Now use the eraser button and erase the object. This will brighten the object and not make it disappear. Go close to the edge without crossing over it.
Step 4, Erase The Edges
In the work box you will see two topics. One says basic and the other erase. Switch to basic and bring the brush hardness down to 20-30. Which ever you are comfortable with. This will fade the erase brush and allow you to erase the background without creating harsh brush lines.
Once you are happy with the way everything is cut out switch back into "Basic" and bring the fade to zero. Your background will come back and be solid while your object remains. Hit hit the button on top that combines your layers, push save, rename the file and you're done.
Photo Credit : www.Rockinpicks.com
Extra Tips : What You Can Do Next
1. Once you mastered how to remove the background you can go further with it. Use the photo you just isolated and repeat the steps using another object. This will add more than one object to the page. Have fun with it. Create a fish climbing a mountain in a goldfish bowl. Your only limited by your imagination.
2. For more editing options or to add more than one working layer right click the mouse. You won't get a layers box like photoshop but you can find your layers by left clicking on the photo. A box will come up around your working layer. Once you practice you can find things with no problems.
3. Save often. Your working with an internet program. If there is a hickup you can lose your work easily.
How To Make Objects Glow With PicMonkey

Create Group Pictures With Picmonkey
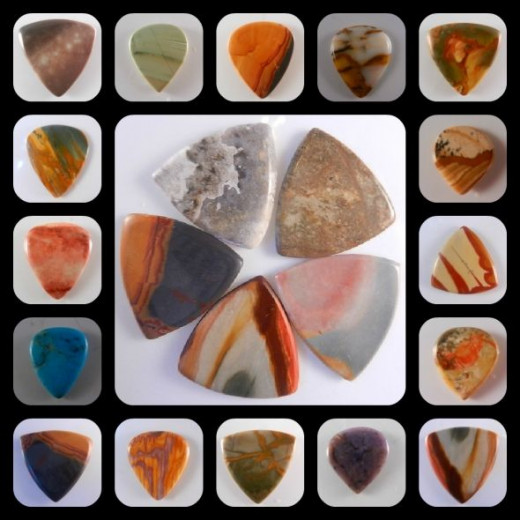
Photo Credit : www.Rockinpicks.com
Related

Easy Photo Editing - 8 Free Sites and Examples

Photo Editing: How to Turn a Picture into a Coloring Page Using Picnik Free Photo Editor: Make Your Own Coloring Book

How to Fade Stubborn Bright Blue Hair so You Can Dye It Again

Turn an Image Black & White Except for One Area in Photoshop

GIMP Tutorial: Simple Photo Editing for the Complete Idiot


