Pottery Clay: How to Make Pottery
How to Make Pottery
Making pottery is a craft, an art form and a hobby - it can be also done as a form of making an income. Another name for it is Ceramics. Pottery clay is worked with the hands; there are different methods of working clay such as coil pottery, pinch pottery, using slabs and working on a pottery wheel or 'throwing'. Various tools can be used to cut the clay and make decorative markings.
I took pottery lessons some years ago and learned how to make various shaped pots like bowls, mugs, jugs and decorative works. I like the feel of clay on my hands, shaping and moulding it into something to be admired as a finished product.
It is probably best to take some lessons if you can, but reading and learning about the basics is good preparation for when you start making pottery.
Also, think beforehand about what you want to make; what size, shape and colour, and what use it will serve as a finished product; as an ornament or as something functional like a cup, jug, plate or eating bowl.
Perhaps start with something simple like a bowl that could be used for keeping sugar in, or even to keep as an ornament. Enjoy making works of art with pottery clay.
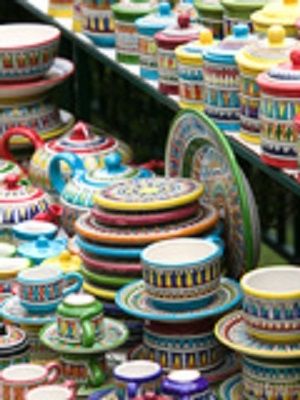
Some Colourful Italian Pots
Getting Started
Well known types of pottery clay are Earthenware (the red one is terracotta and there is a white one), Porcelain, Stoneware and Bone China. Clay can be found in the earth but mostly clay that can be purchased is used. The two clays are powdered and liquid clay. The powdered one must be mixed.
Clay has to be prepared first to get all the air bubbles out of it. When I took lessons we used to cut the clay into a size that we needed for whatever we were going to make; it was cut into a square shape. We then bashed each side of the square clay on to a table to remove particles and air.
Coil Pottery
Coils are made by rolling clay out on a flat surface making them into long coils. I started my pottery lessons making a couple of coil pots. A base is made by curling a coil around and pushing it together so there are no spaces in the base of the pot. Then more coils are added on top of the base, joining them together by pressing the two ends together. A little water or slip (watered-down clay) may be needed to soften the clay when joining pieces together and when putting coils on top of one another.
Pinching (Pinch Pottery)
This involves squeezing clay to shape it so that a form you have in mind emerges. It is good practise in getting a feel for clay and you can make different shapes using this method. I once made a face of an old man out of modelling clay; make some bowls and other items using this method.
Slab Making
Use this method for making objects with flat sides such as square and rectangular shapes. It can be used to make round or oval shapes as well but is more suited to making boxes. I made a post box using this method and secured it to the gatepost of the house I was living in.
To make a square box first roll some pieces of clay flat with a rolling pin; make them an even thickness. Guides can be used to accomplish this. When I knew I was going to use a few different pieces of clay to make something, I would cut the required amount of pieces from the main lump of clay and roll them into balls of clay which I then worked individually.
However, first prepare your main lump by throwing it down on each side a number of times, on to a flat surface to get all the particles and air out. This throwing should be done at a short distance from your flat surface.
When making a box, cut the prepared pieces with a pottery knife into square shapes; then join them together using a watered-down clay mixture called slip. Remember to make a square for the lid if you're going to have one.
'Throwing', Using a Pottery Wheel
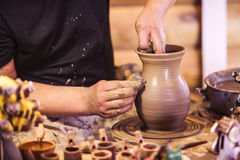
It took me quite a while to start on a pottery wheel and to learn how to do it properly. Start right away on the wheel if you want to; I enjoy this method of making pottery more than any other.
Electric pottery wheels are used today, but a Kick wheel which is manually operated can be used. Place a lump of round clay on the wheel and with the wheel running, centre it. Then mould the clay by opening up the centre of the clay with one hand; at the same time bringing the walls up; shaping it with the other hand on the outside of the pot that is emerging.
Naturally, working on a pottery wheel takes time and practice to perfect the art; keep practising until you get it right. Use both hands to shape the pot, one on the inside and the other on the outside. Many different sizes and shapes of pots can be made using the 'throwing method'; you'll be pleasantly surprised at what you can create if you learn how to 'throw' properly.
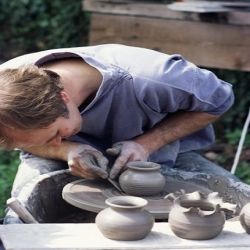
Using Both Hands to Shape the Clay
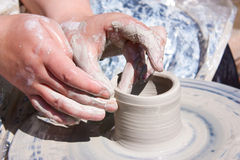
Both hands can be used to work and shape a pot as illustrated in the photo here.
Completing Your Work Before Firing It
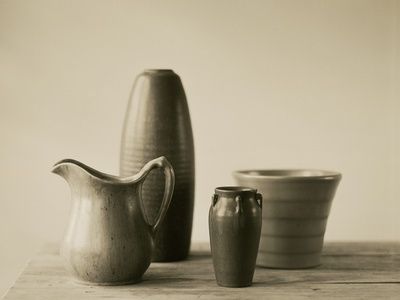
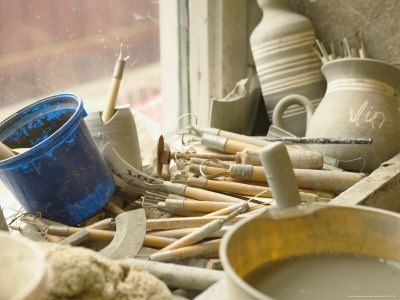
When you're satisfied with what you've made, put your pot in a safe place to dry for about three weeks; it must be 'leather hard' but not 'bone dry'. To make the base of the pot attractive turn it upside down so that you can work it on the wheel using pottery tools.
Decoration of your pots can be done at various stages including when it is dry. When initially making a pot build shapes into its design to create a pattern. Scraffito is a method of scraping a pattern with a sharp stick or pottery tool, into the clay's surface.
Decorate your work with a pattern by painting slip onto a dry pot before firing it.
Glazing and Firing
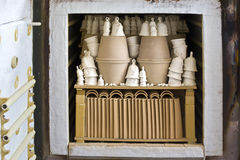
Glazing & Firing
Bisque Firing
This is firing your completed pots in a kiln before glazing. Pottery classes usually make provision for all your potting requirements including having your work fired in a kiln. Electric kilns are often used but there are other ones such as wood-fired kilns.
The temperature used in bisque firing is 800 to 850 degrees and is done for 12 hours. Allow the temperature to drop and remove the pottery 48 hours after the temperature has cooled completely.
Pottery shrinks when it is fired and can crack if heated too quickly: it must be fired slowly.
Glazing
Next you must paint your pottery with glaze, make patterns with colours other than the base glaze. There are a number of different glazes available; view completed glazed pots first if you can, to get an idea of their colours. Different glazing methods are painting, pouring and dipping. I used the dipping method mostly.
Glaze Firing
In glaze firing pottery is re-heated to melt the glaze and seal the pots. The finished products take on the properties of the glaze (they have a glazed look) and they become non-porous. Admire your finished products, use them at home, as gifts or even sell them. Quite a lot of my gifts to family were pottery items that I'd made.
There are other methods of firing such as; Salt Glazing and Firing, Smoke Firing, Crystal Firing, and Raku Firing. Some amazing effects can be created with Raku Firing.
Moulds can also be using in making pots but I have never used this method myself.
If you're keen to start with pottery, remember to enjoy the process while learning it, and when you are proficient in it. Ceramics or Pottery is a rewarding pastime. Happy Potting!


