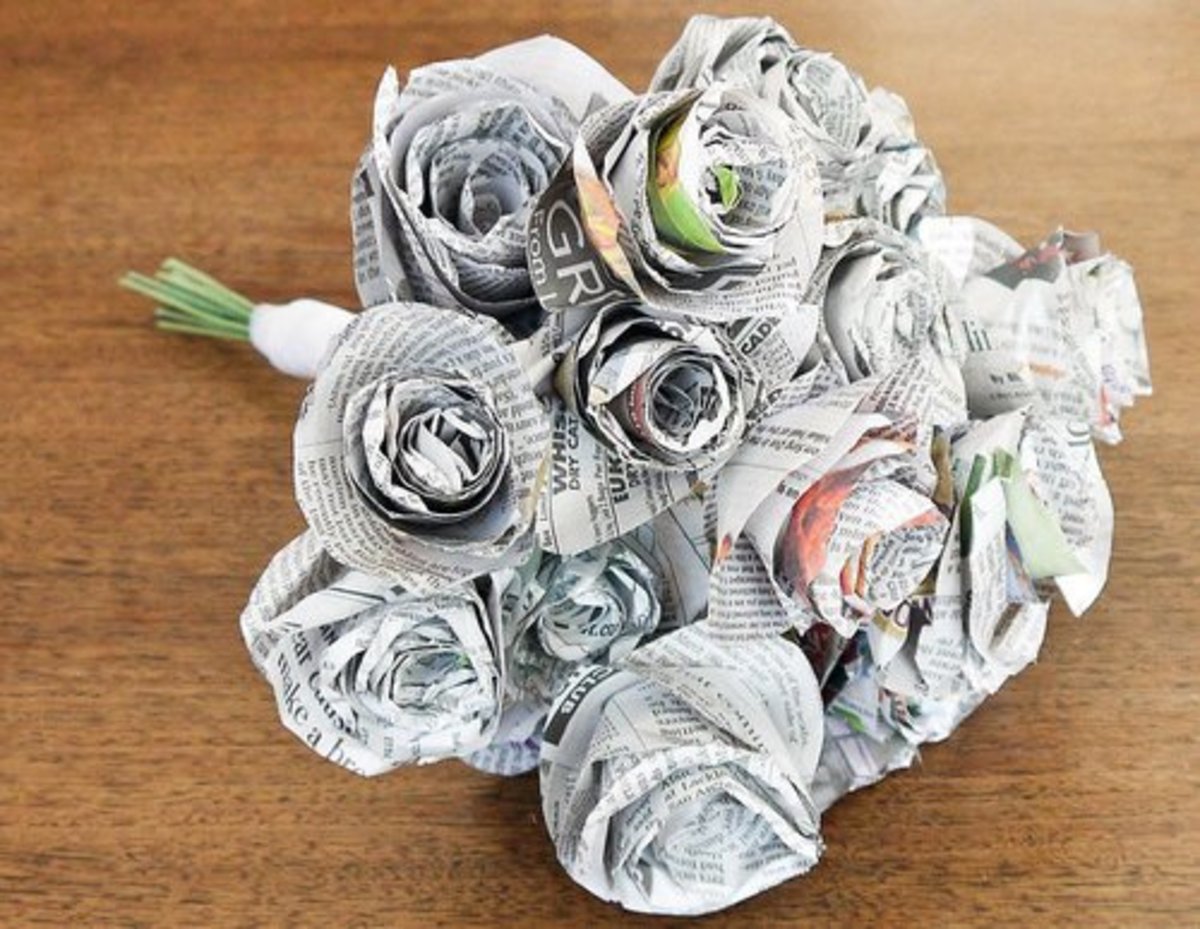
Using Newspaper, Hot glue and your imagination you can get creative!


Antiques? One can only hope
Lately I’ve been on craft overload, everything I look at I see the possibility of ‘more’. My husband and I were having a conversation the other day regarding antiques and things of value. I was a bit depressed when I thought of all the ‘stuff’ I have been making might never see a value, other than what I rate it as. Then I had a thought (Lord help us!!!) what if say in 100 years or so (ok, now I’m really thinking ahead) this depression/recession or whatever you want to call it becomes a distant nightmare that we’ve managed to pull through and those ‘things’ we’ve created become ‘of value’ to those we’ve bequeathed them to? It happened in WWII right? Women and men got creative, they made do with what they had and made somethin’ out of nothin’, or at least very little and now it’s worth small fortunes.
When we are a flush society we do an awful lot of buying and throwing away. In today’s difficult times we are learning to make do with what we have, and in some cases going above and beyond that to creating usable and sellable goods from items that under normal circumstances would be discarded.
Just look around, you never know what projects are lurking.
Before we get started on our creation let me give you a task; the next time you wander around the store, making your purchases, look at what you are buying. Before laying out your hard earned cash ask yourself “Is this a one-time purchase?” “Is there anything here that I can reuse?” “Will I be able to use this for something other than what I have purchased it for?” If you answer is Yes, a one-time purchase or no, nothing I can reuse and I can only use this for what it is intended, you may want to either re-consider your purchase or pick up the identical item in different packaging. I’ve begun to see shopping in a whole different light since I began recycling, upcycling and reusing.
Basics
What you will need for this project:
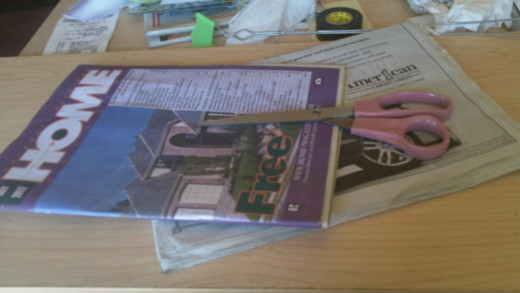
Newspapers, magazines, shoppers, home buyers guide, Auto trader or just plain old junk mail that you’ve been saving for a rainy day! A good sized pile should do (For my project I used 1 shopper and 1 home buyers guide)
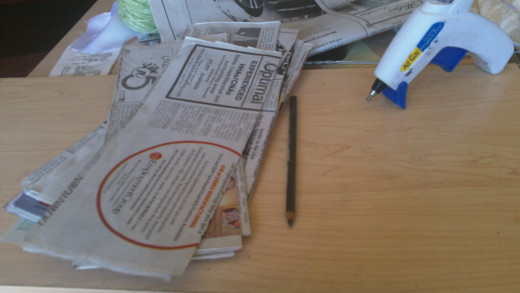
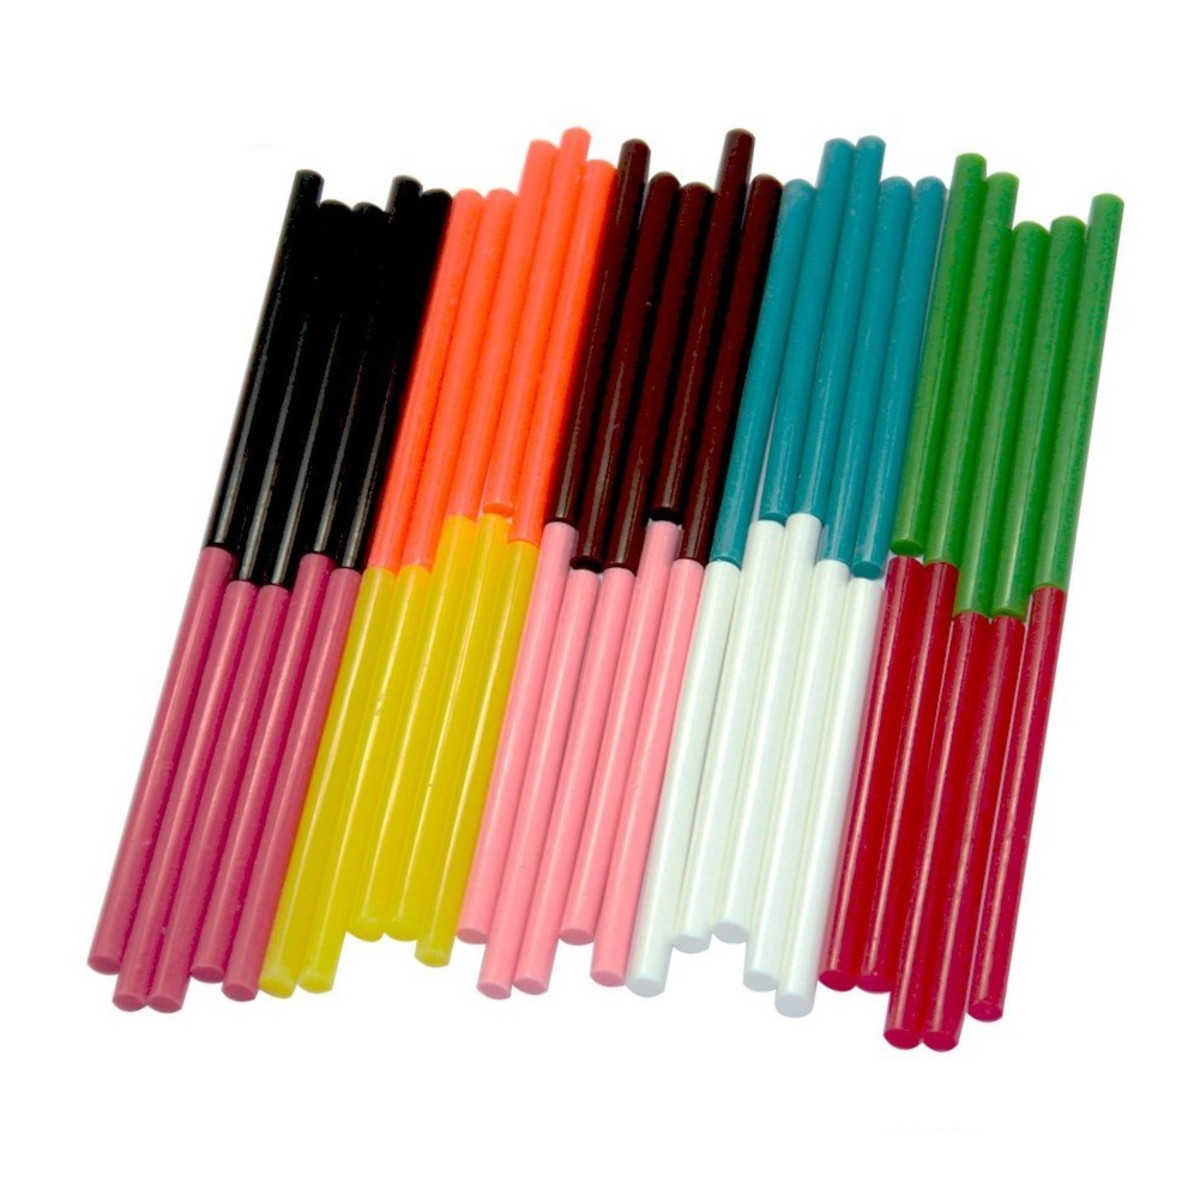
High temp hot glue gun – glue sticks and lots of them! (about 20 – 30) I’ve found that high temp works best for this project.
Scissors
Cylindrical items such as pencil, lipstick tube, glue stick, large crayon items that increase in size.
Check your cupboards - You might have it!
Extras: (Only if you have these hanging around waiting to be used)
Acrylic paint (craft paint)
Mod Podge – Collage Pauge (with sparkles for me please!)
Piece of card board
Popsicle sticks
ZipLock Freezer bag or two (gently used is fine! Washed and dried of course)
Bandaids (cause if you’re anything like me you’re gonna need them!! Burned fingers are Owie!!)
Getting started
Get yourself all set up and get comfy because this is not a 'get it over in a minute project', it will take some time. We are gonna get those creative juices flowing!!
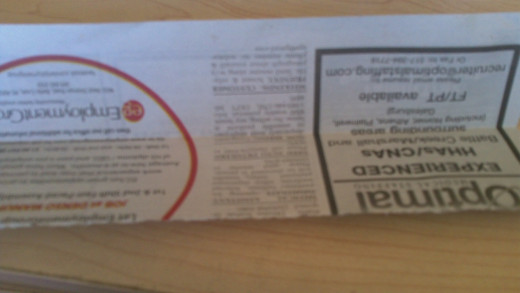
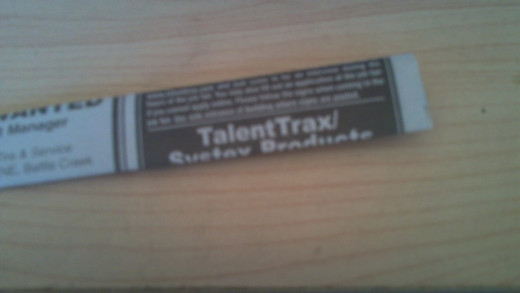
Let’s get started cutting paper! Take the staples out of the shoppers or Home buyers guide first and discard them (or if you have an idea for another project, save it). Out of each home buyers guide I got 4 strips per full page/ 2 per half. For the Shopper I got 3 strips per half page. My strips were about 4 inches wide. I folded them in half, then half again and in half one more time, so I ended up with ½ inch strips.
Plug that glue gun in!
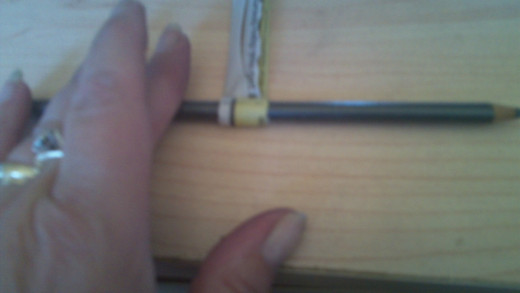
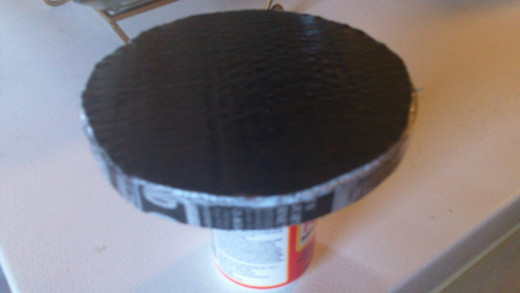
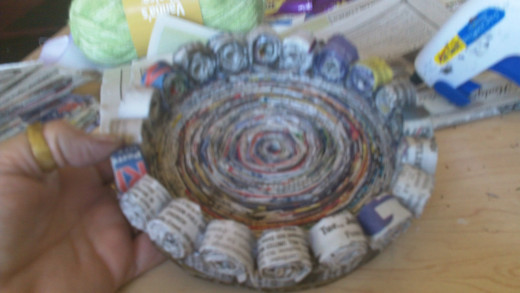
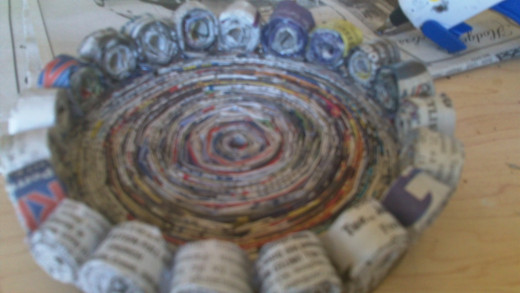
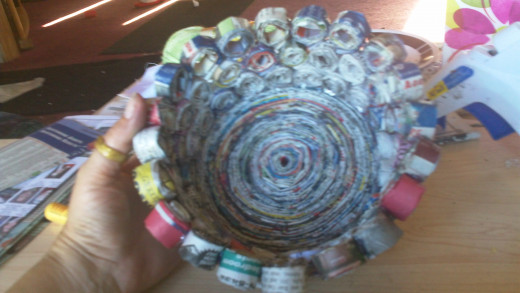
I rolled my first strip around a pencil, put a dot of glue down and butted up the next strip with a dot of glue. I continued adding strips of paper and glue (as it got bigger I made continuous lines of glue to hold it well) around my base until it was about 6 inches in diameter. When I thought that was big enough I cut a circle of cardboard the same shape and glued it to the bottom. I did this for stability. Because I had the items here I painted the cardboard black then covered it in Mod Podge to make it water tight.
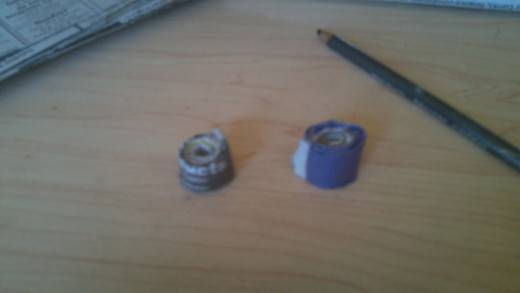
Now to make the circles of paper. I used 140 strips, making 140 circles. My first 2 rows I used the smallest cylindrical I had which was a pen. After the 2nd row I graduated the circles up in size so I was able to maintain 20 circles per row. Your circles may differ in amount and size depending on how tight your roll them.
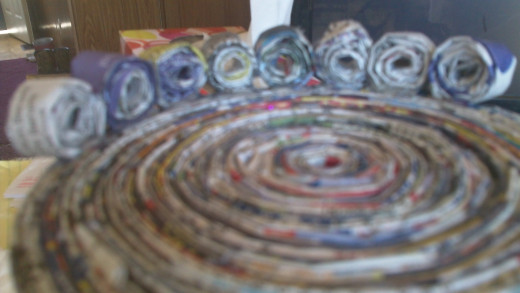
In placing the circles – The first row I let half the circle over hang the base, this would make it wider as I went higher. I also made sure to give it some extra glue around the base of each circle in between and inside at the base. The second row I only went out about 1/8 of an inch, after that I stayed pretty much right in the crook of the previous row. Each circle is glued at the beginning (where paper meets paper) and the end to seal it. Then it is glued onto the container making rows.
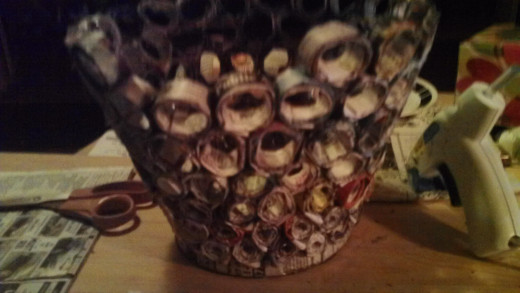
After you’ve hit the 3rd row you will see it coming together nicely and may decide that this would be a perfect decorative bowl to hold fruit or what-nots on your counter. If you’ve decided that you want that waste basket, keep making them circles!!
By the time you get to your 5th row you are going to want your circles to be bigger, now you can stop using those pens, crayons, or chap stick tubes. You can wrap those strips around your fingers to make the circles. Wait until it is in a complete circle before trying to hot glue it. I did the outside then tucked in a dot of glue on the inside. By this time my fingers were feeling the burn!! Do try to be careful!!
When your waste can is as large as you would like it to be finish off the row. Make sure to test your circles a bit as you go so they are sturdy, adding some hot glue as necessary. Make certain you put some glue between each circle as well. You want it to hold up to use!
Adding that personal touch
Finishing touches –
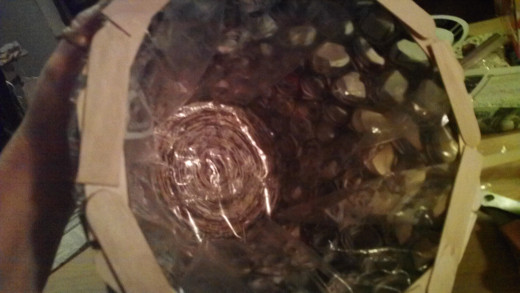
If you wish, your project is complete. For me I added a few extras. I took 2 large freezer bags and cut off the zipper part and down 2 sides. Once I had both bags prepared I hot glued them together. TAKE CARE in doing this!!! That glue gun is HOT, so is the glue. The plastic may melt a bit as you stick it together. Use a Popsicle stick to tap it down. Now you will have a large piece of plastic to help keep your waste can a little cleaner and dryer. Tuck the plastic down inside the can, form fitting it to the bottom, creating folds at the top. When you have it as you’d like it cut off the excess plastic. Begin gluing down the plastic to the top row of circles trying not to disturb the folds. Use the Popsicle stick to press down where needed.
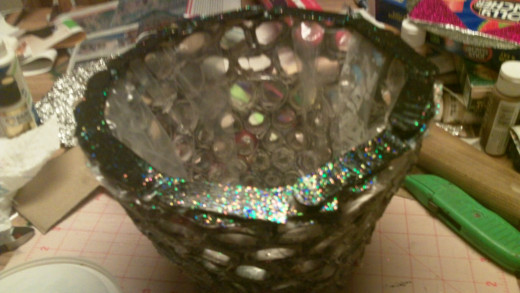
Next I cut some Popsicle sticks in half, painted them and layered them over the plastic and hot glued them down. Now this part, well it may not be for you but the person I’m giving this to really like sparkles so I covered the Popsicle sticks, and using a sponge brush daubed around the outside circles with my Collage Pauge. That will help seal it a little more keeping out moisture and should an accident happen, all that work won’t be destroyed.
Let's get creative together!
How easy was that? Is it little time consuming, yes. But I have to say well worth the finished product. Once you start crafting out of recyclable objects you’ll begin looking at things like egg cartons (anyone have that chandelier pattern handy? For real!! Marbles, egg cartons, glue and a light), egg shells even, those make lovely looking mosaics. So many things to make, so little time. Recycling is not just taking cans to the center or making Plarn out of grocery bags anymore, use your imagination and get creative!

