Redoing Furniture - Wet Sanding
Wet Sanding Considerations
What does wet sanding have to do with redoing furniture? When the subject is furniture hardware, metal bed frames, metal dressers and vanities from the 1950s, metal stools, furniture legs, hairpin legs, or even metal home accessories, wet sanding is a valuable technique to learn.
Note: I wanted to post this disclaimer at the start of this page. This method of wet sanding works very well for redoing hardware and thrift shop furniture, however if you have a priceless antique heirloom, if you are a perfectionist or have OCD and if you have oodles of excess cash, then it may be best if you turn the furniture over to a professional. Otherwise, start with a small project and work your way up as your confidence grows.
So for all you adventurous DIYers, don't be intimidated or put off at the sight of rusty metal when out thrift shopping or dumpster diving. Learn wet sanding and turn that piece of junk into viable furniture or home décor. (Yes, I'm going to show you some home décor wet sanding projects too.) :)
Traditional wet sanding is done with running water, but for the sake of conserving resources I use the bucket method and change water as needed.
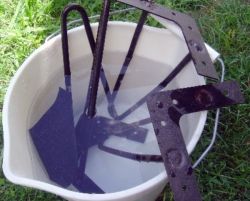
Step 1
The four steps in wet sanding shown on this page actually document two different furniture projects of mine. This means "the legs may change in the pictures, but the process remains the same." :)
To begin, fill a bucket half full of cool water and set it in a location where water spillage doesn't matter. (Outside in your backyard is an ideal spot for this procedure.)
Insert one metal leg into the bucket and quickly splash the leg with water. Dip your sandpaper into the water and begin gently sanding the leg. Continue dipping and sanding.
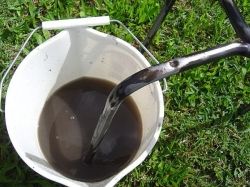
Continuing Step 1
During wet sanding, you'll notice surface rust and paint appear to melt away. When redoing furniture legs like these metal stool legs remember it's not necessary to get down to the bare metal while sanding.
To test whether the metal has been sanded enough, run your bare hand over the metal. If it feels smooth that is your indicator sanding is done on this section.
Repeat the process for the next leg. Refill bucket with fresh cool water periodically as needed.
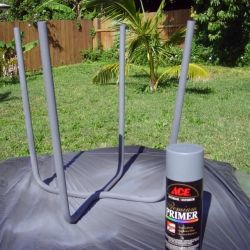
Step 2
When finished sanding, rinse the metal stool legs well with fresh clean water. (If you're working outside a garden hose is perfect for this.) Let metal surfaces dry completely.
Spread out a large trash bag or a piece of cardboard or something you can set the metal legs on for spray painting. Following directions on the back of primer can, shake the can well and apply a thin coat of metal primer to the legs. Let this first primer coat dry.
Repeat priming with one more thin coat. (To prevent runs, remember two thin spray coats of primer are always better than one thick coat.)
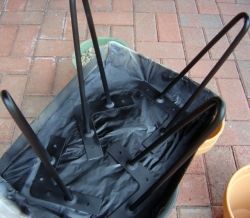
Wet Sanding Step 3
When primer has dried completely, repeat the painting procedure with the flat black spray paint. Let the paint dry well.
Step 4
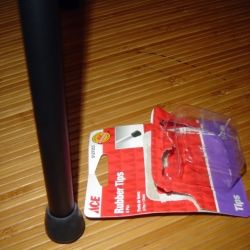
Replace the protective rubber tips on the bottom of metal legs. If you've purchased new rubber leg tips you may need to apply a little dab of vegetable oil just inside the rubber tip to help ease it on.
Redoing Furniture Hardware via Wet Sanding - Choosing a Finish
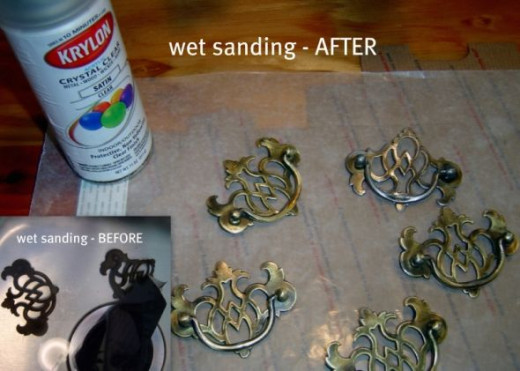
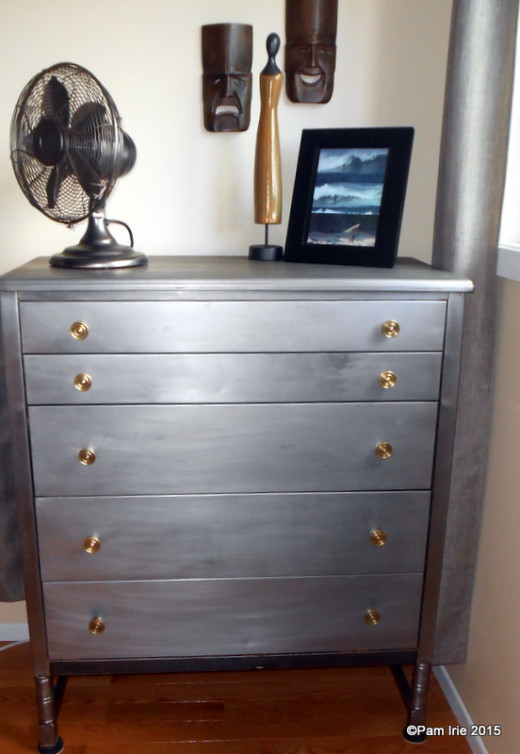
You may find you prefer the look of a "naked metal" finish on your refinishing project. After the initial wet sanding, you can achieve this more "industrial" look to the metal just by eliminating the primer and the top coat of paint. Merely spray on satin clear polyurethane to protect the newly sanded metal finish and let dry. This is the method I've chosen on the metal drawer pulls above.
Vintage Bare Metal Chest of Drawers
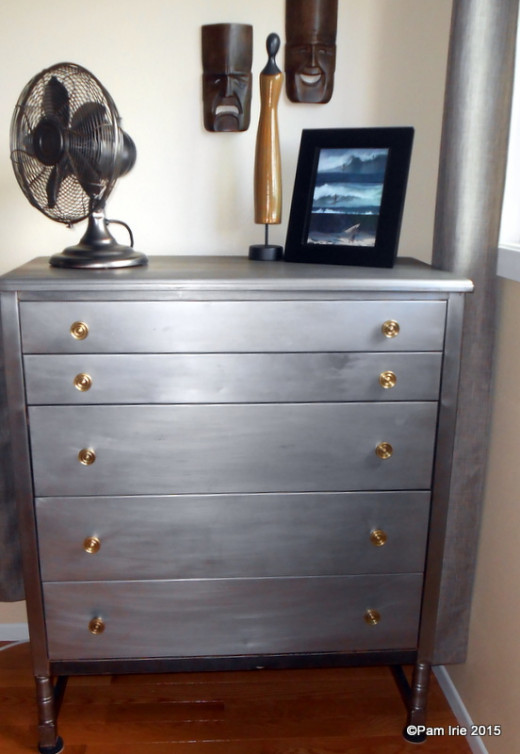
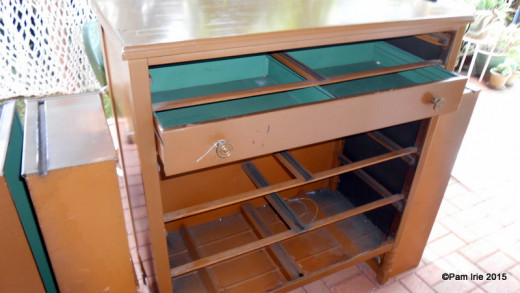
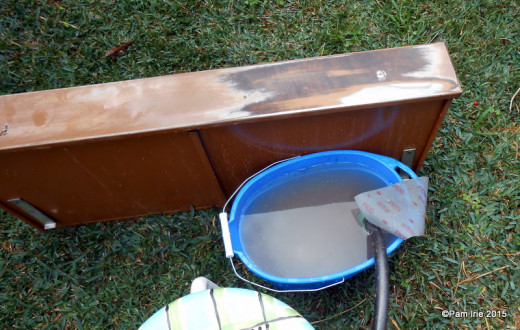
Redoing Furniture with Wet Sanding
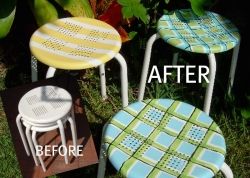
Metal Stools Plaid Paint Makeover
Go here to my blog to see what inspired me to makeover this trio of metal stools. Wet sanding techniques and painters tape were both involved in this furniture transformation.
Pause for a Poll.... - a quick question about wet sanding.
Have you ever done any wet sanding?
Wet Sanding for Home Decor....... - it's not just for redoing furniture!
