Sewing Q and A
Photo Guides
Sewing by Machine
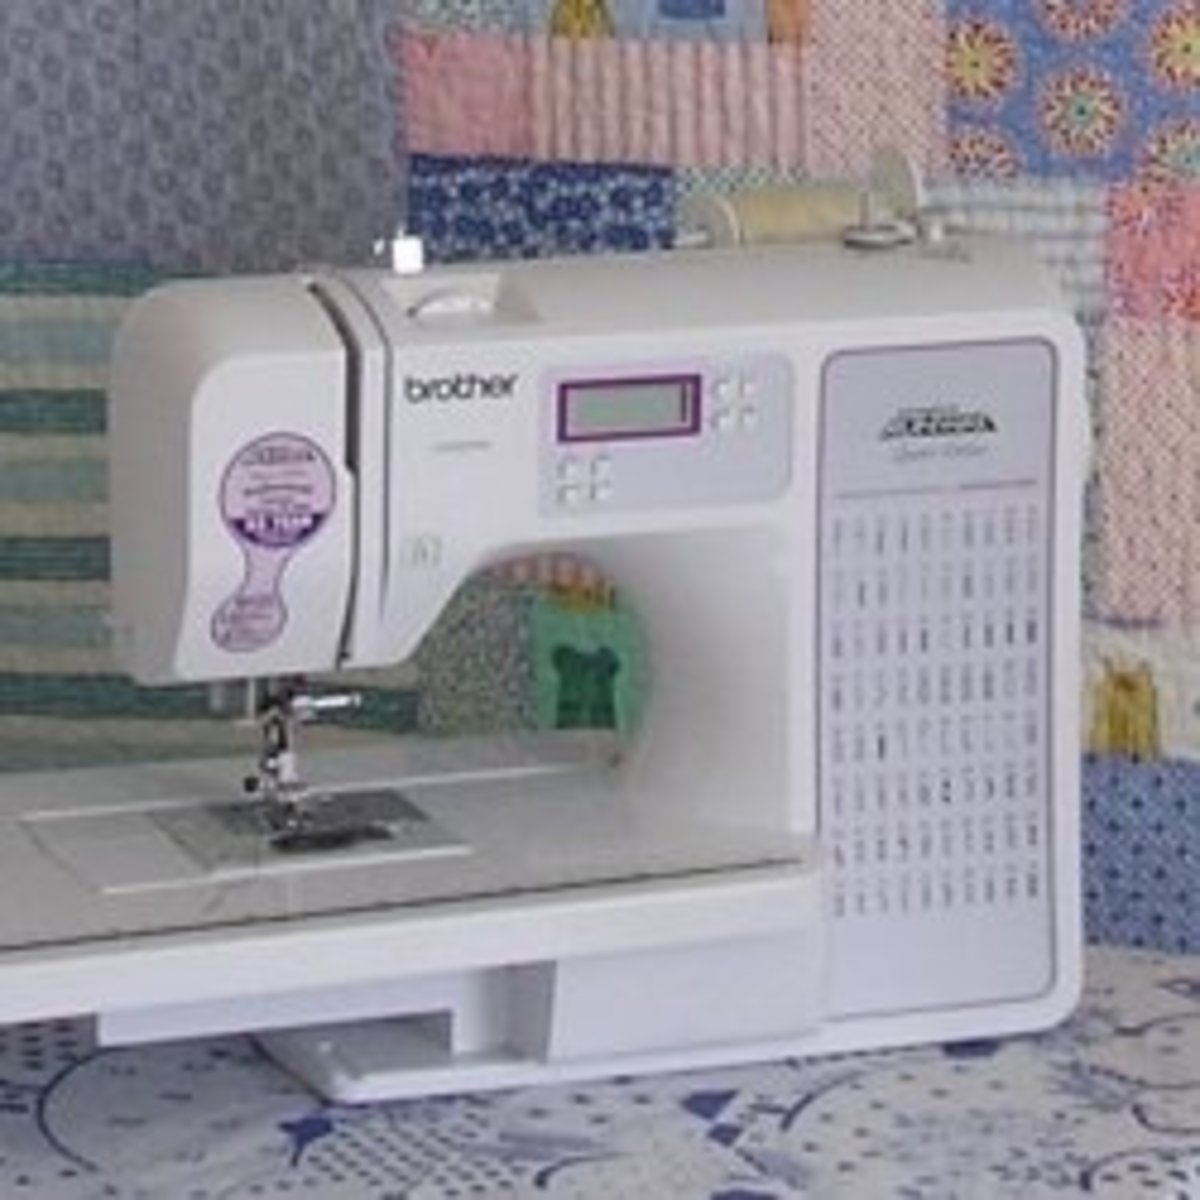
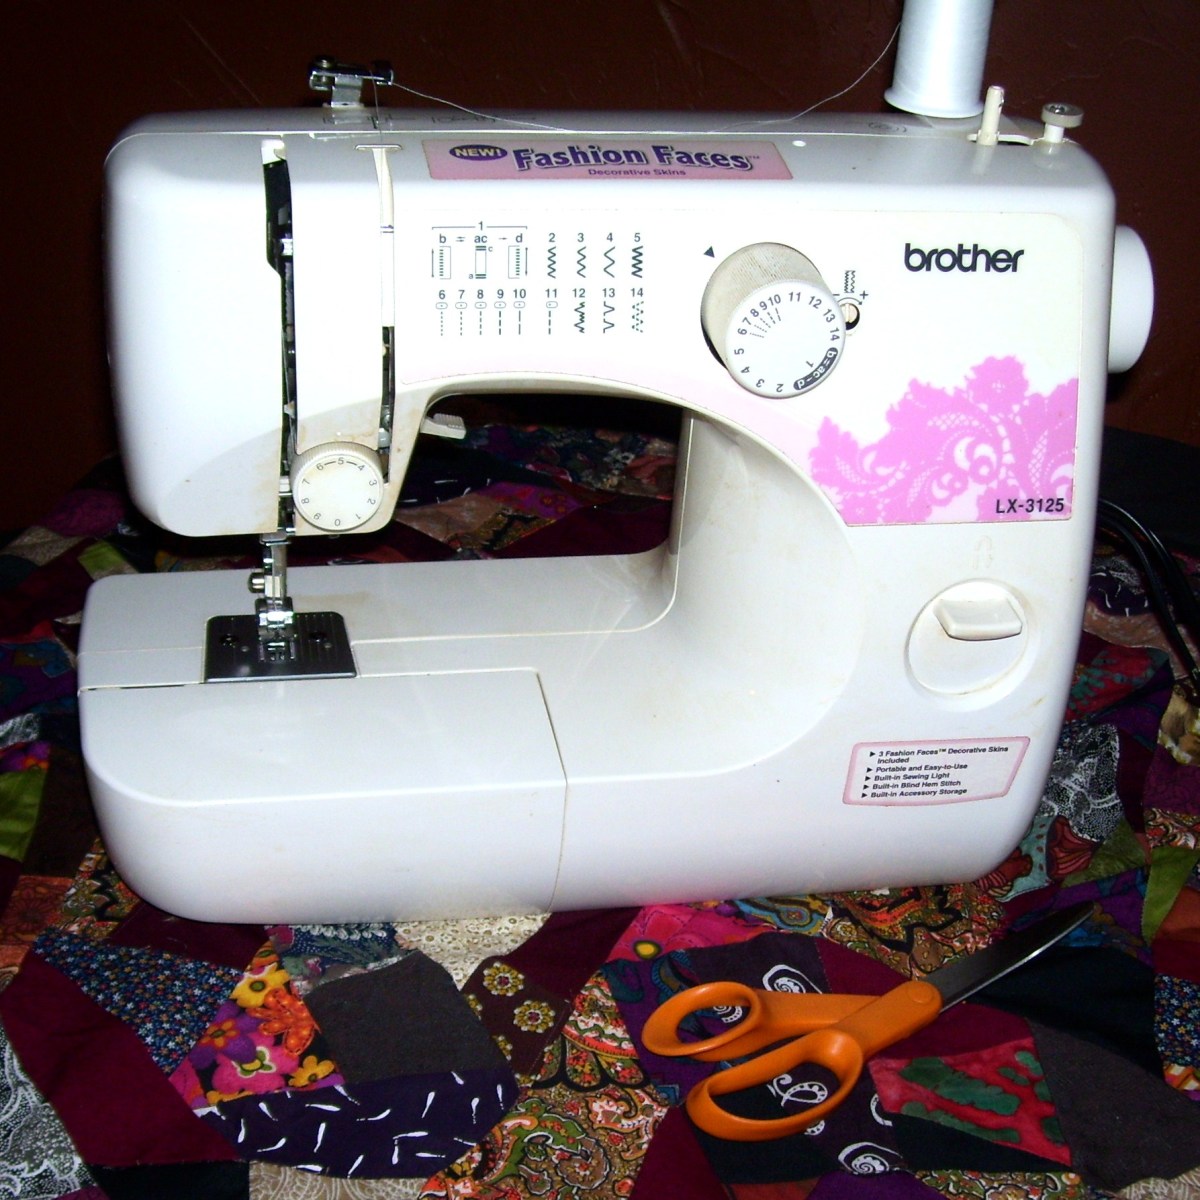
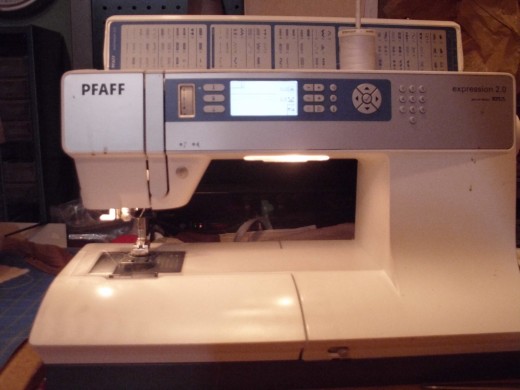
A lot of people have told me that they do not know how to sew. They think that sewing by machine is hard, but it is easier than people think. Once you have a machine, either borrowed from a neighbor or purchased from Quality Sewing and Vacuum, you should take it home and find a space for it where your material when sewn can be pushed out of the way. If you place it too near a wall, you will have a hard time sewing something that is long or really wide. Plug the foot pedal cord into the right side of the machine and place pedal on the ground. Then take the plug cord and plug it into the machine next to the foot pedal cord. Next plug it into the wall socket and turn on the machine. It will make a noise, do not fret, you have not broken it. The noise is normal even though it does not sound it.
You will need thread, of course, for the machine and for the bobbin. For sewing machines, you can use the same thread for both the bobbin and the machine. Embroidery machines have to use a special bobbin thread for the bobbin. For now, we are only talking about normal sewing machines.
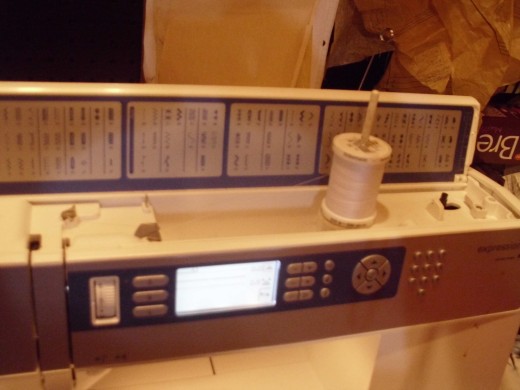
Take the thread and put it on the spool on the top of the machine. Wind the thread on a Pfaff machine through the first thread guide and then around the top knob of the next guide and then bring the thread toward the right of the machine so you can wind the thread around the empty bobbin. After winding the thread around four times to hold it in place on the bobbin, place it on the bobbin winder which is usually on the top of the machine. Move the winder into place and on the screen of the machine you should see "bobbin winding" appear. Place your foot on the pedal and wind the bobbin. Watch the way the bobbin is winding so you get an even wind and not a lopsided one. The thread should go up and down as it spins around. Lopsided threading creates problems when sewing as it does not come off the bobbin evenly and smoothly. We don't want problems.
After the bobbin is done which should end automatically when it is full. Remove bobbin from the winder and open the see through door near the needle. Place bobbin inside with the writing on the bobbin facing up and bring thread through the slit in the guide that is closest to you. There are two hooks on the left side of the bobbin case that you hook the thread into and then put the door back on so the thread is encased. You will have some thread hanging out of the case but that is all right as the machine will pick up the thread from the bobbin this way.
The next thing you will want to do is thread the machine. Usually the machines come with an instruction manual but if you do not have one it is usually threaded from the top down through all of the guides. So start at the top and bring the thread down the machine and under the next guide and then to the top guide and down to the needle. The majority of needles are threaded front to back these days on the newer machines. Some of the older machines (not electric or earlier than 1950) are left to right. After threading the needle you can start to sew.
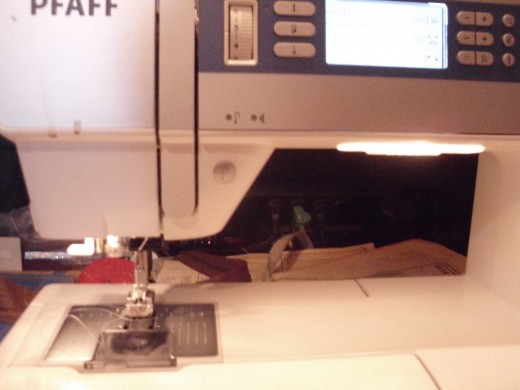
On the machine you have the feed-dog which is underneath the needle. This feed-dog moves the material as you sew with the presser foot in the down position. The presser foot which should be in the up position when threading the needle, needs to be in the down position when sewing and then up again when seam is done. The lever on this item is in the back of the presser foot which you can feel with your hand if you put your hand on the back of it. To the right of the needle on the metal plate are guidelines and measurements so that you can tell where to place your fabric when sewing a specific seam line. The 5/8 mark is the normal seam allowance used on the majority of patterns and thus is not specified most of the time. When it is different than that, the pattern usually specifies. You, being the sewer, can use whatever seam allowance you want within reason depending on what you are sewing.
To sew a seam, you put two pieces of material together either by pinning it with pins or by holding it with your hands. When sewing keep all hands away from the needle and all moving parts at all times. It hurts bad if you get your hand in the way as most people have probably done at least once in their life if not several. Place material under the presser foot at the seam allowance you want and put the presser foot down. Then place your foot on the pedal and start slowly like you are driving a car and your foot is on the gas pedal. As you get your confidence up, then speed up. It''s all right to take it slow so that you can get a straight line. If it turns out crooked then take out the stitches with a seam ripper. Seam rippers are extremely sharp so make sure anything you do not want cut is out of the way including your fingers. Many a time, I've been stabbed by them and have drawn blood. Then start over from the beginning and try again.
Whenever you start a seam, it is often a good idea to do a few back stitches so the stitching stays in place better. On the front of the machine usually at the bottom of the screen there is a back button which will light up when you are going backwards. To make a smooth transition over thick seams make sure you have some heavy material rolled up to lift your sewing foot up over the hump. Keeping the sewing foot even and flat will help keep the needle from breaking.

