How to make a single image in color that stands out within a black white photograph.

There are no rules for good photographs,there are only good photographs-Ansel Adams
We the photographers are not the recording instruments. We are interpreter. We are modifying a certain reality to suit what is inside our head. Some of the memorable quotes by famous photographers:
- · As in the word of Dorothy Lange-“The camera is an instrument that teaches people how to see without a camera.”
- · Dirk Bagrarde once said-“The camera can photograph thoughts.”
- · In the words of John E Burkkowski-“I have a very good memory, but it short. Thank God for photography.”
Photographic miracles
Thus, when we come to the argument of black and white vs.color, digital vs.film,est vs. west, they are very irrelevant and useless discussions. What is important is what we want to accomplish through our photography skills, knowledge and approach. It is also very important what tools or means we have to use to produce a good, satisfying result. There is nothing right or wrong, what matters is how much visual appeal and attraction our photographs achieve. I have seen many people using very elementary type, point and shoot camera, and giving very high quality images. In cases where commercial applications are required, of course there are certain rules (for printing and publication purposes) which one has to follow strictly. But when producing aesthetic essence and creative appeal is concerned, I think there are no set rules. We have to first conceive in our head what is required. This visualization process is different with different people. In the present day atmosphere, when digital revolution has taken control of almost every sphere of human activity, it has become very convenient to accomplish quickly which was not possible a few years back. That is why with help of photo editing tool, like Adobe Photoshop one can achieve the miracles in photography.
Here what I’m going to present a technique where in our monochrome photograph, we can bring our one particular subject or part of the image, brightly colored, thus producing an image which may have very strong visual appeal.
Given below few very interesting methods to do the same.
In the very first step, we make a black and white image from a color image (for experimental purposes) and then restore color to selected parts or elements in the image.
Method 1
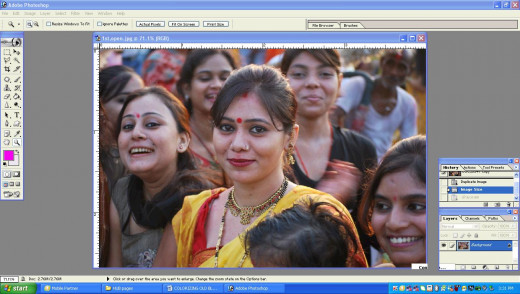
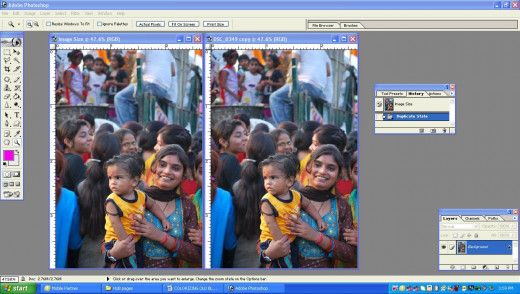
Step 1:Open the color image file in Adobe Photoshop.Duplicate this layer by going to Layers-duplicate layer and select duplicate layer.
Step 2: In this step we can adopt two processes.
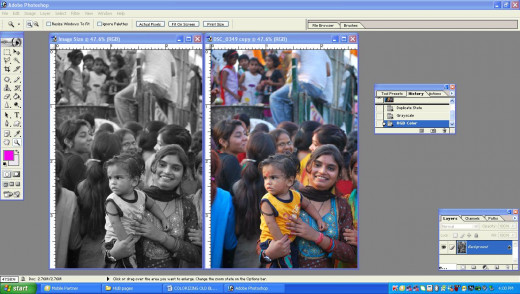
A. Go New Adjustment Layer-Hue saturation and then setting the slider of saturation to “0”.
B. Go to Image-Adjustment-Channel mixer and the channel-mixer window by checking the monochrome box.


Step 3: Pick eraser tool from the tool palette after setting Opacity 40% and Flow to 40% in the option menu, start applying the eraser tool to the part of the image to which you want bring out in color. By increasing and decreasing the size of the brush, you can bring out the final details of the image.
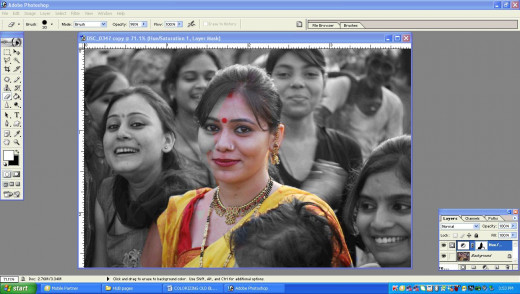
Step 4: After applying the eraser to the required element of the image, final image will look like as below.

Method 2
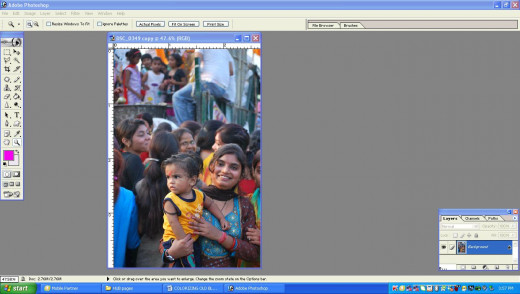
Step 1: Open a colored Image file in the Photoshop.
Step 2: Go to the History window. In the history window at the bottom click ‘Create New Document from Current State’.
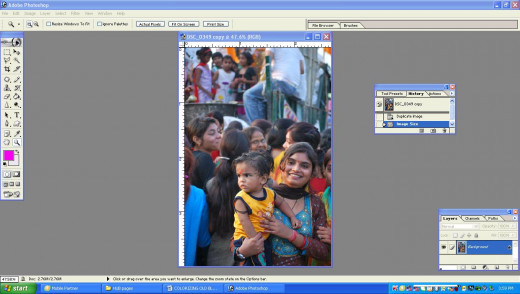
Step 3: Convert this new image to black white by any method you prefer, or applying any one described in Method 1.
Step 4: Select Move Tool (v) and keeping the shift key depressed, move this black&white image over the original colored image. By doing like this, the perfect alignment of both the images will be achieved.

Step 5: Now pick the eraser Tool and after setting the required amount of opacity and flow, start applying the eraser to the part of the image you want to bring out in color.

Step 6: After bringing out the part of the image in color, the final image will l somewhat like the following.

Method 3
Step 1: Open a colored image file in the Photoshop.

Step2: Go to Layer-New Adjustment Layer-Channel mixer.
Step 4: And check the monochrome check box. This will convert the image to black and white image in RGB mode.
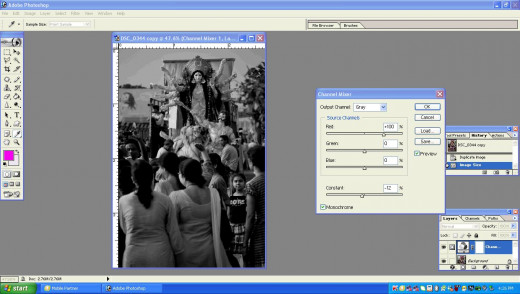
Step 5; Again pick the eraser tool from tools palette and start erasing he image, till the required effect is achieved. The part of the image which will be in color, will present an entirely different look and appeal.

Finished image

Method 4
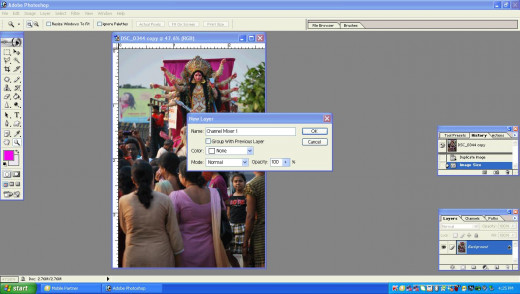
Step 1: Open a colored image file in the Photoshop.

Step 2: Go to the Layer Palette hit the black colored triangle on the right of the palette. Click Duplicate Background Layer and name this layer if you want to. Select this Duplicate Layer

Step 3: Convert this selected layer to grey scale by going to Mode-Grey Scale. At this point Photoshop will ask you if you want to flatten the image. Click Don’t Flatten..

In the converted black and white image, apply step 4
Step 4: At this stage, again go to Mode-RGB, thus by converting this grey scale image to RGB mode, no visible change will happen to the image.

Step 5: Now pick the History Brush(Y) from the tools palette and setting the needed amount of opacity and flow, along with the hardness and softness of the history brush, start recovering the desired part or the element of the original colored image from the Grey scale image,by applying history brush, gradually and when finished ,the final image will appear as below.

Finished image.
The part of the photograph, showing colors recovered from the b&w flowers.


 Size Film Negatives on a Canoscan 8800f Scanner -Made Easy")