Toilet Roll Crafts: Make a Lucky Leprechaun for St. Patrick's Day
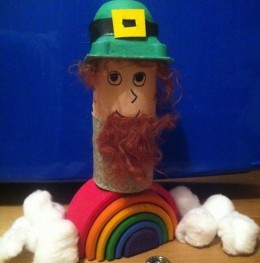
Make a super cute leprechaun for St. Patrick's Day (or simply to join a flock of fairies, elves and pixies!) - this is a cute and fun way to make use of an empty toilet roll!
My 4-year-old daughter and I made this fun little fellow on St Patrick's Day as part of an activity table of green, rainbow and leprechaun themed things to do. Everything we used can be easily found in the household recycling or your craft box essentials.
Read on for our step-by-step tutorial and have fun crafting your very own character to pop at the end of a rainbow!
Photo Credit: All images copyright of the author (2014). The rainbow used in the photo to stand our leprechaun on is a beautiful wooden stacking toy by Grimms Spiel und Holz Design, and you can buy one
here (or here if you live in the UK like us!)
Time required: 30 mins (plus 1-2 hours drying time)
Difficulty: easy
Cost: $0-5
Materials:
- Empty toilet roll
- Empty yoghurt pot
- Black card
- Yellow or gold card
- Some craft "hair" or an orange pipe cleaner
- Black marker pen
- Green fat quarter or scrap material
- Buttons
- Red, white and yellow poster paint
- Green acrylic paint
Tools:
- Paintbrush
- Scissors
- PVA or kids craft glue
Instructions:
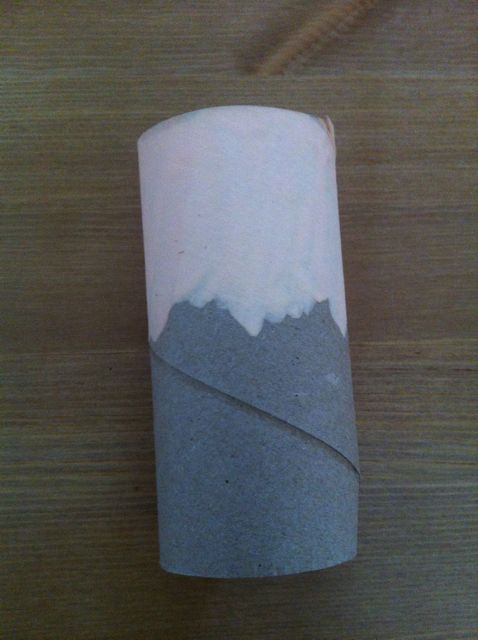
1. Take an empty toilet roll tube and paint one half of it to make the leprechaun's face. We mixed red, white and yellow ready-mix paints to create this skin tone. Leave to dry
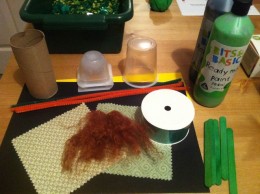
2. I laid out the materials for this craft on an activity table for my daughter. I let her choose which items to use, giving her a choice of green patterned fat quarters to pick from for the leprechaun's clothing, and a choice of Tibetan lamb fur or an orange pipe cleaner for his beard (she chose the fur, which I happen to have in bulk as I use it in my polymer clay sculpting - but don't worry if you don't have any - an orange pipe cleaner looks just as good, or you could use wool!)
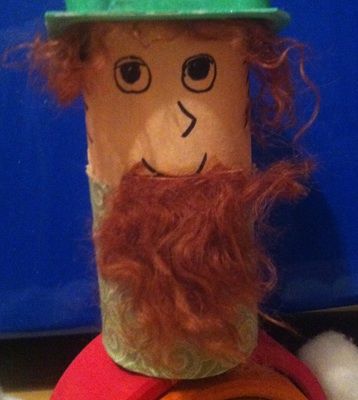
3. Using PVA or kids craft glue, stick your material on the unpainted end of the tube, overlapping the painted half slightly. Again, leave to dry. You or your child can then draw on a face with a black marker pen or sharpie (you could use googley eyes as well if preferred)
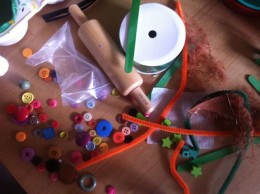
4. Pick out your embellishments! As mentioned in step 2, we used Tibetan lamb fur for our leprechaun's beard, so we used it to give him some hair, too. If you're using a pipe cleaner, bend it into a "smile" shape and stick it under your pen mouth. If you're using fur or wool, stick it on under the mouth to make a beard shape. If you want to embellish his coat, add buttons and so on by sticking them onto the material
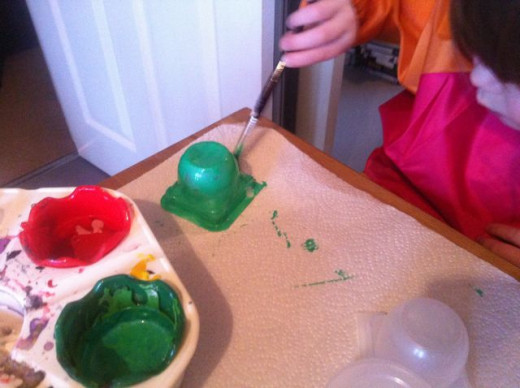
5. Next, make the leprechaun's hat. This is a fun craft on its own, we made a few just for fun decorations, but it just so happened that these little yoghurt pots were the perfect size to fit the toilet roll, too! Paint it green like Pud is here (we found the ready-mix paint didn't stay on the plastic very well, so used a mix of ready-mix green and acrylic green, which created a very nice Irish shade of green! Or use acrylic on its own) and leave to dry. Once dry, you might need to add a second coat depending on the plastic.
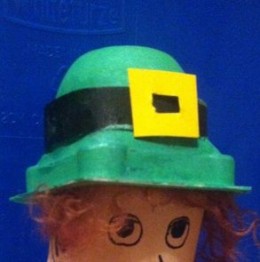
6. When the hat is dry, add the strap and buckle. Cut a strip of black card and glue around the hat, and leave to dry. Cut a square from the yellow card and cut a smaller square inside it, to make the buckle, and glue onto the front of the hat
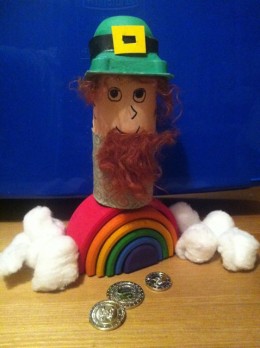
7. Your leprechaun is now complete! Now it's time to play - we gave him a rainbow and some fluffy clouds to perch upon, overlooking some shiny gold coins!
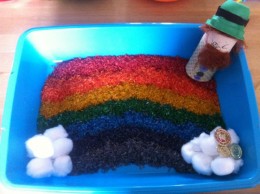
8. Here is the other leprechaun we made. This one has the face that Pud drew on, along with some lovely buttons down his front. This one got to play in the rainbow rice sensory tray, with some gold at the end of his rainbow!

