How to Use Two-Part Epoxy Clay in Metal Frame or Bezel Settings

Once upon a time, two-part epoxy clay was only used by the hands of the handyman. He used it to repair leaky pipes, cracked pools, cracked foundations, glue missing parts together, and so on.
But this putty that can adhere to just about anything or fill in cracks isn't limited to home improvement or pool repair. For some time, it has emerged in the arts and crafts world as a sculptor's medium. Also, it became a useful medium for the jeweler (hobby or professional) to work with.
Epoxy clay is packaged with two parts of it separate. One is the hardener and the other is the colored resin. Once thoroughly mixed in equal proportions, it can take one or even two hours for it to harden, depending on the humidity. It comes in a variety of colors, like earthtones and whites.
Benefits of Epoxy Clay
Epoxy clay has a lot of advantages over polymer clay. Though a bit on the pricy side in some brands, it has a longer shelf life and can be placed on any object, even when it doesn't take heat well. Examples include cell phone cover cases and even wood that is heat-intolerant. Also, it's self-hardening (air-drying), so you can still keep your oven for food and not let any clay fumes contaminate it!
Best of all, epoxy clay doesn't have to be sealed. Projects made with the polymer counterpart need to be so it will stay protected from the elements and finding one that doesn't yellow can be a pain sometimes.
Buying Epoxy Clay
Buying epoxy clay is an expensive venture. It costs more than the polymer brand, but it's worth the durability once it dries. (Again, charms and pendants made with polymer modeling mediums would typically have to be sealed in, which is a rather arduous process because you have to fine one that doesn't yellow and is long-lasting.)
Hardware stores typically have putties that are like epoxy clay. They are usually cheaper and come in a very limited amount of colors. But be careful that they may or may not be the same. Plus, some of them are not really good for making quality work in your mixed media jewelry making projects.
Thus, choose the clay of the highest quality that comfortably fits your budget. They are sold in a few-gram packages or some-pound buckets. Some of them are kits with little bags of embeds, gloves, and a beeswax-tipped pick. Some brands have a wider variety of colors to complement any project. They are the best types for making jewelry without compromising quality.
What to Put in Epoxy Clay
Epoxy clay is a versatile medium to embed objects. Crystals, especially Swarovski chaton crystals, can add a dazzling effect by being arranged in a pattern or in pave (crystals clustered together to fill in one area). But you can use flatback rhinestones - glass or acrylic - as well. Just make sure that the edge of the crystals is slightly under the clay. (Some people who have used it find chatons better for the job.)
But that doesn't just stop at embedding crystals. You can embed other small metal findings, gemstone chips, and just about anything under the sun to create and personalize your jewelry. If you can't afford to buy colors, you can brush pigments like mica powders when the clay is still malleable and tacky. Microbeads (beads that are typically too small to have holes in them) and loose glitter - fine or chunky - can fill the empty spaces when the clay is still workable.
Preparing the Clay
Epoxy clay sticks to just about anything, so it's important to protect your surfaces. Cover the work area with newspaper, then lay a piece of vinyl on top. Good, coated vinyl is resistant to the clay's stickiness, so it can be used as a drying board for freeform charms.
Also, wash your hands thoroughly before attempting to use the clay. If you are still worried about any grime or oils embedding the clay, wear a fresh pair of vinyl gloves. This is helpful if you are a beginner.
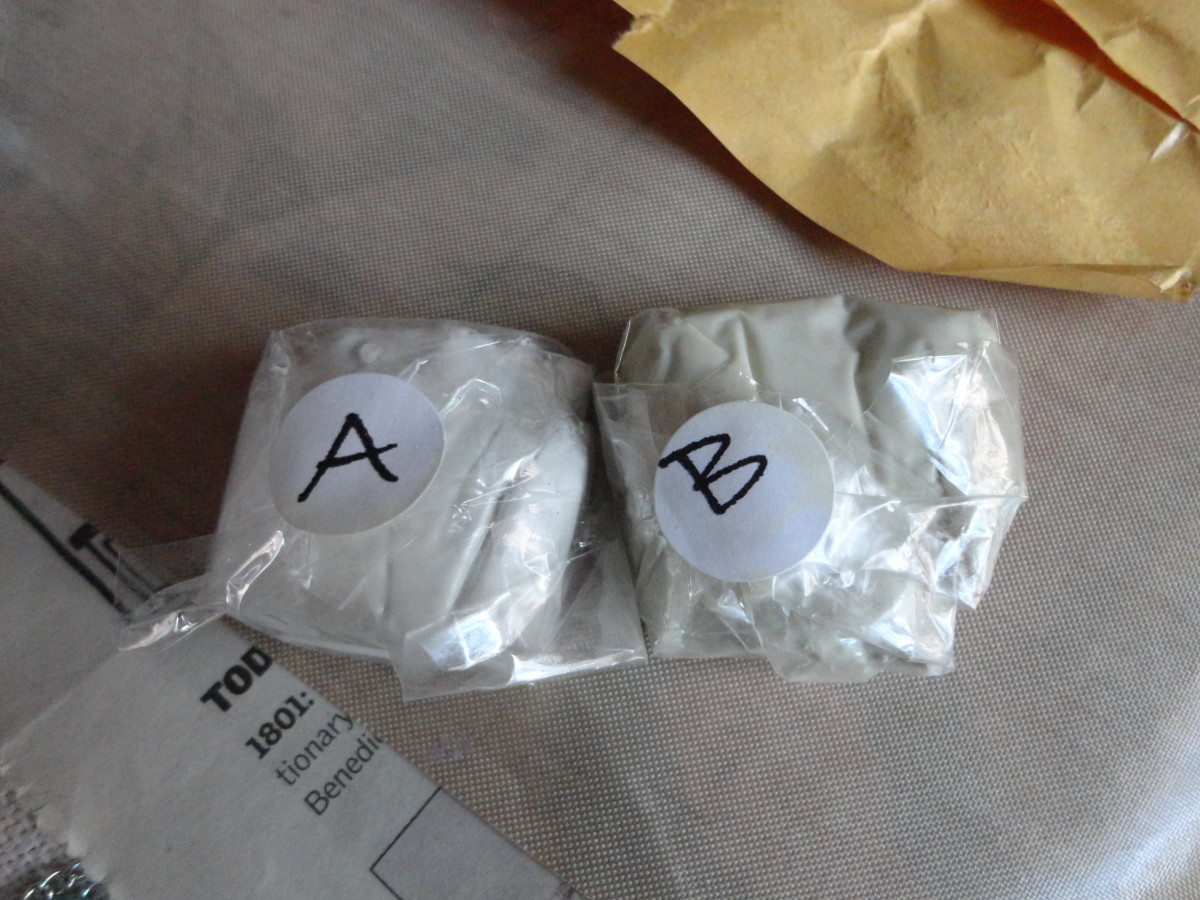
Pinch off equal parts of the resin and hardener. Some kits label the parts as "A and "B." It may help to roll balls and compare. If one ball is smaller than the other, you can pinch off a small portion from the larger ball or add more (of the same part) to the smaller one and re-roll. If you want accuracy, cover a scale with vinyl or wax paper, weigh each ball, and readjust if necessary so that they are equal. This ensures that the clay sets up properly once mixed.
Next, mix the two equal parts thoroughly. This is important because how long and well you knead it makes a huge difference in proper curing time. A good idea is to flatten the balls of resin and hardener stacked on top, halve it, stack the halves, flatten them, and repeat the process as many times as desired before finally thoroughly kneading it. This may take up to 2-3 minutes to be mixed completely.
Once mixed, you have about 60-180 minutes of time to work with the mixed clay until no longer adhesive, depending on clay brand and humidity. It's always a good idea to plan your design before making any project with it.
Fit into Bezel, Add Embeds, and Let Dry
Roll the clay and shape into something close to the shape of the bezel. For a circle one roll into a ball or for a square one roll into a ball and form a cube, for instance. Pat, don't pull (unless you want a rustic, antique effect) the clay from the center out. You want the clay to meet, not go over, the edges of the bezel. Smooth the clay to rid of fingerprints if desired (a slightly moist finger would do the trick).
Now, embed the desired objects, taking care to have the edge of each object slightly under the clay or halfway in the clay if it's completely round. For small objects, use a toothpick dipped in wax to pick up and embed. If you want a burnished look, dust some mica powders all over your piece.
Set aside in a still (preferably dust-free) area for it to cure. It can take from 12-24 hours, depending on the humidity, temperature, and the brand. (You may want to wipe off the piece with a slightly damp cloth once the piece is cured to remove any clay and waxy residue from the embeds.)
The Finished Product
 glass rhinestones to create this pendant, then dusted with some pearl powder. Note that this is intentionally made uneven to complement this bezel I antiqued with alcohol inks, sealer, and acrylic spray.")
You might be thinking that bezels are only for those products in which you glue your image into it then pour the resin. But they can make perfect settings for epoxy clay. Best of all, anything can be embedded into it, from little beads to crystals. Cured items can make nifty gifts for friends and family on any occasion or holiday without paying a fortune at the jewelry store or the mall.
Related

How to Make Polymer Clay Mokume Gane Cabochons for Jewelry

Polymer Clay Fantasy Flower Brooch/Pin, Earrings or Ring Tutorial

DIY Jewelry Tutorial: "Love Letter" Polymer Clay Pendant or Key Chain

How to Texture Metal Clay: Comprehensive Guide

How to Make a Matryoshka Style Polymer Clay Doll: DIY Tutorial


