You Can Tie-Dye What?
I have a friend whose autistic daughter loves tie-dye, and I was thinking of making her something, when I remembered a marbled chocolate and vanilla pie that I made in the 1970s, and from then on, I started thinking about what else would make great tie-dye effects. Incredibly, there are so many items you can create these startling effect on that I just had to make a list and share it. Whether you intend simply to marvel at other people's creativity, or try some of these for yourself, it's great fun to explore the possibilities of the form!
(Note: some of these are not actual tie-dye, but just mimic the effect of tie-dye through marbling. That's okay by me; I'm not a purist about these kinds of things.)
How do you feel about tie-dye?
Food
You can create a tie-dye effect on any food with the right consistency. This includes anything with a batter, custard, or dough, including but not limited to:
- cheesecake
- cupcakes
- ice cream
- bread
- pudding
- flan
- soufflé
- pâté
- whipped cream
- meringue or anything with egg whites
- frosting
Divide your thoroughly mixed but uncooked dough or batter, custard, or whatever else, into six equal parts. Prepare six food colorings (red, yellow, blue, and their complements, purple, orange, and green) into separate dishes, making sure you have enough for a vivid color. Mix the food colorings with your food, one color for each batch, gently swirl or knead together, then continue preparing your recipe. By drawing a knife through batter or custards, you can get nice swirl effects. The results can be astounding!
For egg whites: color each white first, then whip separately. Swirl lightly together and continue. Yep, it's as wild as it sounds.
Fabric
Yes, we all know T-shirts. But anything made from fabric can be tie-dyed. Here are just some of the possibilities:
- curtains
- ribbons
- purses
- pillows
- bedspreads
- bed canopies
- ties, socks, scarves
- hair accessories
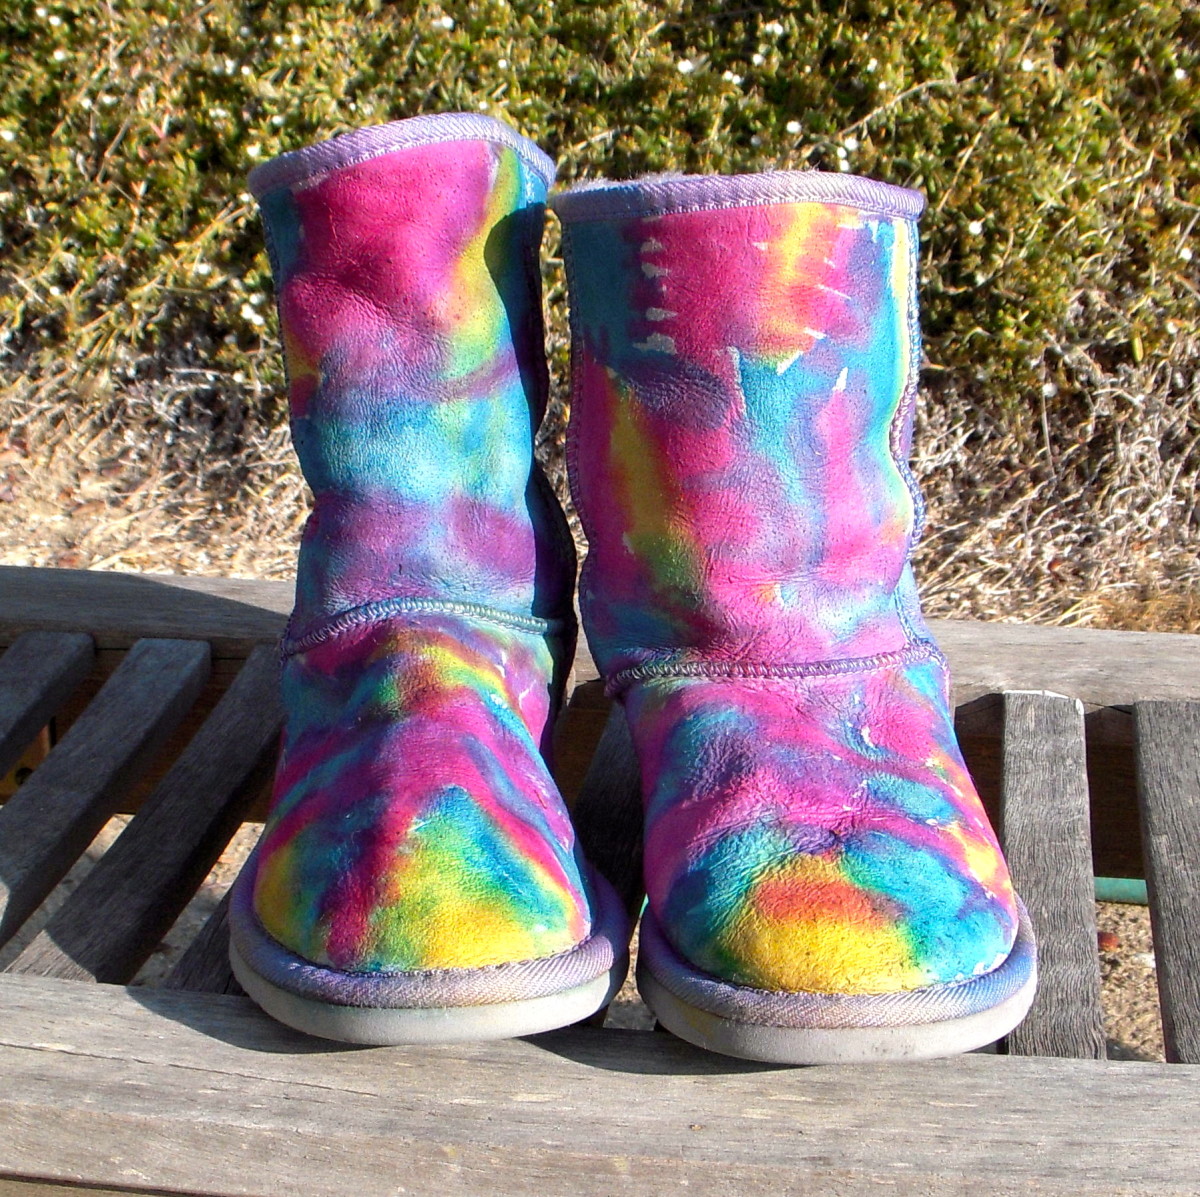
- shoes (espadrilles, sneakers, cloth sandals)
- sheets, dust ruffles, pillow cases, pillow shams
- shopping bags
- wall hangings
- slipcovers
- tablecloths, table runners, placemats, and napkins
- kitchen towels
- bath and hand towels
- shower curtains
- book covers
- laundry hampers
- fabric for chair seats
For these uses, a tie-dye kit is probably the best choice. I think the more colors, the better!
Easter Eggs
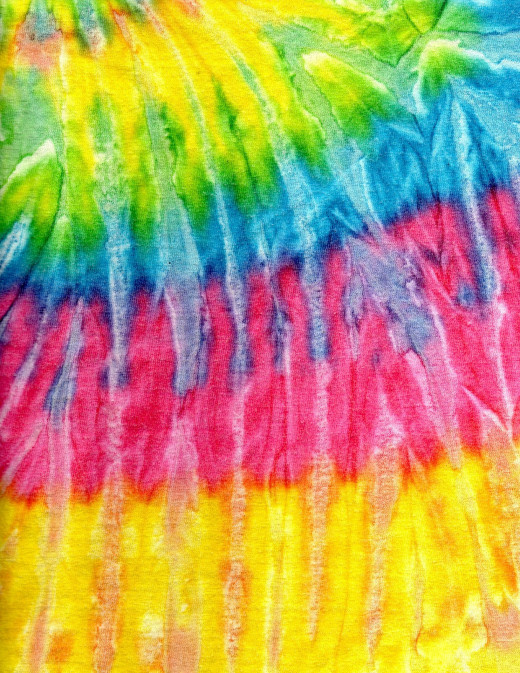
Easy enough: using food coloring, prepare a number of colors. Dip wadded tissue paper or small pieces of coffee filters in the food coloring, then put on the hard-boiled egg, and fasten with rubber bands. Let the paper dry, then remove. You'll have the hippest Easter eggs on your block.
Hair
(Or hair extensions, if you don't want to wait for it to grow out!)
This is a real tie-dye, and you'll probably want the help of another person. Twist your hair, and then fasten it with rubber bands into various designs. Use a combination of dyes, and dip different parts of your hair into the different colors, one at a time, with a little overlap. Remove the rubber bands and continue as normal. You'll be amazed at the effects you can create, with some imagination. Only for the very brave!
If you don't want to use an entire hair dye kit for just a little dye, you can try mixing up some natural hair dyes or food coloring for this experiment.
If you're a little more faint of heart, get some human hair extensions and try this technique on them first. With hair extensions, this can definitely be a one-person job.
Nails
Real or Fake
This technique is technically marbling, but it gives you that tie-dye effect. Drop one drop each of several different brightly-colored nail polishes into a small bowl of water, letting the polish float on the top. If you are doing this on your own nails, then use tape or wax to seal off your skin from the polish; if you are doing fake nails, then use a pair of tweezers. Dip the nail into the bowl, and quickly remove it.
You can make a bullseye pattern on the water and drag a toothpick through the polishes to create the tie-dye look, or just trust to the random effect. Either way, you'll have a truly remarkable manicure! Seal with a clear coat to protect your nails, and be sure to clean up any polish that gets on your skin. Guaranteed to get noticed!

Building Materials
Brick, Wood, Concrete, Plaster, Paint, etc.
For wood or brick, use paint that is suitable for the material, and float different colors of paint on water or oxgall, depending on what your paint requires. Use a toothpick or a paint stick to draw through the paint, and then marble the material by dipping it lightly onto the surface. Continue until you have the desired amount of material. Seal with an appropriate sealer for your material.
For concrete or plaster, divide your material into six batches, one for each color. Dye the batches red, blue, yellow, green, orange, and purple, then lay your concrete or plaster into sections, and while still liquid, draw into patterns. Experiment with stripes or bullseye designs.
For paint, use a tray, lined with plastic wrap. Put a thin layer of different colored paints in the tray, and swirl with a paint stick. Cover a roller with plastic wrap, pick up that thin layer of paint on the roller, and paint the wall. Remove all the plastic wrap from the roller and discard. When you run out of paint in the tray, remove the plastic wrap and discard. Repeat this until your object or wall is covered. Yes, this will take a long time, but the results are unforgettable.
You don't have to use this only on big projects: think about all those unfinished wood items you see in the craft stores: boxes, trays, unfinished furniture, shelves, and more!
Soap
Whether you are making melt-and-pour soap, or lye soap, or simply reusing scraps, the process is generally the same. Mix up separate batches of color, mix batches of soap into each color, and then combine the batches, creating the tie-dye effect with swirling the liquid, or mixing the clumps of scraps together. Just remember to use enough dye for the colors to be really bright.
Crayons or Candles
This is a great way to repurpose those tiny bits of crayon or candles that aren't good for anything else. Gently heat each color of the wax bits in a double boiler, then pour on to a bit of wax paper. Roll up the wax paper so that you create a cylinder (insert a length of wick in the middle if making a candle), and let cool, then peel off the wax paper. Now you have a tie-dye crayon for your next art project, or a tie-dye candle to set the mood!
Which item do you want to tie-dye?
This content is accurate and true to the best of the author’s knowledge and is not meant to substitute for formal and individualized advice from a qualified professional.
© 2015 classicalgeek
