Buying old English Motorcycles.
Things to know when buying an early English Motorcycle.
Buying an old motorcycle to restore and take to rallies or just to ride on the weekend is an act of love and very enjoyable for some of us who love to hit the road on our motorcycles. I live in a climate where motorcycles are ridden every day. We do have rain of course, but no snow or ice. For the rest of you the winter is a great time to drag the gearbox to a warm place in the garage and rebuild it.
It is rare these days to have the same wonderful contact with your bike's mechanicals when you are cruising along as an early model motorcycle provides. Old motorcycles have a primitive element that provides a joyous connection with the road not available on your new sleek, smooth as glass motorcycle.
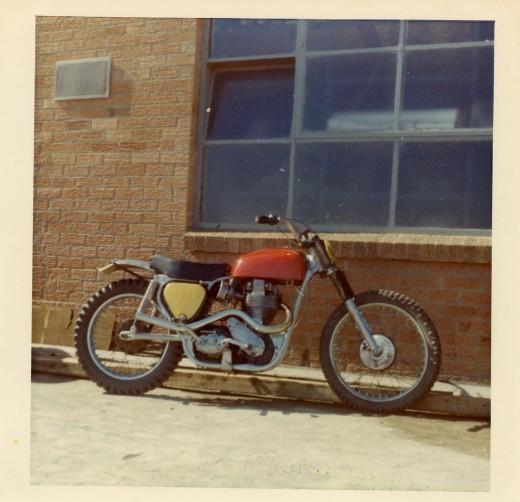
Bikes like the Triumph Bonneville, Norton Dominator, A10 BSA or any of the better models of Ariel, and Royal Enfield bikes are still great to collect as well as being fun to ride.
If you are considering the purchase of a classic bike, consider all the areas that you will need to pay special attention too,and know how much it will cost you in time and money to maintain it after you buy it and what to do when things go wrong.
Here are a few expert tips:
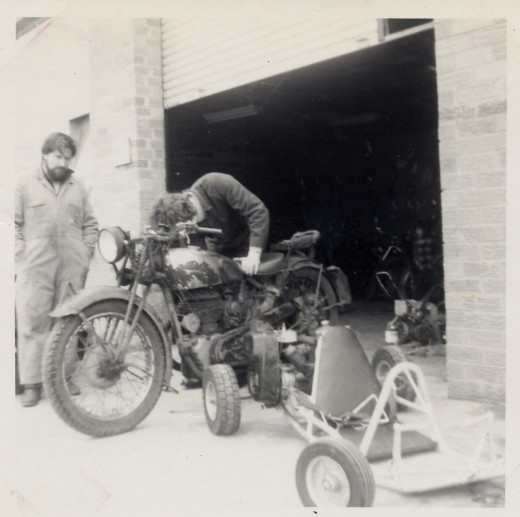
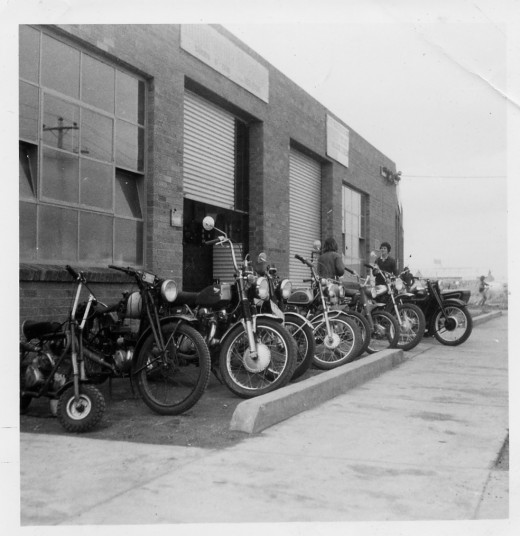
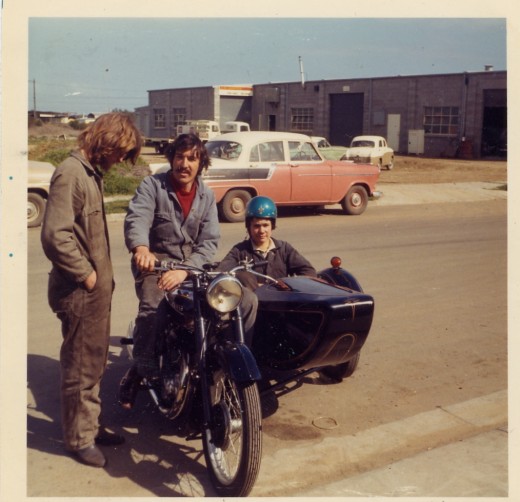
Preventative maintenance is the key to never having problems with these early model machines. They are simple and it is easy to see things developing before they go wrong.
Learn how to do the maintenance checks, do them often and save your precious bike.
When buying consider what is most likely to go wrong.
Look at all the common design fault areas first.
Fuel taps:
- Many of the original taps had a cork seal. These leak and are often replaced with a newer type that has a neoprene seal. The original type of tap can still be purchased for authenticity and can be adjusted not to leak. The problem is that the cork shrinks, so adjustment is needed often.
- Some of these taps are made of brass then chromed. If the cork leaks and a new cork does not fix the problem, you will need to renew the surface inside the tap. There are several ways to do this, as boring it out bigger will not affect the cork as it swells up when fitted.
Magneto:
- The magneto often gives trouble, with most of the problems coming from the points breaker and the cam shaped disc that revolves to open and close the ignition points and advances/retards the ignition timing.
- Always keep a spare assembly. Remember many BSA, Triumph, Norton, AJS, Matchless used similar units and many parts in the magneto interchange. The AJS one runs the other way to the Matchless although both bikes are basically the same!
- Know that the points rotor is different on most makes and models but the magnetos are mostly interchangeable.
Generator:
- The Joseph Luca generator was one of the most annoying devices on any of the early British bikes. It was common to be riding home with lights on, change down a gear and as soon as the engine revs increased, have your generator melt all the solder off it's joints and throw them about inside the generator's end cap. the solution here is to rewind the generator to boost it's output and use high temperature solder on the joints.
- Make sure you under-cut the commutator and bed the brushes in so that they cover as much of the commutator surface as possible, or more likely tell an auto electrician to do that for you if you don't have a lathe or the skill to make a jig to run the armature.
Voltage Controlled Regulator:
Again the king of darkness raises his head! Early model motorcycles such as we are discussing here for the most part were fitted wit a large black tin box that Lucas for some reason believed would assist with the motorcycles electrical system. He was mistaken!
None the less it was very serviceable with only 2 small screws holding the cover on which hid a coil and a couple of sets of usually dirty contact breaker points and an adjustable spring steel tension strip. A crude and nasty device to be sure, but a bit of a clean, a twist of the tension screw and hey presto, lights!
- An easy fix is to keep the Lucas tin box but replace it's innards with a modern voltage control unit.
Brakes:
- Brake drums wear out rather quickly on early machines due to the weight of the bike and the fact that it has small (by today's standards) drum brake and no disc brake up front. Some brake drums detach from the wheel and replacement units can be obtained. Alternatively they can often be re sleeved with a new insert shrink fitted.
Spoked wheels:
The best way to check the
condition of a spoked wheel is to put a spoke spanner on a spoke and
see if it will turn. If not, the wheel will need respoking. Look for rim and hub damage on all early models as it is not uncommon for wheel bearings, brake drums or rims to be cracked, worn beyond limits or rusty and or corroded.
Engine:
- Most of the English vertical twins and singles had cylinders and heads that were prone to leaking. Good clean surfaces and new bolts usually fixes this. I have all my heads and blocks machined, use all new bolts and torque very carefully from the inside to the outside to avoid warping. The alloys were not as good as they are now, thus many restorers prefer to make new castings.
- Many expert restorers prefer to make a new crankshaft from billet steel if there is a mechanical weakness in the crankshaft. (Some early models had inherently weak crankshafts)
- It pays to pull the oil pump out and check it for wear and ensure the gauze filter is not blocked. Many of these older motors will have been partly destroyed at some point in it's long lifetime, and aluminum particles often remain and build up to block or partially obstruct the oil pump pickup.
- Check cam followers, cam bearings and lobes for wear. If it has exposed valve followers check them for scoring. eg Norton Dominator.
Gearbox/ clutch:
- Many of these early machines ran a Burman gearbox in one of three types, the most common being the CP and GB models. All these gearboxes are a breeze to work on, but selector forks and selector mechanisms must be in top order to ensure clean gearchanges and to avoid false neutrals and accidentally shifting . The same went for the mono construction and rear bolt on gearboxes of Triumph and BSA, except tolerances were much closer on the gear selector forks and shafts as the gearboxes were refined.
- In all of these early gearboxes, the biggest problem is the casings get cracked around the gearbox shaft bearing housings, and seized bearings also rip the aluminium out of the housing in the cases. This was common to all gearboxes but occurs more frequently in the lighter weight CP box.
- Triumph and BSA unit construction gearboxes need to be pulled apart and inspected for fracture marks around the bearing supports in the gearbox case. You also need to look at the condition of the gears and selector mechanism. Many gearbox problems are caused originally by a worn gear selectors in these models.
- Triumph Bonneville models have a habit of eating clutches, as well as hammering the crankcase main bearing supports to pieces. The earlier model 500 and 650 triumphs suffered badly from destroyed left hand crankcases because the bearing support was too small. Many triumph enthusiasts bought later model crankcases to support the crankshaft with the enlarged bearing area. We called them "cartwheel" crank cases as they had a large cartwheel area for the bearing support.
Be very careful buying early model triumph Bonnevilles!
If you are not familiar with the model, you need to pay 3 times what you would consider a fair price for a properly restored and updated Bonneville, just to ensure you buy a good one. The expensive and difficult problems to solve are only easy to pick for the few fanatical triumph experts among us.
Suspension:
- Early suspension units as originally fitted to these bikes were often adjustable and get quite soft with age. Check to see if the rear suspension is adjusted to the hardest position. Many will be at maximum damping yet remain too soft due to wear and the spring being worn out.
- On the road they can
bottom out very easily and will need to be rebuilt unless in as new
condition. Hydraulics are not as scary as you may think, but you do
need the right tools to get old fork seals out without damaging the forks and to check the lower bush for wear you will need to disassemble the fork legs.
- Rear suspension units need to be rebuilt from the original to maintain authentic looks. This can be done easily these days by cutting the unit apart if it does not unscrew and rebuilding. The unit is then welded back together with an inert gas welder.

