Car Headlight Replacement
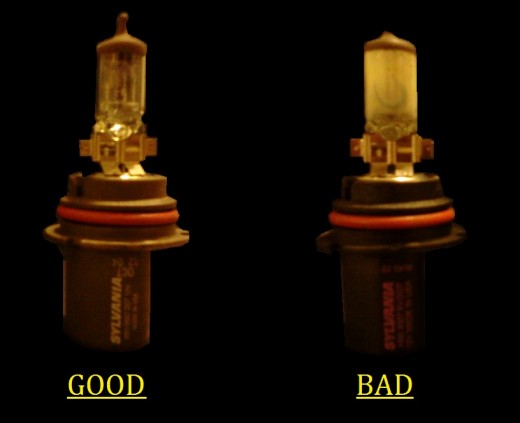
Headlamps and Bulbs
The headlamps on a vehicle are one of the most important features. Without them we simply couldn't drive after the sun goes down.
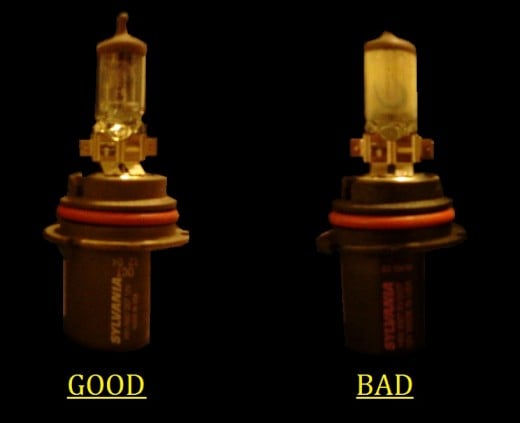
Over time the lamp cannot illuminate the roadway as it should and this is due to a broken bulb, broken lamp glass or road grime build-up on the lamp lens. With the vehicles I drive I have replaced the lamp bulbs twice. Once, when I felt the road wasn't being illuminated as well as it could be and once when the old bulb style burned out. Generally speaking a halogen headlight rarely burns out. When I replaced the bulbs I also cleaned the lens's. The lens had a good deal of road grime built up on them. Just cleaning the lens made a huge difference, but after ten years I figured the bulbs should be replaced too.
Replacing the bulb or the entire headlamp is an easy process. There are many different bulbs available; yellow, bright yellow or white, although there are basically two options for headlamp repair or replacement and those are: lamp bulb or complete lamp.
Lamp Bulb Replacement
The owners manual is going to be your best bet for finding the information on the headlamps for your specific vehicle. If you don't have a manual the type of bulb your particular vehicle requires can be determined by the auto parts salesperson. The large retail stores often will have books hanging in the aisle or mini computers to look up the type of bulb.
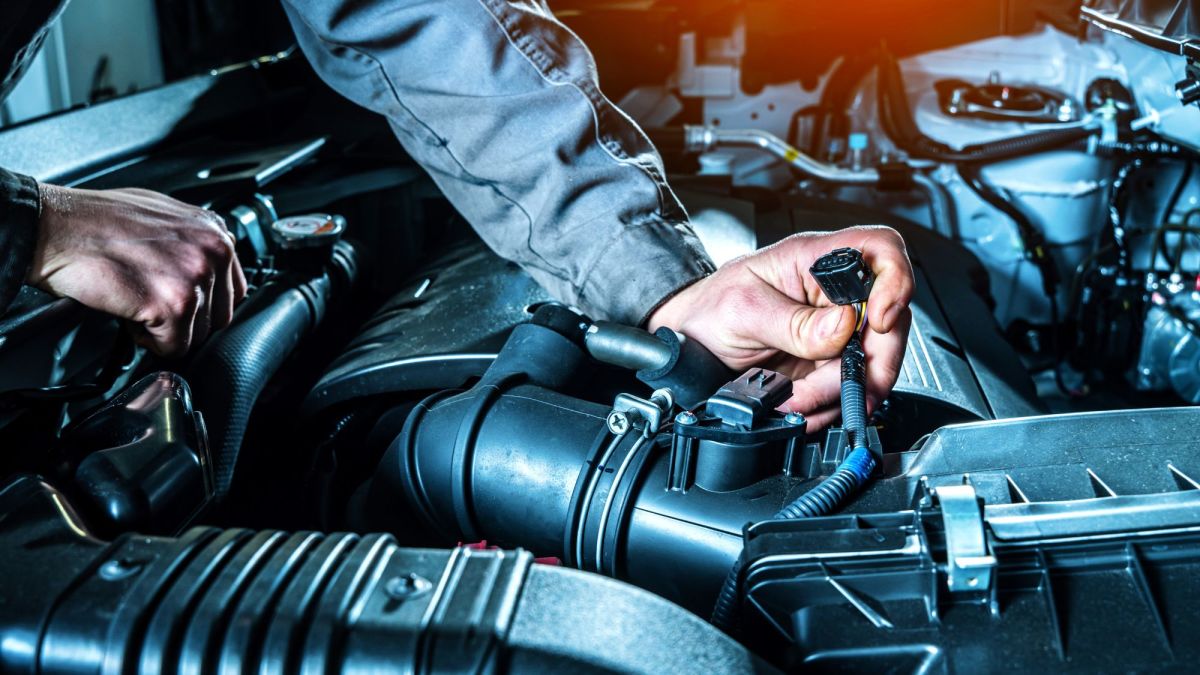
Installing the bulb is an easy process. If you can change your windshield wiper blades then you can pull off changing the headlamp bulbs.
When replacing one bulb it's a good idea to replace both of them. The halogen bulbs are sold in packs of two anyway. So play it safe and replace both.
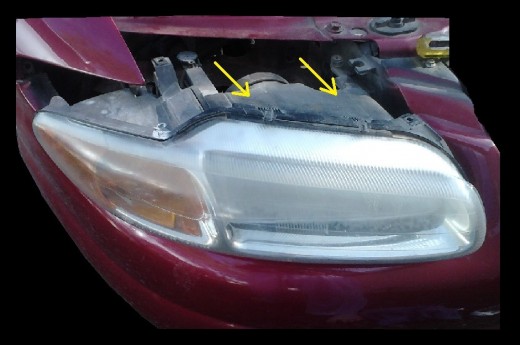
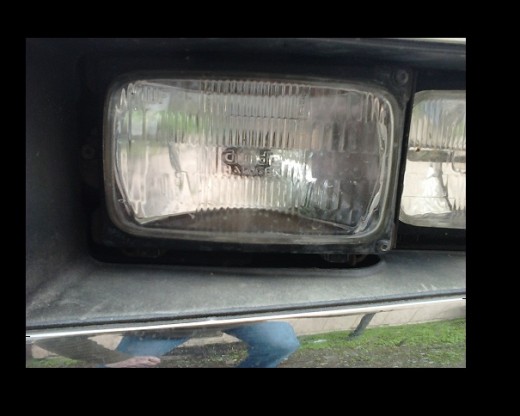
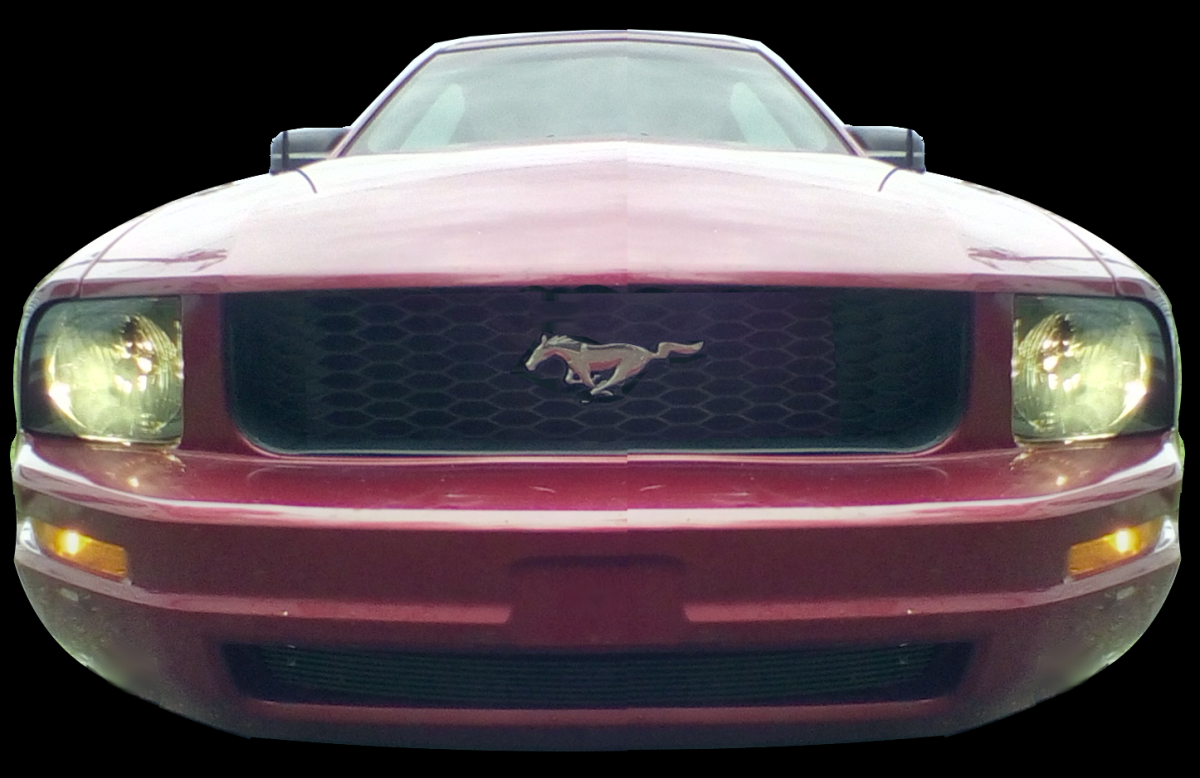
Your vehicle is not the exact same model as the one pictured, but the process is generally the same. If anything the retainer may be clips instead of screws and the bulb may be screwed in instead of held by a plastic ring.
Before you start be sure to pick up the new bulbs first. You don't want to have to drive down to the hardware store with your headlamp dangling from the fender.
Bulb Replacement
Click thumbnail to view full-size


Bulb Care
ALWAYS WEAR GLOVES OR USE A TISSUE WHEN HANDLING THE HEADLAMP BULB. Grease on your bare fingers will significantly reduce the life of the bulb!
Steps to Replacing the Bulb
If you can easily access the back side of the headlamp then skip to step #3.
- Locate and remove the headlamp mounting screws. Normally there will be two, three or four. The mounting screw can be on top of the lamp (1996 Chrysler's) or on the frame of the around the lens (1989 Chevy's).
- Slide the headlamp assembly forward until the back side of the headlamp can be accessed.
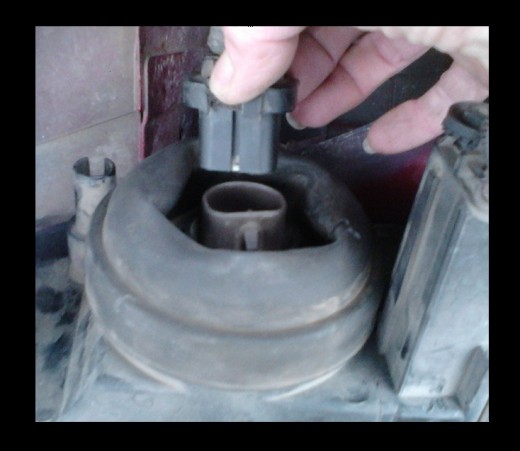
- Locate and remove the retainer holding the bulb in. This can be a plastic ring, a clip or a "C" clip (older headlamps).
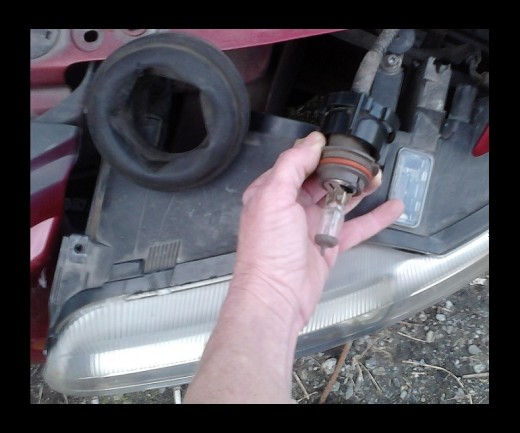
- After the retainer is removed the light bulb can be pulled out the back of the headlamp assembly.
- Remove the bulb from the wiring harness by releasing the locking pin and pulling gently on the base of the bulb. If it won't come out, check that you have released the locking pin. The locking pin is a nub sticking out of the side of the base of the bulb which is secured by a loop on the connector.
- IMPORTANT: Use a tissue to hold the new bulb. Grease from your fingers WILL reduce the life of the bulb. There is no need to clean the new bulb, it's ready to be installed. Now get out the new bulb and plug it into the wiring harness.
- Place the bulb back into the back of the headlamp fixture and secure with it's retainer if it had one.
- Slide the headlamp back into position and replace the retainer screws and you're done with the replacement, but that's not all.
- As a preliminary setting; with the vehicle facing a plain wall, turn the headlamps on. If the lights are reflecting very high or off to the side, adjust the screws located near the headlamp mounting bolts. One adjustment is up and down and one is side to side.
- Take the vehicle to a shop and have the mechanic check that the headlights are properly adjusted.
Below you will find a table for making a preliminary headlight adjustment.
Headlamp Preliminary Settings
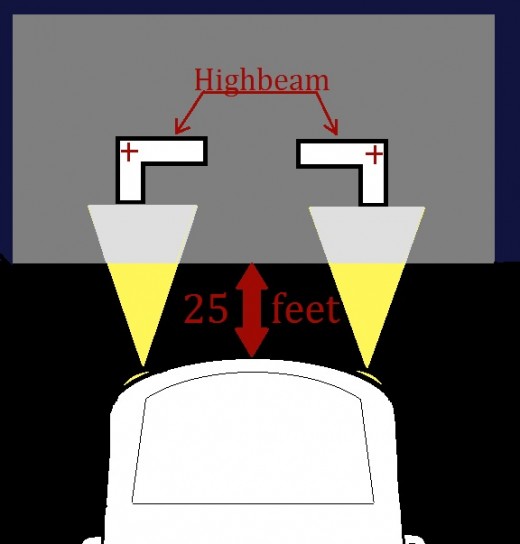
Refer to Photo Above
1st
| Check that the vehicle has a 1/2 tank of gas and no excess or unnecessary weight in it.
| |
2nd
| Pull up close to a blank wall. With tape, mark the exact center of the headlamp on the wall. See picture above.
| |
3rd
| After the wall has been marked, back up 25 ft from the wall..
| |
4th
| Locate the adjusting screws. Usually on the top of the headlamp or the side.
| |
5th
| Starting with the low beam; position the beam so it is two inches below the horizontal line and tow inches to the right of the headlamp vertical line.
| |
6th
| Put the high beams on. The intensity zone should be vertically centered with the exact center just below the horizontal line.
|
It's very important, especially when replacing a headlamp assembly, that the vehicle is taken to a mechanic that can properly adjust the headlamps.
Headlamp Replacement
When you replace one headlamp, you should replace the other lamp as well. If you have access to the owners manual read what it has to say for your specific vehicle.
Replacing the entire lamp is a bit more expensive than replacing just a bulb, but it is still very reasonable. Personally, I think it's easier to replace the headlamp rather than the bulb, but that's my opinion.
Steps for Headlamp Assembly Replacement
Sometimes the headlamp assembly needs replacement. If the lens is chipped or damaged this would warrant a replacement. Some vehicles the bulb cannot be replaced alone, the assembly must be replaced.
If you're replacing the entire lamp follow the Headlamp Bulb Replacement instructions except instead of pulling off the retaining clip and pulling the bulb out:
- Unplug the bulb from the wiring harness and the turn signal if so attached to the lamp assembly and install the new one in its place.
Then push the light back into position and install the retaining screws. Be sure to do the preliminary check with the new headlamps against a wall. It's important to take the vehicle in to a service center to have the beam adjusted when the headlamp assembly is replaced. There is a far better chance they will be ill adjusted and a service center can adjust them correctly.


