Do It Yourself Brake Change
Brake Safety
Complete brake failure is rare with our modern technology. Automobile brakes work on a closed hydraulic system and, unless the hydraulic lines have been cut or damaged causing a hydraulic fluid leak, there is a slim chance that your brakes will not function when you need them. But, it is important to check your brakes for wear and replace them when it is time. How do you know when it is time to replace your brake pads?
There is usually two methods of sensory warning: sound and sight. First, the noise of 'bad brakes' can sound like a loud squealing. Why? Because on many brake pads there is a metal tab and when the pads reach a certain thinness the tab will rub against the rotor causing the squealing sound.
Second, on many of the new automobiles there is an electronic device that triggers a warning light in which the driver is then alerted to have the brakes checked.
If you experience a 'grinding' sound when you brake, of metal on metal, the brakes have gone past the 'safe' point and it is imperative to get them changed immediately.
Brake Service
I interviewed auto mechanic, Glen M., who is employed with the public works department in our rural North Carolina town and he offered me a tour of his garage. “Typically, brakes are good for an average of 30,000 miles before the pads need replacing. Of course, depending on what type of driver you are will be a factor in the frequency of changing them.”
I asked Glen if the ‘average Joe’ could replace his own brakes or if it would ‘safer’ to have a certified mechanic do the job. According to Glen, with a little practice and the right tools, anyone can change their own brakes and thus, save themselves money in the process.
“Between the parts and labor, you are looking at an average savings of at least one hundred dollars,” Glen told me.
Let’s do the math: if a car averages 100,000 miles or more before it is turned in for a new vehicle and the average brakes are good for 30,000 miles before a change is necessary, that would equal three changes of $100 each for a total savings of three hundred dollars. Add into that a second vehicle for your spouse and a third family car for the teen with the driver’s license and you are now up to almost a grand…with just an initial investment of tools. Not a bad savings. And, speaking of tools, Glen gave me a rundown of what is needed for the job.
Brake Service
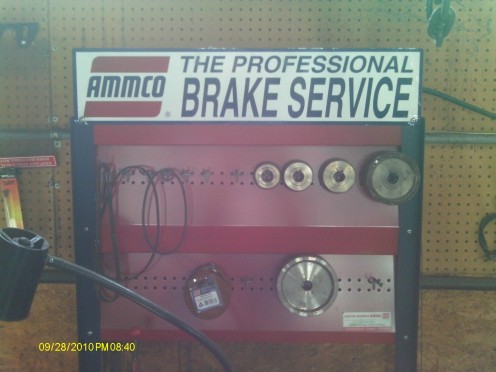
Jack and stand
Shop Talk
Changing the brake pads, calipers and rotors can be done in your own garage with these tools borrowed, bought or rented. To help you understand the brake system here are some vocabulary words and their definitions.
Brakes: a type of clutch that slows or stops motion by use of a rotating shaft and fixed component.
Brake Bleed: (or 'bleeding the brakes;), removing the air from a brake line. This prevents the brake fluid to be filled with ‘air’ bubbles which would cause an ineffective braking system.
Brake fluid-hydraulic fluid, which is necessary for the brake system to work. As pressure is exerted on the brakes the hydraulic / brake fluid travels through the lines to the calipers; the calipers then press on the rotors which slow or stop the vehicle.
Brake pads-this is the anti-friction material that lines the brake calipers. In the past these were made from asbestos, but now they are made of cotton or rubber.
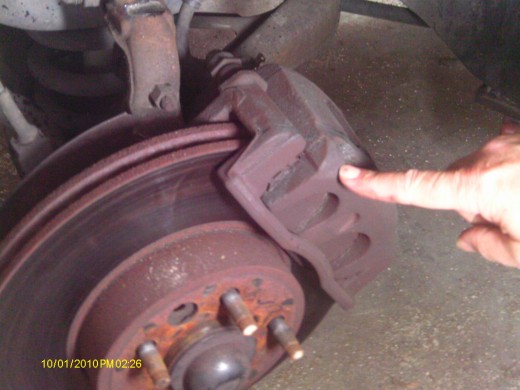
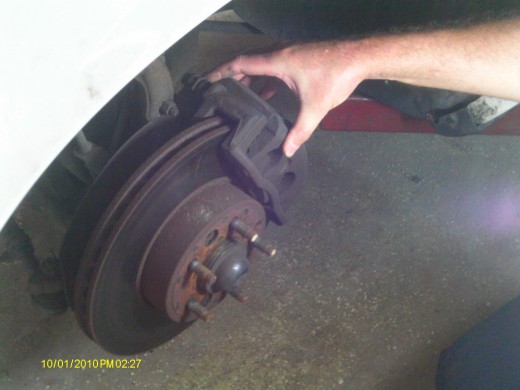
Caliper: houses the brake pads; surrounds the rotor and presses against the rotor disk.
Friction: resistance to motion between the contact surfaces of two objects. Because friction generates heat the brake pads are covered with anti-friction material, which reduces wear.
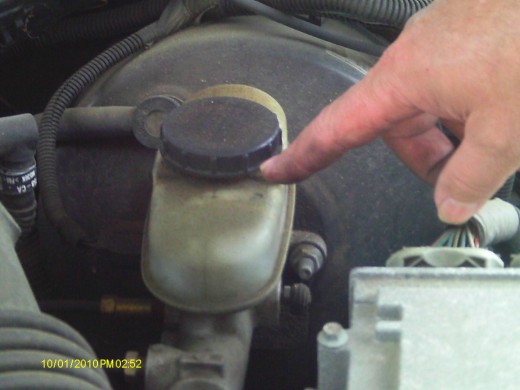
Master cylinder-located on the firewall inside of engine compartment. It stores the brake fluid and hydraulically forces it through the brake system.
Piston-this is a cylinder shaped component that moves in and out inside a hollow cylinder according to the pressure changes in the hydraulic system to squeeze the rotor via brake pads. It’s located the inside the caliper.
Rotor: this is a rotating disk that stops motion when pressure is applied by the caliper.
Torque wrench-a special wrench used to tighten lug nuts or bolts when the amount of tension is crucial; using a torque wrench prevents over tightening of a bolt.
Brake Tool and Equipment Table
Brake Tool or Equipment
| Brake Tool Detail
| Purpose
|
|---|---|---|
Safety Glasses
| Any size that fits
| To protect the eyes
|
Brake pads
| manufacture's specifications
| to replace old, worn brake pads
|
Brake fluid
| 1 can of Dot 3 or Dot 4
| to top off brake fluid reservoir
|
Floor jack
| 1-2.5 ton depending on size of job
| convenience of lifting 2 wheels off floor at same time
|
Jack stands
| size varies-use according to job
| safety: keeps vehicle from falling
|
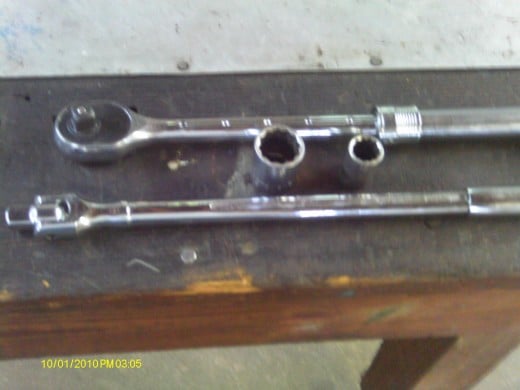
Drive ratchet
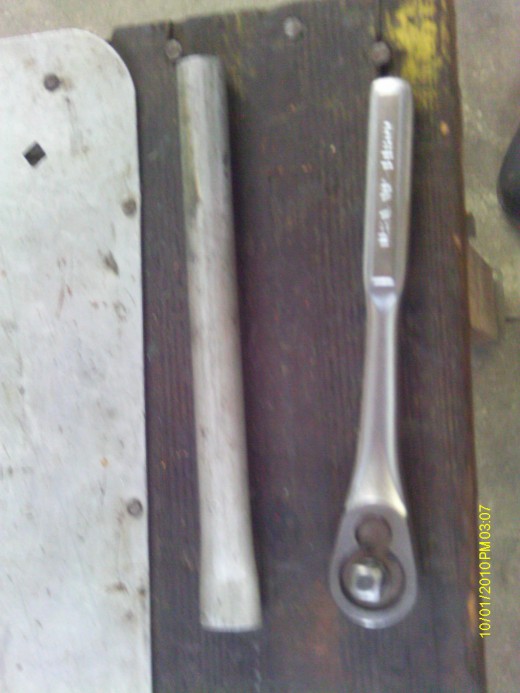
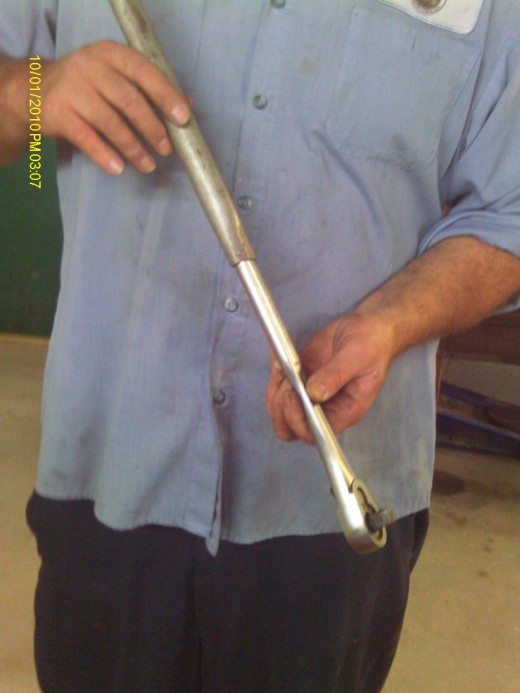
| 1/2 inch drive with long handle
| to remove the caliper mounting bolts
|
Flat tipped screwdriver
| heavy, long handle
| to pry caliper off rotars if stuck
|
Breaker Bar (or Cheater Bar)
| at least the length of the ratchet
| substitute for long handled ratchet
|
Lug wrench or Torque wrench
| Torque wrench is recommended
| to remove lug nuts from the wheel rim
|
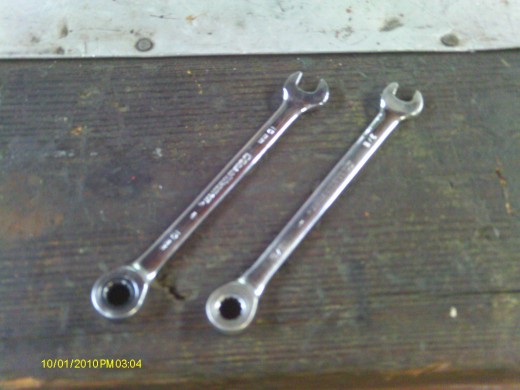
Box End wrench
| 3/8 inch OR 10 mm
| for opening and closing bleeder valve
|
Sockets
| to fit caliper mounting bolts
| to remove and secure mounting bolts
|
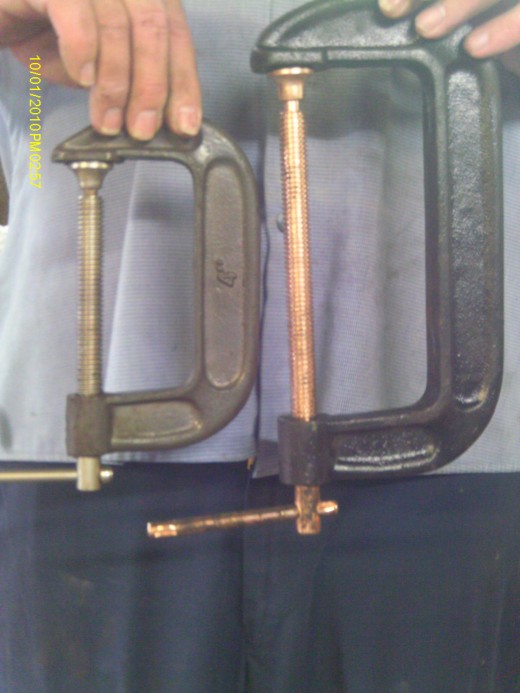
C-Clamp
| 4 "/car OR 6"/ med-heavy truck
| compresses piston when replacing pads
|
Bungee cords
| 2-4
| fastens calipers to frame while doing rotor resurfacing
|
Light
| Drop light or battery operated magnetic
| to light up work area
|
Rotor lathe machine
| ---
| for resurfacing rotors
|
Empty container
| Large enough to contain old brake fluid
| to hold displaced brake fluid from piston
|
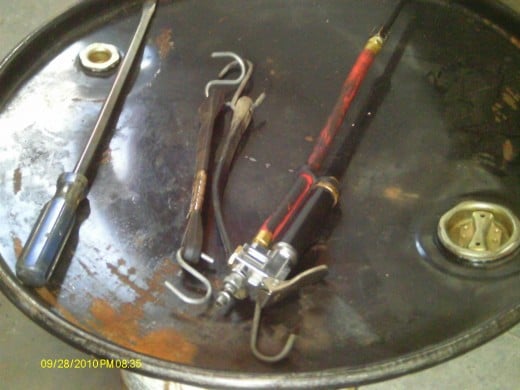
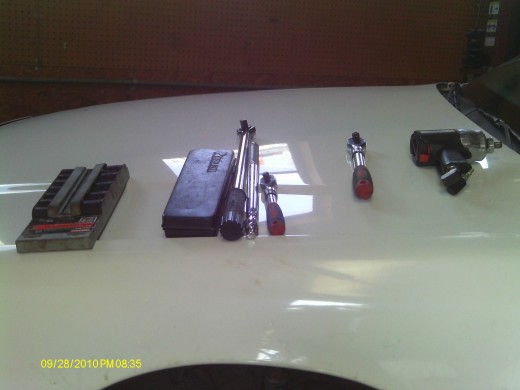
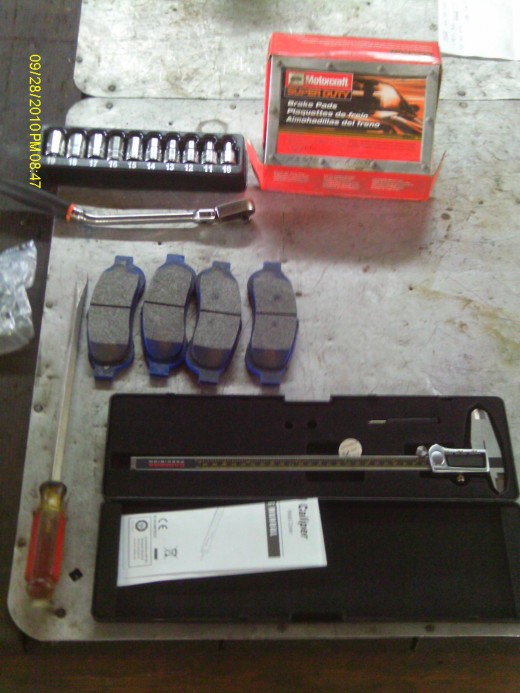
Brake tools and equipment set up
Click thumbnail to view full-size


A Do It Yourself Guide to Brake Service
Step 1 Prepare your workspace:
Organization is the key to good auto maintenance. Whether it is checking the manufacture's guide to recommended upkeep, or preparing for your next project, good organization will keep you focused and make the job go smoother.
The first step in doing any maintenance project is to gather the tools and equipment you need. Before getting started you want to double check that you have everything that is recommended from the manufacture's guidebook. If it is required to use a particular size or type of product, such as the right brake fluid, then be sure you do not have to stop in the middle of your project to buy it.
Observing an organized mechanic at work is like watching a well choreographed dance. Auto mechanic, Glen M. explained some of the tools he uses when inspecting and changing brakes. He sets his tools out and double checks that he has the correct products before he begins the job.
DYI projects: Safety
Click thumbnail to view full-size

Shop Safety
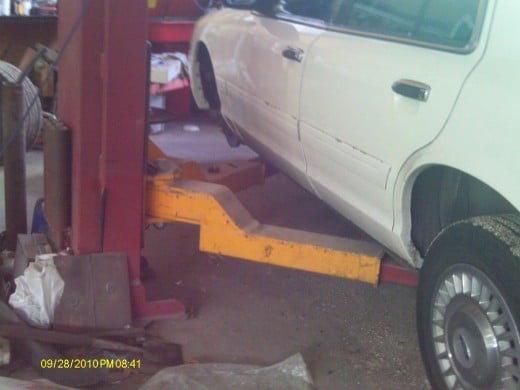
Step 2: Use the proper jack and jack stands to lift the car
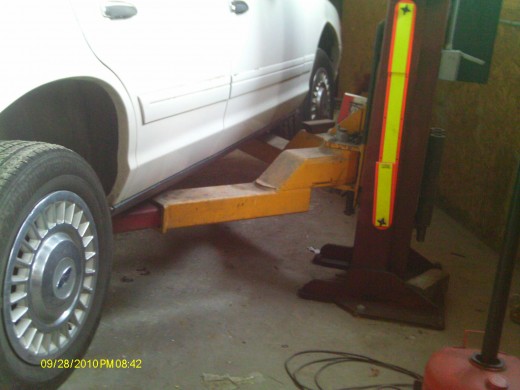
Once you have your equipment and tools in place you can perpare to work on the car brakes. Step 2 is all about maintaining a safe work environment. You'll begin this by setting up the floor jack and jack stands. A floor jack differs from a bottle jack in the fact that it lifts one end of the vehicle and not just one tire.
When changing the brakes you will want to change either both front brakes, both back brakes or all four. It is useful, therefore, to lift the whole area that you will work on instead of lifting one wheel at al time. This saves time and makes the job go smoother.
The jack stands are a safety device. They will keep the car from falling back down and prevent injuries in the process.
Position your light, if needed, especially if you are working in a dark garage.
Put your safety glasses on to begin your work.
How to do Brakes: First Steps
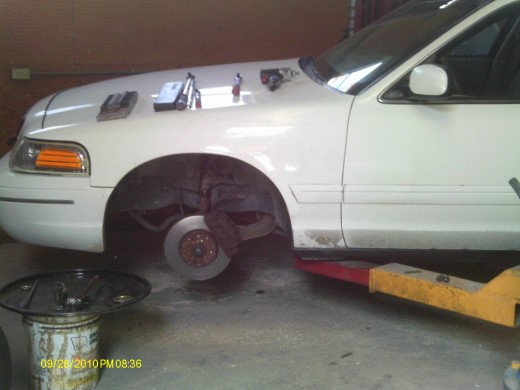
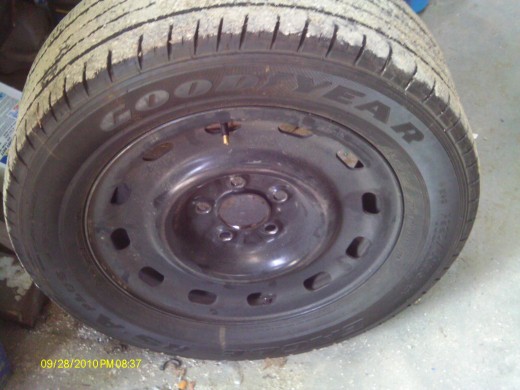
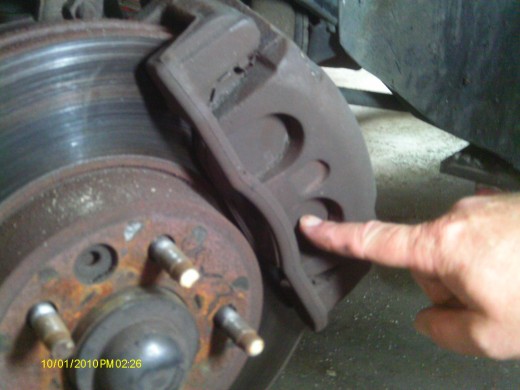
Because the pads are inside the calipers you will not be able to check their condition without removing the tire. Use your lug wrench to remove the lug nuts on your wheel and place the tire off to the side with the lug nuts.
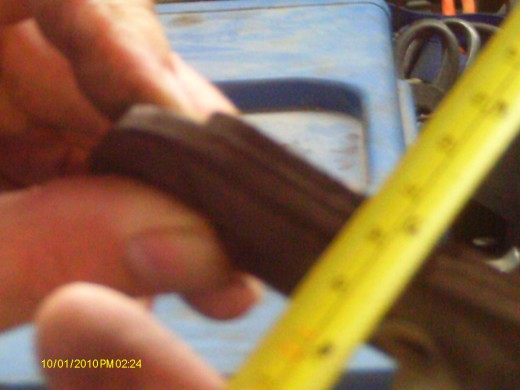
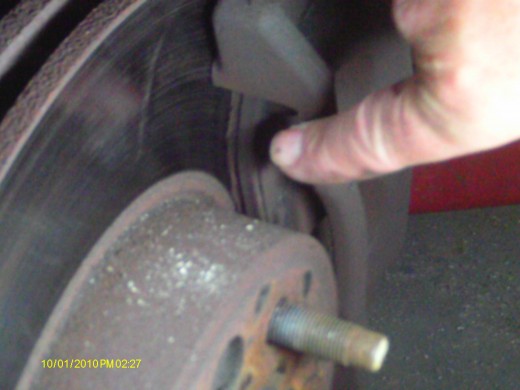
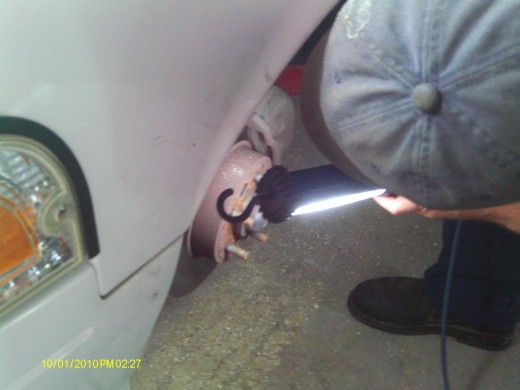
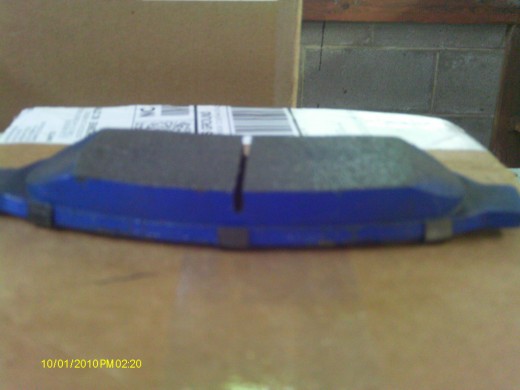
Next, with a flashlight or drop light, visually inspect the condition of the pads. The pad should be replaced if it is 1/4 inch measurement or less.
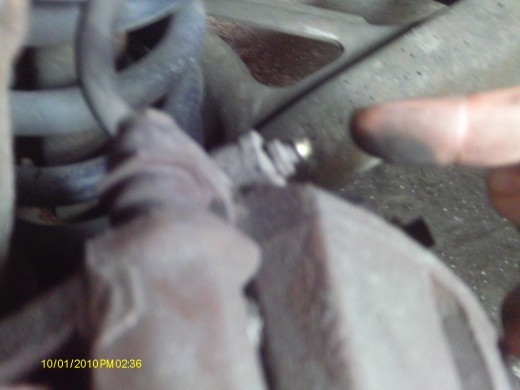
Finally, using the box end wrench, you will loosen the bleeder valve located at the top of the caliper.


Calipers, C-Clamps and Pistons
Calipers: To remove the calipers you will use a socket ratchet with a breaker handle to remove the four mounting bolts. If the caliper is stuck and cannot be easily removed you may also need to use the long handled, flat tipped, screwdriver to assist in this step.
Once the calipers have been removed you will want to carefully inspect the unit for cracks, breaks and function. The unit will consist of the caliper housing, the piston, and the brake pads, which you will be removing. Specifically, you will need to note if the caliper is sticking, broken or cracked; or, if the piston is broken or leaking.
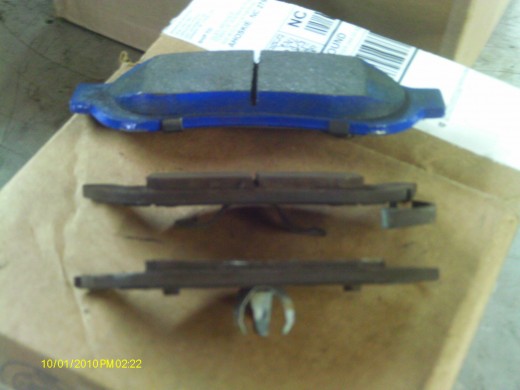
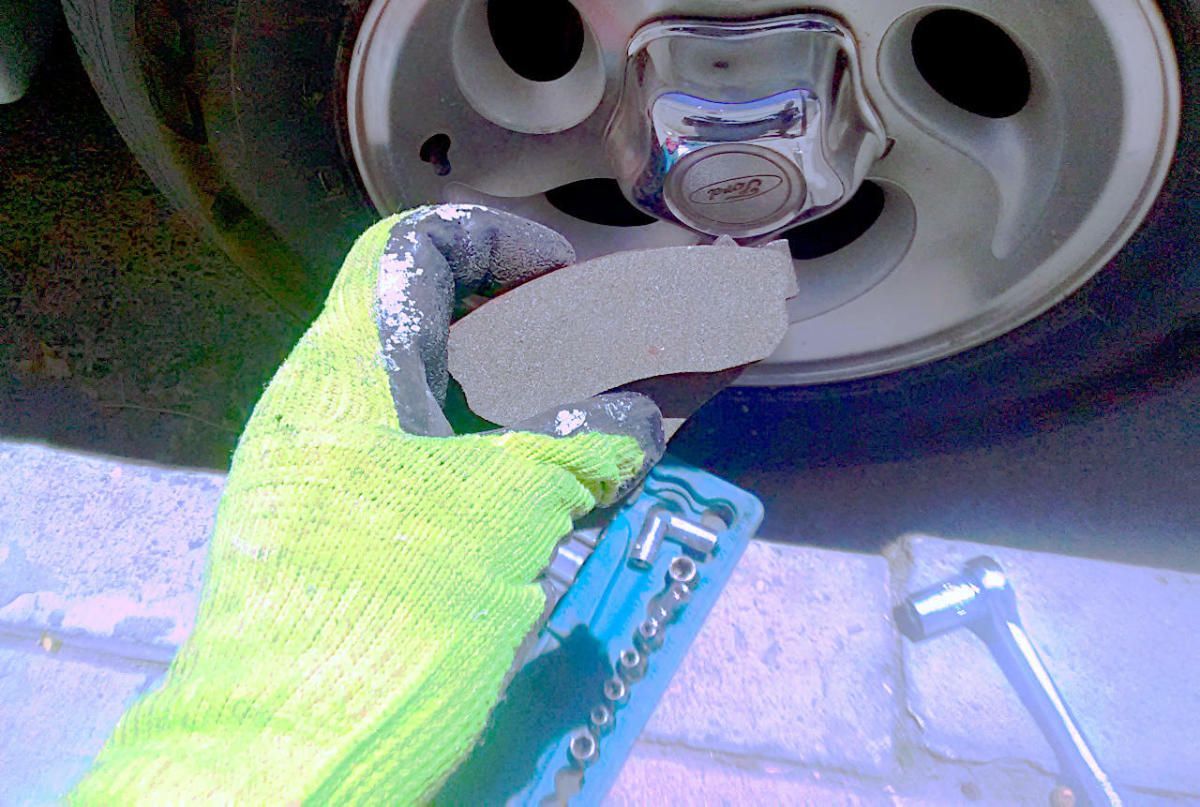
Brake pads: There are two pads inside the calipers, a stationary side and a piston side. You will remove the stationary side pad, but keep the piston pad in place to protect the piston when using the C-clamp. Compare the wear on the two pads. Often, the stationary pad has less wear than the pad on the side of the piston, which is the side that moves to the rotor to stop the car.
C-clamp: The C-clamp is used to compress the piston. You will need a small container to catch the displaced brake fluid from the bleeder valve as the piston is compressed.
Bleeder valve: (also referred to as the Schrader valve)-keep the valve open as you are compressing the piston to allow the displaced fluid to come out. When the piston is completely compressed you will close it to avoid air getting in the system.
Once the piston has been compressed the C-clamp and old pad is removed. Replace the old pads with the new pads and put the calipers back on the frame of the car with the use of bungee cords.
Bungee cords: It is recommended that you secure the calipers to the frame with a couple of bungee cords if you need to work on the rotors. Otherwise, anything could cause them to fall and get damaged in the process.
Replacing Rotors
Rotors will not automatically be replaced each time the brake pads are changed. Here are some indicators that they do need to be changed: if you hit the brakes and the steering wheel shakes or shimmies, it could mean that your front rotors are warped. And, if you feel the shimmy hit the back of your seat it is a strong indicator there is a warped rear rotor. Either or both of these situations would prompt you to investigate your brake system further.
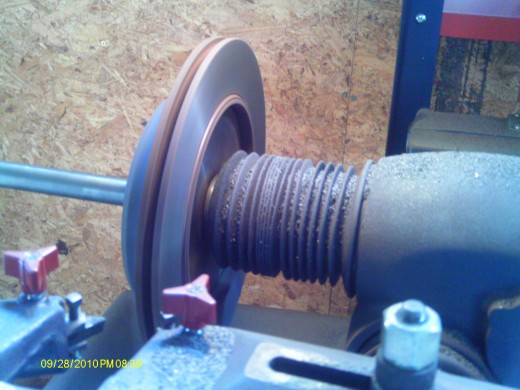
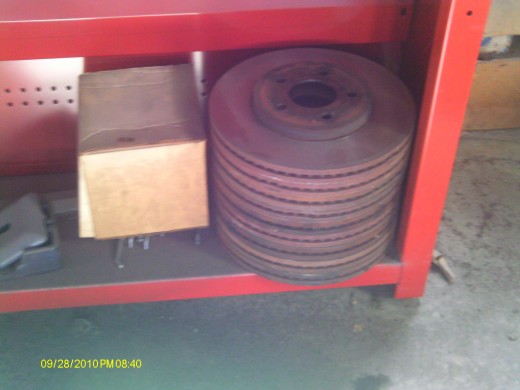
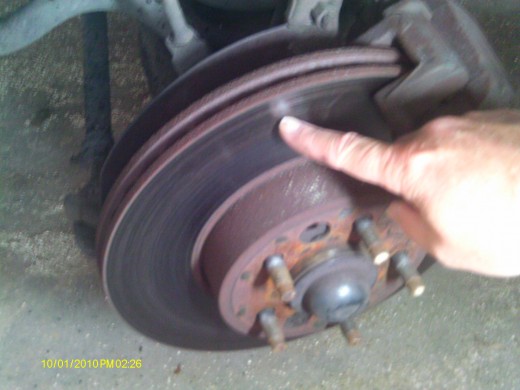
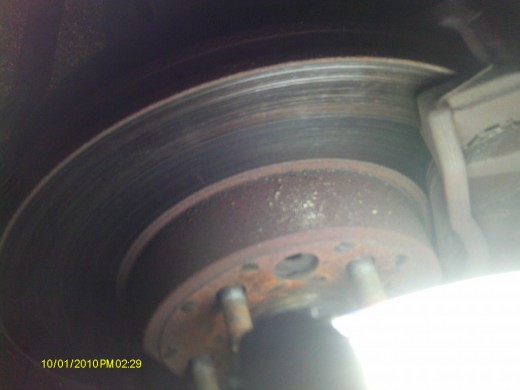
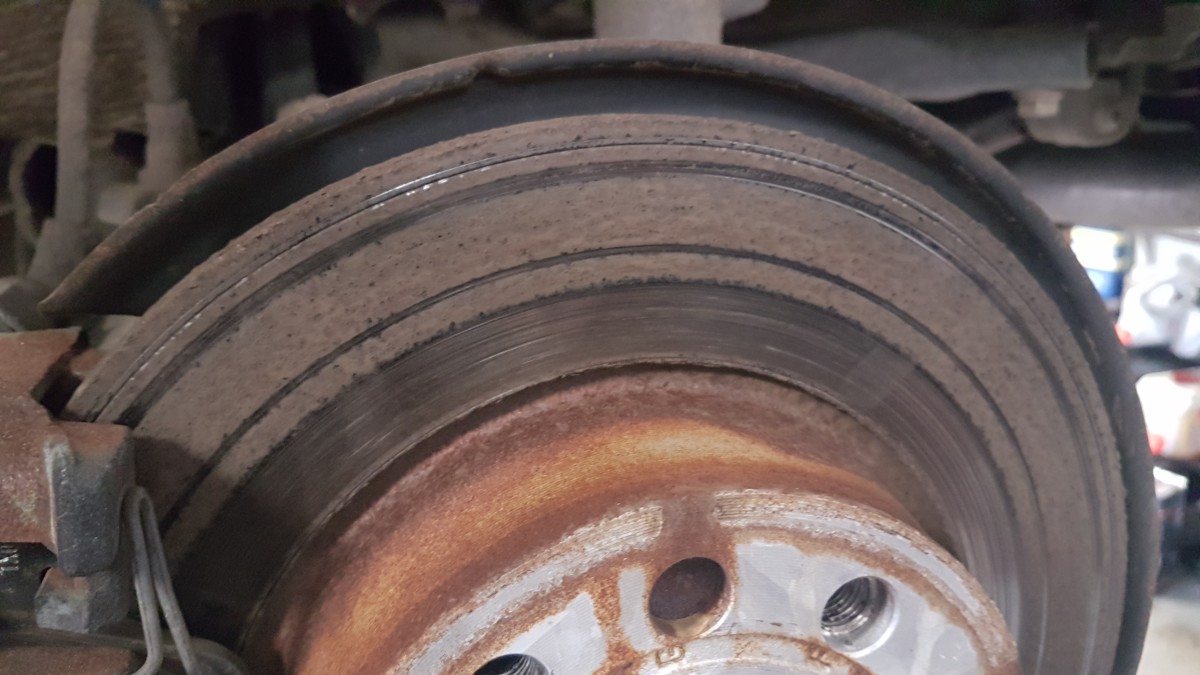
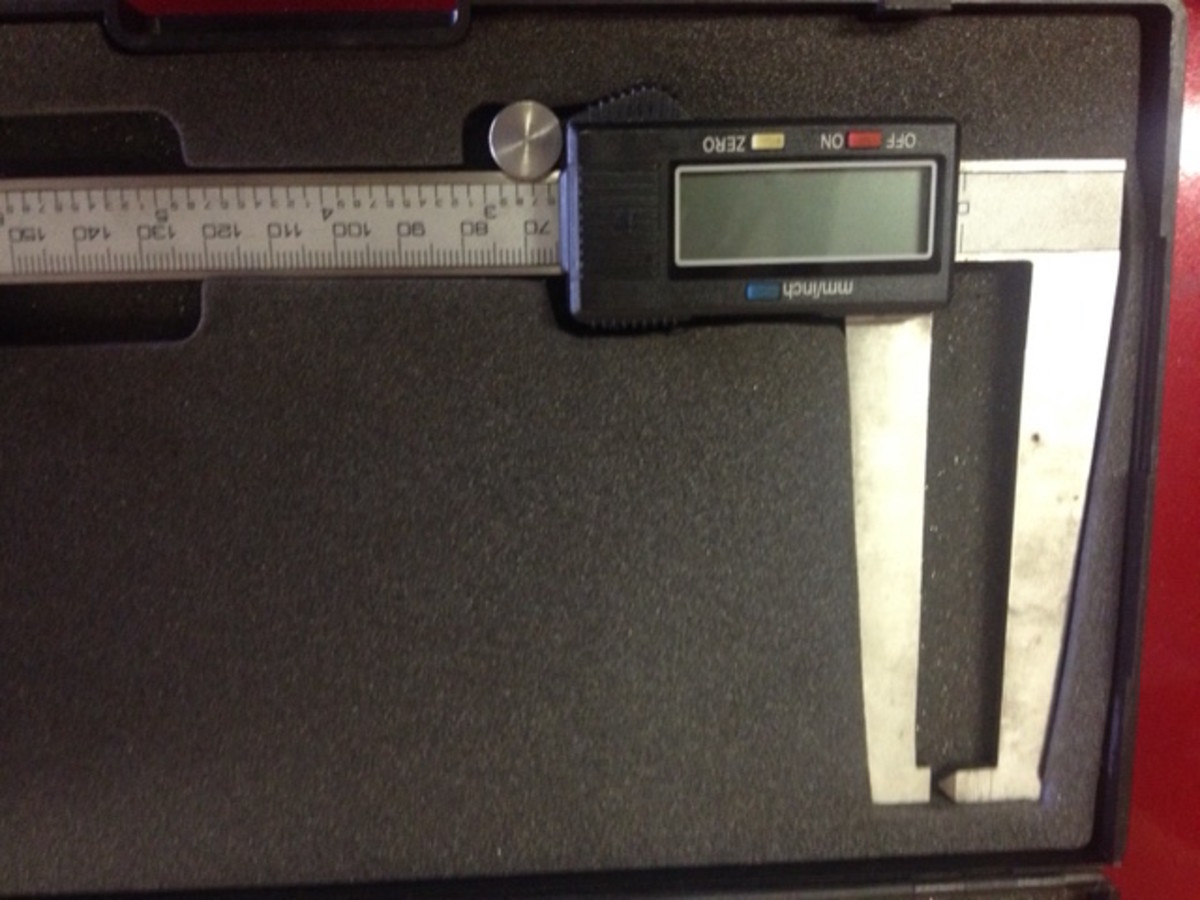
When the tire is off and while you are inspecting the brake pads also inspect the rotors. If they are grooved, like an old LP record, then it is time to resurface them. The surface should be smooth. You can do this on a lathe machine by rotating them. However, take care to keep the resurfacing according to the manufacturer's recommendation for thickness-which you will measure.
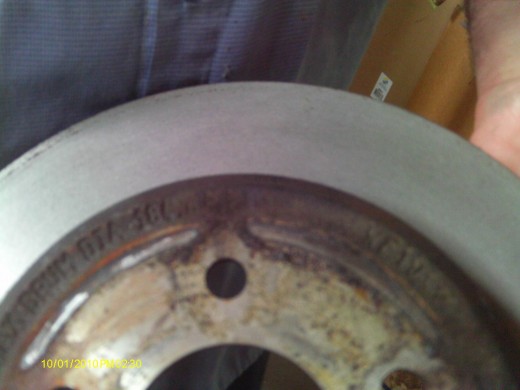
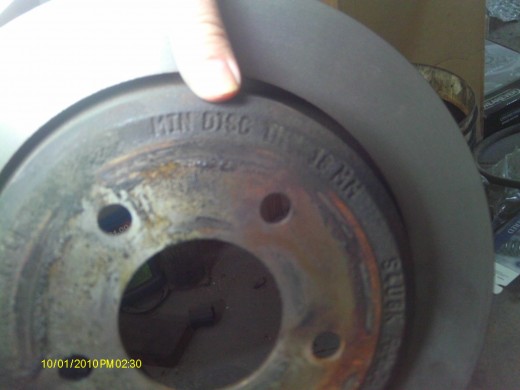
You will find the specific recommendation for the rotors stamped on the outside of the edge of the rotor. If your rotor does not meet these specifications, because they are too thin, they will need to be replaced.
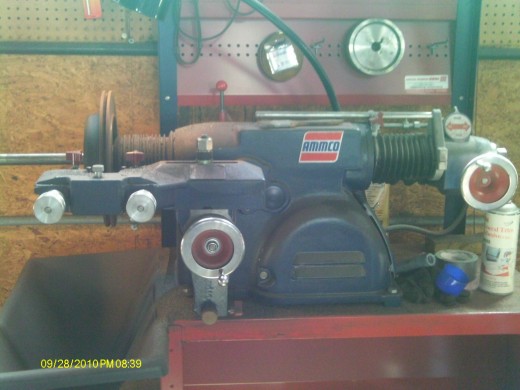
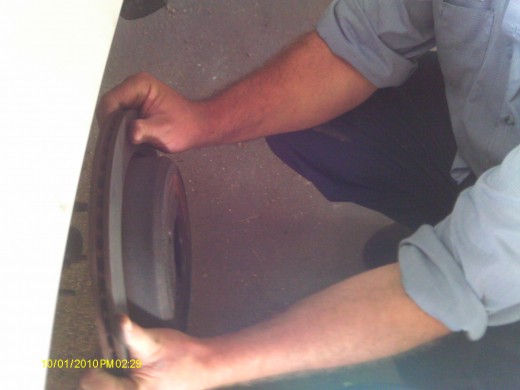
Use the lathe machine to smooth the grooves, (resurface), the rotor. While the rotor is turning observe whether it is a symmetrical or warped turn. If it turns in a flip floppy way it is warped and you will have to purchase new ones. Once you've resurfaced and checked the rotors for a smooth turn you can reinstall them on the hub.
If you do not have a lathe, or cannot rent or borrow one, many tire shops have a rotor turning service that will do this for you. This usually runs about $30 per pair of rotors and takes approximately fifteen minutes per rotor.
Compare this fee, however, with the cost of new rotors. According to Glen, if the cost is comparable it is wiser to just replace the rotors with new ones.
Rotor Resurfacing
Click thumbnail to view full-size


Brake Fluid
If you have not already replaced the new brake pads into the calipers you will do this now. Remove the bungee cords, install the brake pads and reinstall the calipers onto the mounting frame using the socket ratchet to tighten the bolts.
Press the brake pedal 3-4 times to engage the hydraulic system and check that the brakes are working. Remember: the calipers are wide open right now and by pressing the brakes it will engage the calipers to close. This is a must do to avoid a situation where you drive the car out of the garage without any brakes.
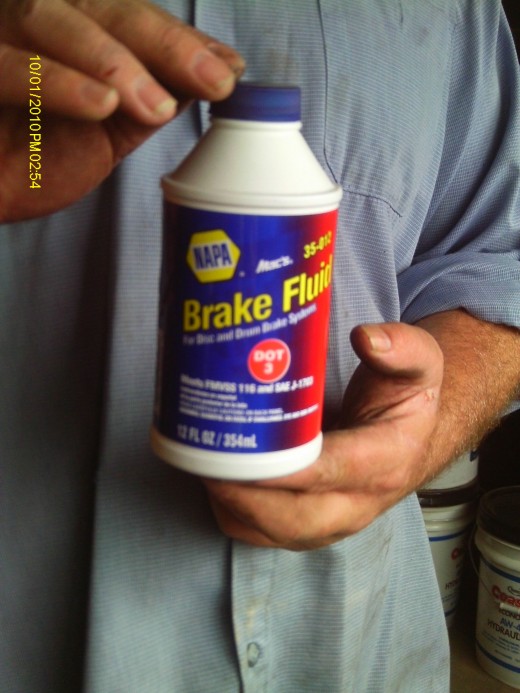
Check the brake fluid level, and if it is low, top it off with the brake fluid Dot 3 or Dot 4.
Lastly, reinstall the tire using the torque or lug wrench. Most people don't have torque wrenches so be careful not to over torque the lug nuts or you can stretch the threads of the studs, which will weaken them. Check your owner's manuel for recommended torque. Glen M. the mechanic suggests if you don't have that information you can't go wrong with 80-100 ft. lbs of torque.
Use the Right Brake Fluid
Click thumbnail to view full-size


Important tips for Brake service
Brake fluid is a toxic substance. It can cause damage to your vehicle paint and upholstry. Carefully pour it into the brake reervoir with a funnel. Quickly clean up any spills. While Dot 3 and Dot 4 are compatible and either can be used in your car, Dot 5 is not and should not be treated as such. It is a silicone base, which differs from the Dot 3 and 4.
When replacing the lug nuts on the tire do not apply them in a circular manner. An inexperienced person might think this is alright, however, there is a manufacture's recommended pattern to tighten these nuts. This is usually a diagonal or opposing tightening pattern. Consult the driver's manual for specifics.


