How To Tint Your Side Markers
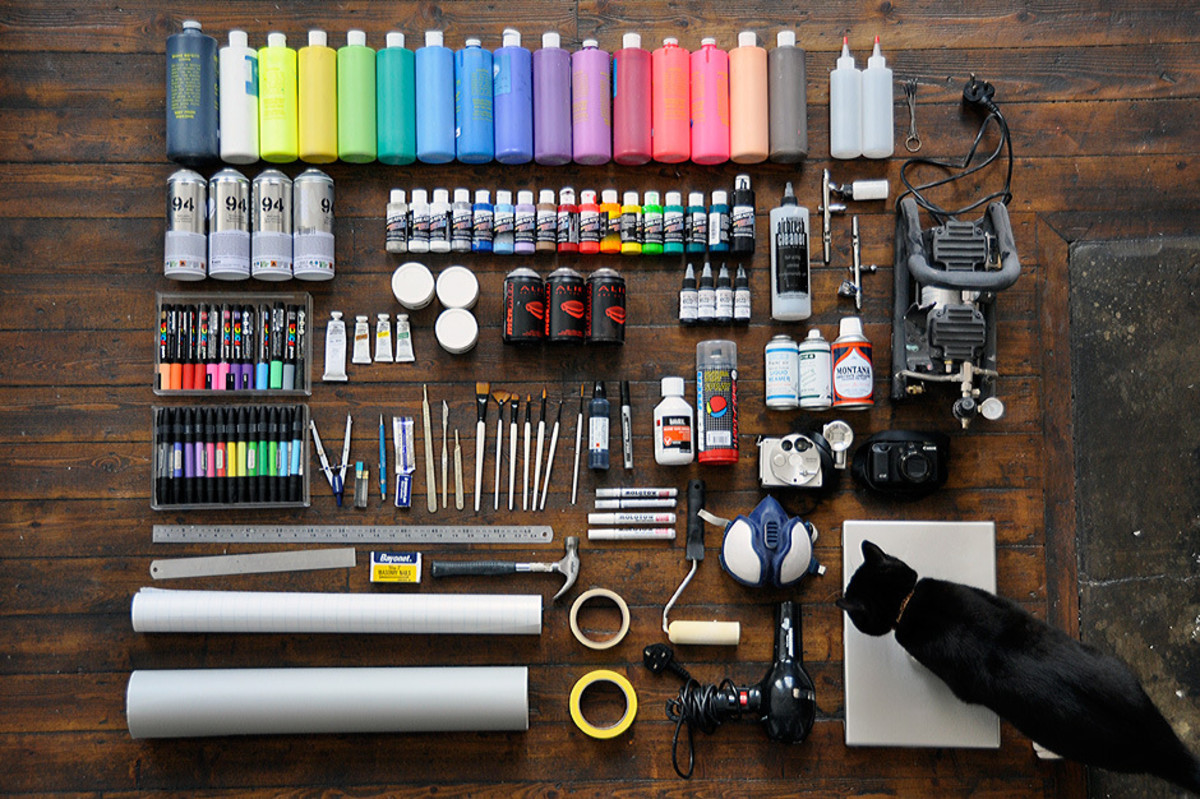
Items You'll Need
1. Spray on tint. VHT Nite Shades is the top choice for spray on tints. Rustoleum also makes a spray on tint. Or if you're feeling crazy, you could even buy a can of Duplicolor Perfect Match in the same color as your car.
2. Clear coat. Just about any clear coat will do, but Krylon will dry the fastest and have you back on the road in no time. Just make sure you get a gloss clear coat.
3. Masking tape.
4. Plenty of newspaper. Printer paper, old magazines, junk mail, etc will all do just fine as well.
Clean The Side Markers
You want your paint to stick, so clean the side markers well. Any dirt left behind will show through the paint and could lead to the paint peeling off eventually. So clean the side markers well and try them thoroughly (the same concept applies with water).
Tape Off The Side Markers
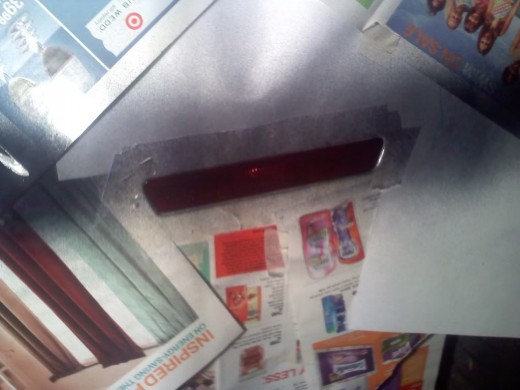
This is a very important step. Unless you want to go through the hassle of removing the side markers from the bumper, you should spend a little extra time making sure everything is nicely taped off. The side marker is probably recessed into the bumper, so get the tape down between the bumper and side marker. Cover at least a 3-4 foot radius around the side markers with paper and tape them all together. Leave absolutely no gaps between each paper because the paint will find its way through.
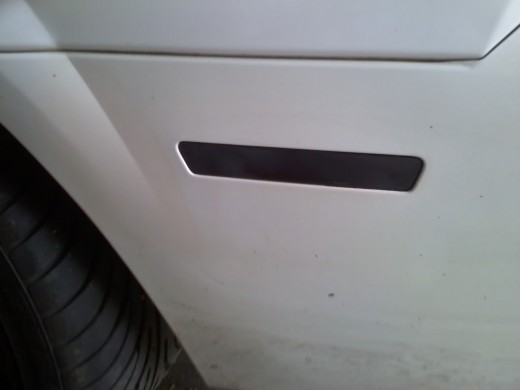
Tape off both side markers before painting to help save yourself some time.
Apply The Tint
Grab your spray on tint, shake it well, and pop the cap off. Give it a few test sprays on a piece of cardboard to make sure the tip is spraying well and the paint is coming out consistently.
Holding the can ~6 inches away from the first side marker, spray on a 2 light coats of tint (one from left to right and one from right to left). Make sure to angle the can to get the edges that go down into the bumper. Repeat this process on the other side marker.
In the time you spent spraying the other side marker, the first side should be fairly dry (as long as you made sure the coat was light). Continue going back and forth, applying light coats until you've got both side markers almost as dark as you want them.
Now you're going to put on the final coat of tint. Make this coat fairly heavy, but don't let it run! Take a few minutes and do some practice sprays on a piece of cardboard to get the feel of a heavy coat vs a heavy coat that runs. When you're ready, lay down a heavy coat on each side marker.
Wait
Just wait. Turn on the radio, go check your email, text a friend, etc. It's going to take that heavy coat 10-15 minutes before it will be dry enough to apply the clear coat. Don't get antsy, let it dry.
Apply The Clear Coat
Again you're going to want to go back and forth, applying light coats of clear coat. 3-4 light coats should be more than plenty. And again, give each side marker one final heavy coat.
The clear coat will help give the tint a more glossy look as well as protect it from the elements.
One More Wait
This wait isn't as long. Give the clear coat 5 minutes or so then carefully remove the papers protecting the car and the tape around the side markers. The clear coat will still be wet, so be careful! You could leave the papers and tape on until the clear coat dries but then it may be a bit tricky getting the tape off without peeling the paint or tint off with it. The sooner the tape comes off, the better.
Let the clear coat dry for another 30-45 minutes and your car should be ready to hit the road again, sporting those freshly tinted side markers!
