How to Change Your Car Oil
The Old Rule of Thumb; 3 months or 3,000 miles?
When I was a mechanic for a transportation company I saw the difference it can make to regularly service an engine. Car maintenance can add hundreds of miles to an engine. Maintenance schedules haven’t been updated in many, many years. The rule of thumb for changing the oil used to be three or three. That’s three thousand miles or three months, whichever one comes first. That rule of thumb has been outdated but you will continue to hear auto mechanics or quickie oil changers quote it.
There's an article that explains how often oil changes are necessary with information on the changes that make oil last longer in today's vehicle's here Edmunds.com .

5,000 or More is OK.
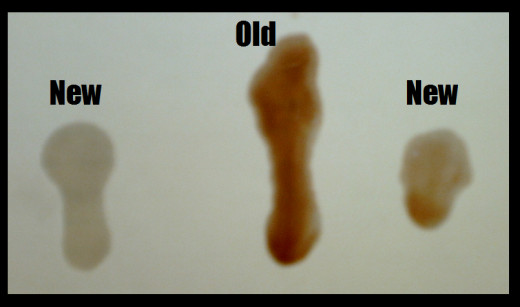
Just looking at oil cannot tell you if it has broken down. After oil is put in your engine it almost immediately becomes dark colored from the engine parts it is coating.
With today’s synthetic and high viscosity oils available there is no need to change your oil as often as the old three or three. At the shop I worked in we went by the five or five. The buses we serviced worked hard and changing the oil at five thousand or five months was still a bit premature. The important thing is to change it, period. At some point in time, change the oil in your car.
DIY Oil Change Parts List
There are a few things you'll need to get together before you start.
Auto Parts Stores, Walmart and Target all carry these items. You can also purchase these items online if you prefer. Walmart and Target have manuals hanging in the automotive isle that list vehicles and their recommended oil type and their filter type. The auto parts store counter person can look this information up for you on their computer.
- Four or five quarts of oil. (this is an average)
- A new oil filter.


DIY Oil Change Tools Needed
The following tools are needed for an oil change.
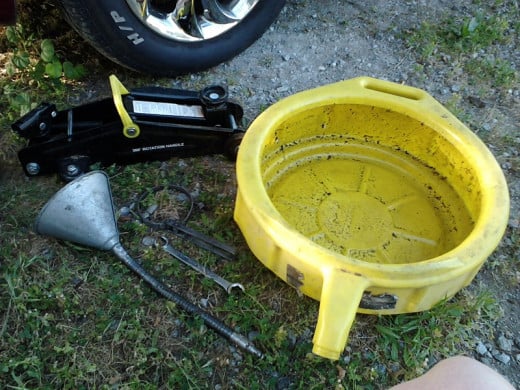
- An oil catch basin.
- Jack stands. (if your vehicle sits low)
- wrench
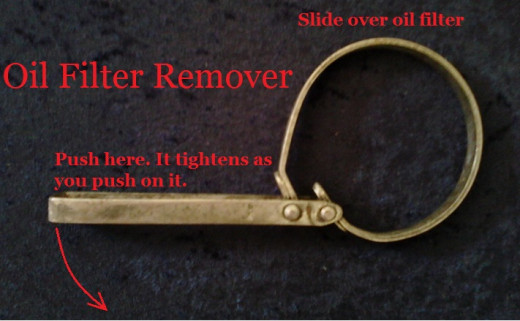
- Oil filter remover (this tool can come in handy especially if the oil filter is slippery)
- A couple of rags.
- A funnel.
Not every vehicle needs to be raised on jack stands. If your vehicle does need to be lifted up onto jack stands make sure you secure them and set the emergency brake.
DIY Oil Change Steps
Ten Steps to Your Oil Change
| Comments
|
|---|---|
1. Put the front wheels on jack stands if needed.
| Some cars & trucks are high enough off the ground to skip this step.
|
2. Remove the oil dipstick.
| Removing the dipstick will allow the oil to flow out freely.
|
3. Set an oil catch basin under oil drain screw then remove the screw and allow the oil to drain out.
| Always use a catch basin. It can be recycled at your nearest auto parts store or refuse site.
|
4. If your catch basin is large enough to be placed under oil filter at the same time, do so and remove the oil filter.
| A oil filter remover can make removing the oil filter easier.
|
5. If your catch basin is not large, after the oil has drained replace the oil drain screw and place the pan under the oil filter and remove it.
| Removing the oil filter will get oil on your hand and arm. Have a rag handy.
|
6. Wipe the oil filter mounting with a clean cloth.
| |
7. Using your finger apply a thin layer of new oil on the rubber gasket.
| |
8. Screw the new oil filter into place.
| Hand tighten only!
|
9. Fill the engine with new motor oil.
| |
10. Start the engine and check under the vehicle where the oil drain plug & filter are located. You're looking for any oil leaks.
| If you see any leaking, turn the engine off and tighten the bolt or filter. The filter may leak if over tightened. The gasket will fold over itself and cause a leak if over tight.
|


