How to Change a Car Windshield Wiper J-Hook Type
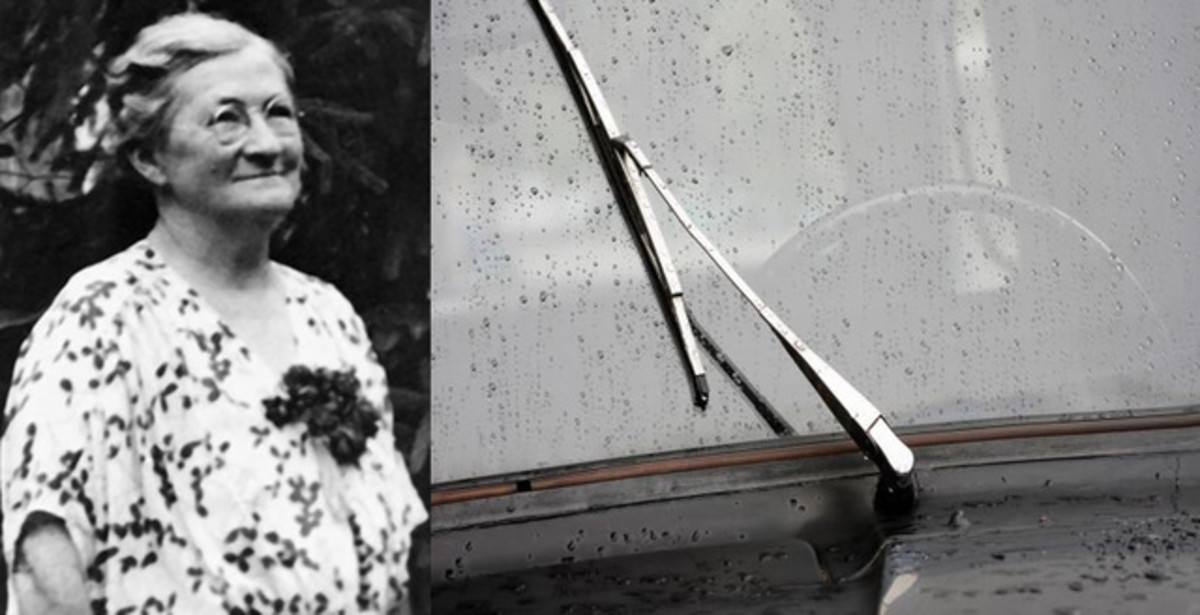
Windshield Wiper
Windshield Wipers
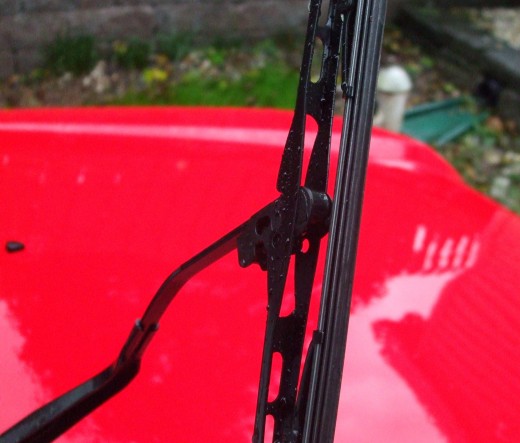
They are marvelous inventions and need to be in working order to pass many state car inspections. Even without the fear of failing an inspection, having well operating blades improves visibility for a driver and therefor safety for all.
A Bad Wiper
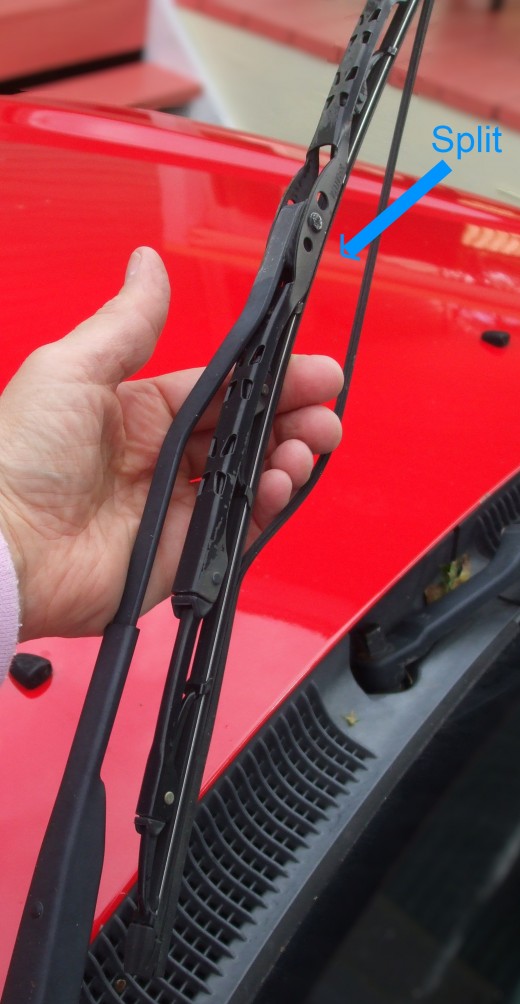
How to Remove Bad Wiper
1. Lift blade arm away from windshield until it is locked into place perpendicular to the window.
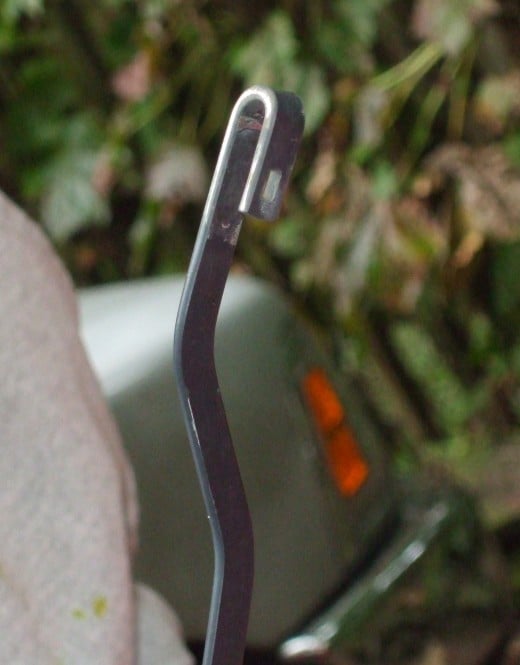
2. Move the actual blade assembly close to being perpendicular to the arm. It will NOT go all the way; just move it as far as it easily goes. The rubber squeegie will partially face the sky. Where the arm connects to the blade assembly, you should see the curved part of the J. The J is upside-down.
3. Put a hand on both sides of the blade and use moderate force to push the blade about 3 inches (6 cm) down the arm. You may hear a click as it disconnects.
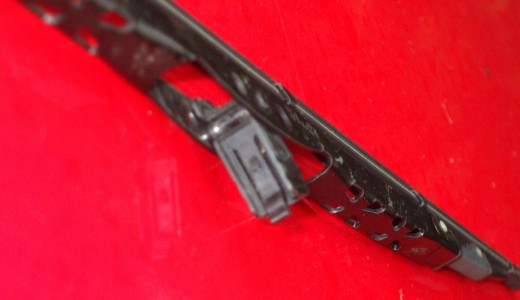
4. Now the entire J-hook is visible. Also a hole in the center of the blade assembly is visible. It is large enough for the entire J-hook to pass through. Carefully pull the blade off the wiper arm. This is slightly similar to threading a needle, however it is like moving the needle [blade assembly] onto the thread [wiper arm].
Working Position for Wiper Blade Changing
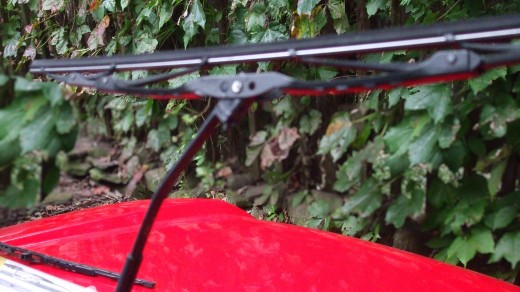
J-Hook and Wiper
How to Attach New Wiper
1. Remove wiper from package and read all instructions. If your wiper has specific features and instructions differing from these, follow package directions.
2. With one hand, lift the wiper arm. With the other hand, hold the new blade so that the center of the metal blade assembly is close to the J-hook and the rubber squeegie is farther away from the J-hook.
3. Find the two holes at the center of the blade assembly. You will be threading the entire J-hook through one of these. Which one? The J-hook must go through hole that would have the short curved end of the upside-down letter J towards the center of the blade and the long straight part of the letter J farther out from the center.
4. Thread the J-hook through the hole -which is really moving the blade around similar to the analogy above about a sewing needle. Now the J is completely past the blade.
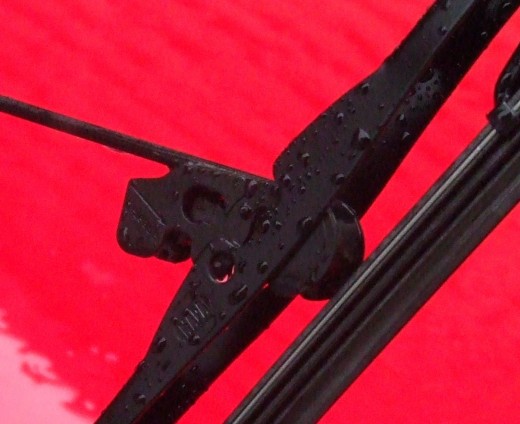
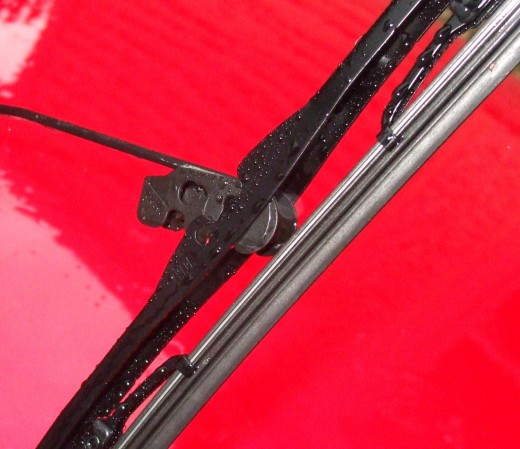
5. Move the blade so that the long straight part of the J is touching the center metal bits. Pull the blade assembly towards the round curved bottom of the J so that the blade locks onto the wiper arm. It should click into place rather easily.
6. Test the fit. Test the wiper. Fini!
Successfully Attached Windshield Wiper Blade
Do It and Feel Proud of Your New Skill
Yes, you CAN do it!
Photos and text copyright 2015 Maren E. Morgan.

