How to Install LED Tail Lights on a 1998-2005 Lexus GS300/GS400

1998-2005 Lexus GS300 & GS400 Aftermarket Taillights
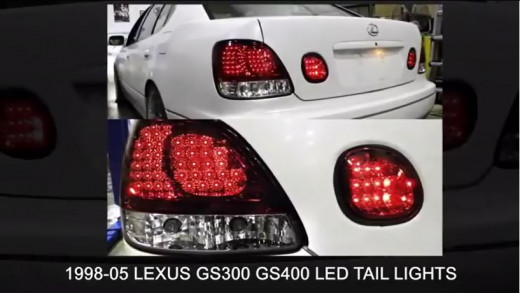
How to Install Replacement GS300 & GS400 Taillights
Tools and Preparations
Installing aftermarket tail lights on your 1998 through 2005 Lexus GS300 or GS400 can take some time to accomplish so you should plan to devote at least an hour to the project from start to finish. You will be removing and replacing both the primary taillight and the trunk light portion so this install i somewhat more involved than others we have covered here.
Work Area Preparations:
We recommend that you clean and prepare not only your vehicle prior to beginning but your work area as well. You want to make sure the installation area is dry an protected from the elements as you will be connecting some wiring during this project and you do not want to run the risk of shorting out any of the electrical components.
In addition to the above, we also advise you to use an old sheet or tarp as a staging area for the installation. This will protect the finish of the stock and replacement lights and prevent scuffing.
Recommended Installation Tools:
- A flathead screwdriver
- A 1/4-inch drive ratchet
- A 10mm socket
- A trim pad remover
Safety Gear:
Whenever you work on any car protective eye-wear should always be worn as doing so helps prevent injury.
Recommended Tools

Step 1 - Open Trunk
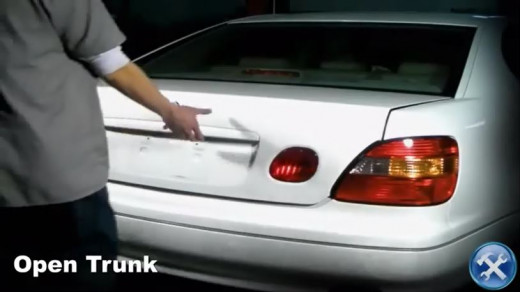
As basic as it may seem you will need to open your trunk to access the mounting hardware for the taillights.
Step 2 - Remove two 10mm bolts and cargo latch
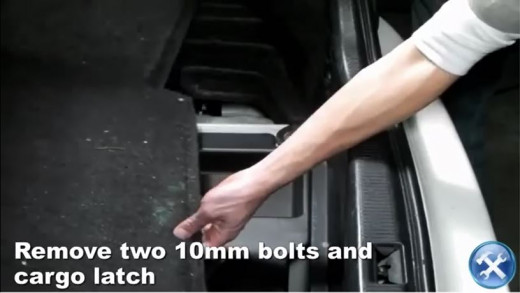
Remove the cargo liner to expose two 10mm bolts that attach the tail light to the vehicle.
Step 3 - Remove plastic covers
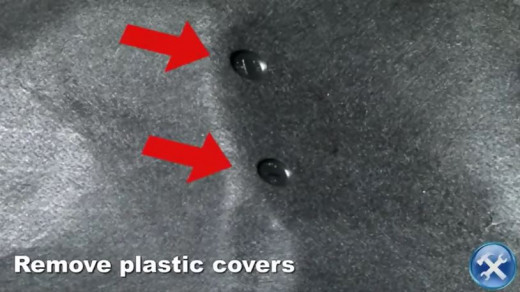
Using a flat head screwdriver remove plastic clips.
Step 4 - Remove two 10mm nuts
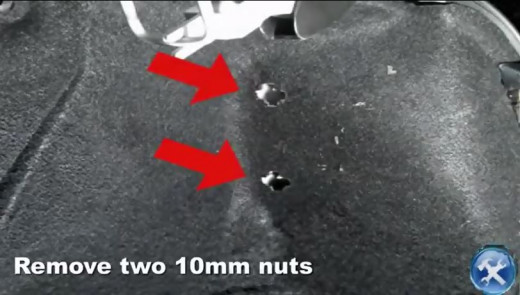
With your socket wrench remove the two 10mm nuts attached to the mounting bolts.
Step 5 - Remove plastic covers to expose 10mm bolts

On the exterior of the vehicle, you will see two plastic covers next to the tail light. Remove these in order to expose the 10mm bolts.
Step 7 - Remove tail light sockets from housing
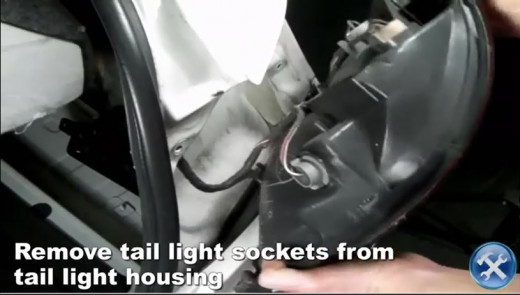
Pull out the tail light enough to reveal the harnesses. Unplug the taillight sockets from the housing.
Step 8 - Connect harness to new tail light
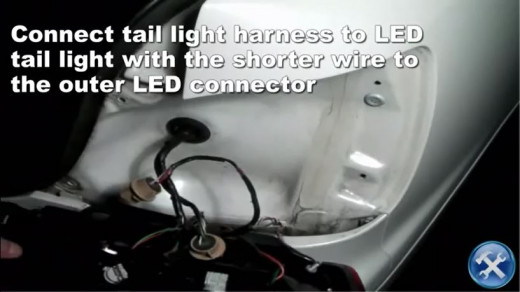
Connect the harnesses to the new tail light.
Optional Step for 2001-2005
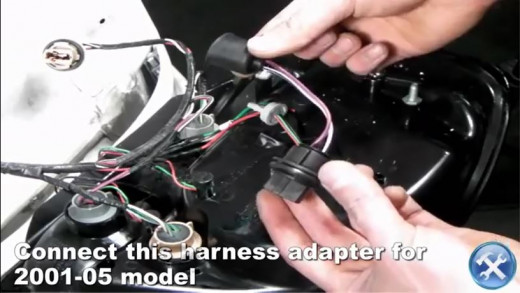
Connect the harness adapter for 2001 through 2005 models.
Step 9 - Tighten the two 10mm bolts
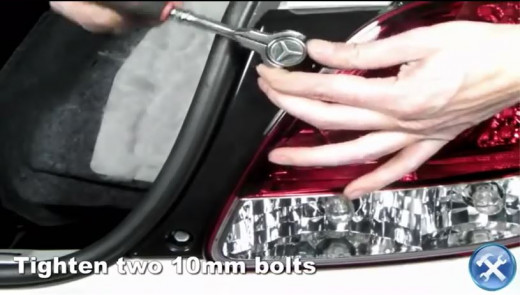
Reattach the taillight using the two 10mm bolts.
Step 10 - Tighten the two 10mm nuts
Step 11 - Replace plastic covers

Step 12 - Remove 14 plastic clips
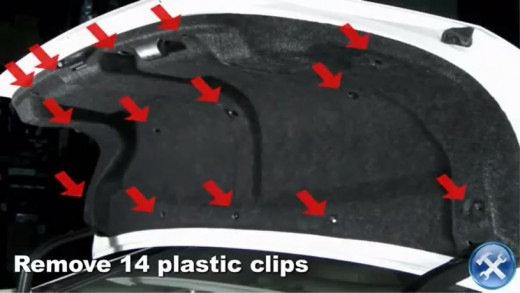
Remove the fourteen plastic clips indicated by the red arrows.
Step 13 - Remove trunk liner
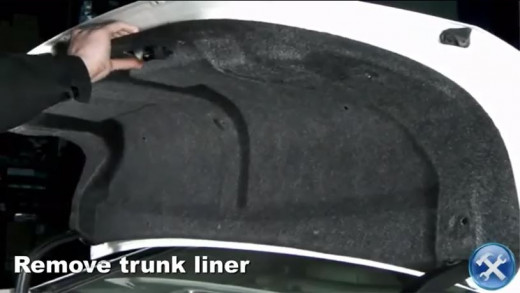
Remove the trunk liner to expose mounting hardware of trunk light.
Step 14 -Remove two 10mm tail light nuts
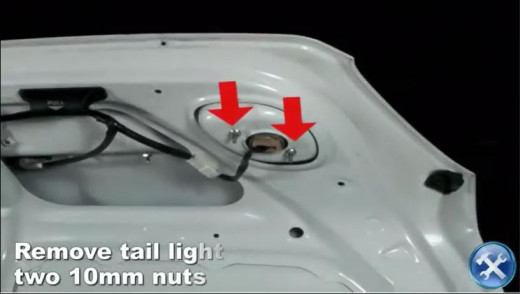
Remove two 10mm nuts from trunk light.
Step 15 - Remove tail light housing

Remove trunk light from housing.
Step 16 - Plug LED trunk light into stock position
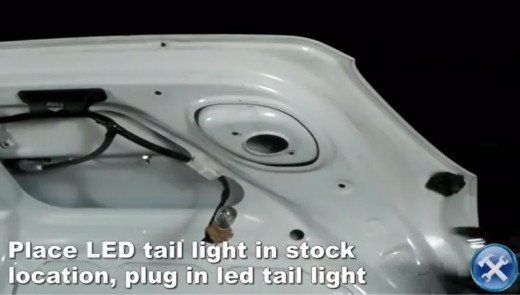
Place replacement light into position and plug it in to harness.
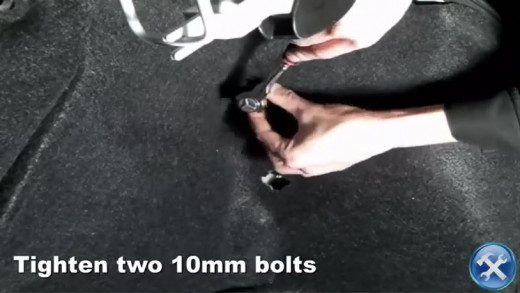
Step 17 - Tighten two 10mm nuts
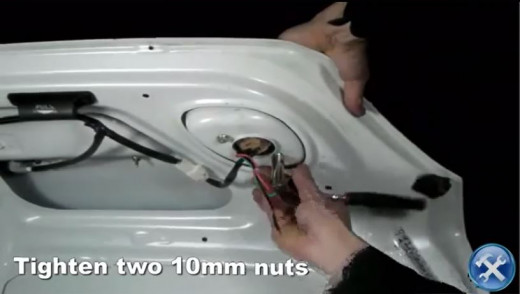
Tighten the two 10mm nuts to securely attach trunk light.
Step 18 - Connect the resistor to the LED tail light and attach to trunk
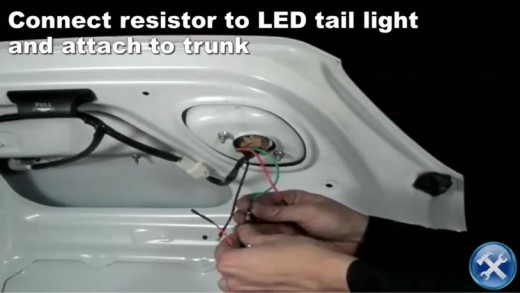
Connect the wires (three in total) to resistor and, using the self-adhesive tape, mount to the inside of the trunk.
Step 19 - Replace trunk liner and 14 plastic clips
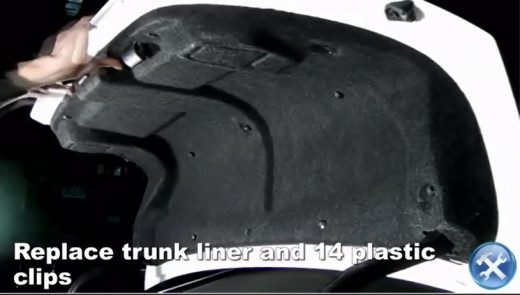
Replace trunk liner and affix it to trunk with fourteen plastic clips.
Step 20 - Close the trunk
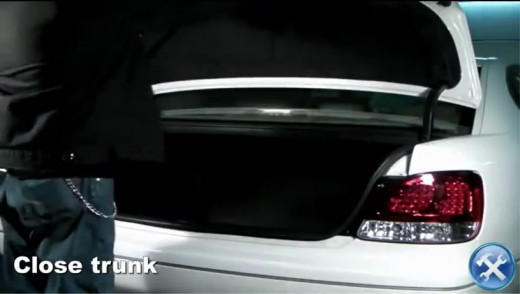
Close the trunk.
Please check all lights prior to driving.
Installation Video Instructions
References
- Where can I get good LED tail lights for my GS300? - Club Lexus Forums
Where can I get good LED tail lights for my GS300? GS - Second Generation - Installation Video: 1998-2005 Lexus G300 Tail Lights - YouTube
http://www.rvinyl.com/Custom-Tail-Lights-LT-GS30098RLED-KS.html | Lexus GS 300 1998-2005 Red LED Tail Lights are an easy upgrade to your boring OEM tail ligh... - Lexus GS 300 1998-2005 Aftermarket Red LED Tail Lights
Lexus GS 300 1998-2005 custom tail lights by Spec-D Tuning let you customize your vehicle. Replace your OEM tail lights with Spec-D Red LED Tail lights.


 computer")


