How to Maintain Your Engine
Lost Knowledge
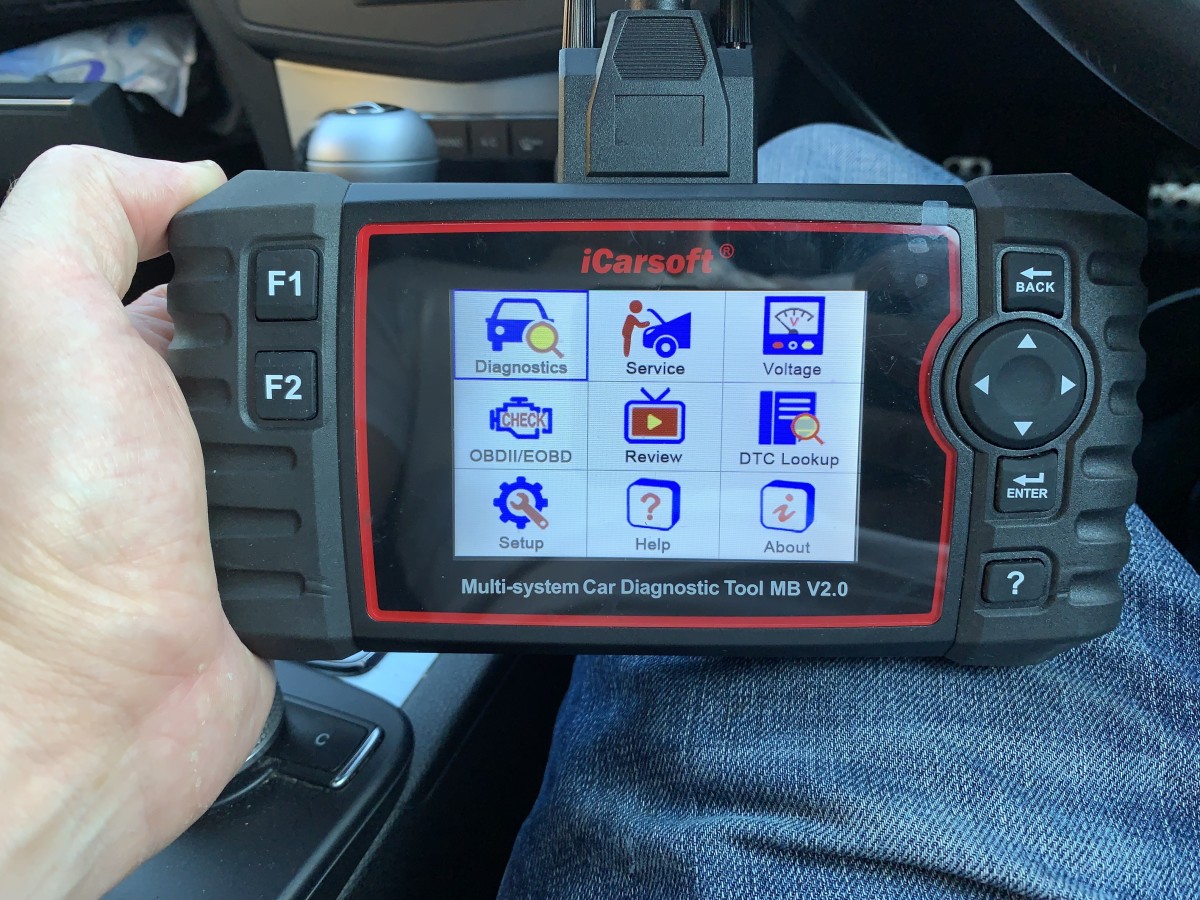
Automobiles of today use a series of bells and whistles to inform you something is wrong. You have lights to tell you if the oil is low, needs to be changed, as well as to inform you of a low tire. So why should anybody need to know how to perform basic maintenance on an automobile? Do you know how to check the oil, or the tire pressure? Do you know where the oil goes if the engine needs it?
A surprising number of people out there would not know what to do, or how to go about solving the problem. Checking vital fluids, or the air pressure in tires is something that can be done in a very short time with the right knowledge. Many people do not know how simple it is to perform these tasks. They simply wait for a light to inform them of a problem, or worse become broke down. When this happens it's too late for preventative maintenance, it's time for a visit to the service center. This is probably one of those unexpected costs that wasn't part of a tight budget.
Location of Engine Fluids
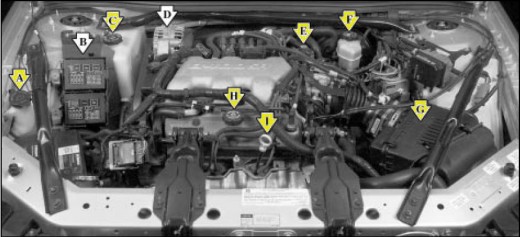
Fluid Locations
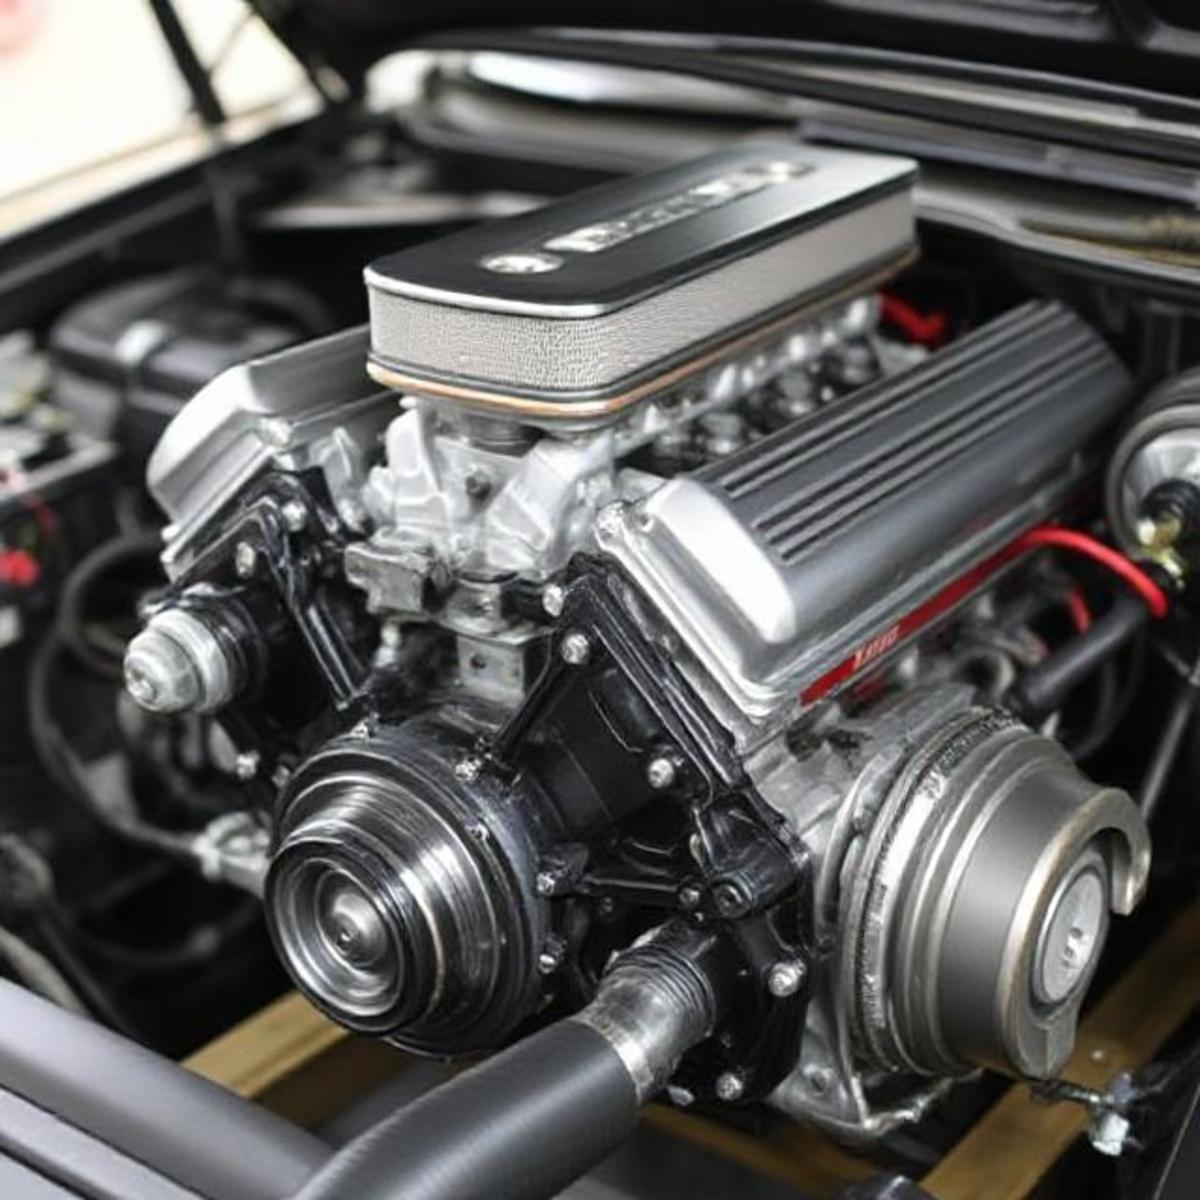
Many people are overwhelmed when they open the engine compartment, causing them to lose focus. Usually everything for to do basic fluid check is marked, or color coded for easy identification. In the above photo the highlighted letters will be the main points of interest. Location depends on the make and model of the automobile, but are usually in the same general area.
- A - Washer Fluid
- C - Coolant
- E - Transmission dipstick and fill tube
- F - Brake Fluid
- G - Air Filter Housing
- H - Oil Fill Cap
- I - Oil Dipstick
Fluid Identification
All fluid reservoirs are marked with "add" or "full" to determine if additional fluid is needed. It is very important not to over-fill these reservoirs because they could be damaged when the fluid expands due to heat. If the fluid level falls between the "add" and "full" marks, no additional fluid is needed. If the fluid level is at, or below the marks, then fill accordingly.
(A) Washer Fluid - This fluid is used with the windshield wipers to clean dirt, grime, and bugs from the windshield. It can be identified by a picture depicting a windshield, or the words "washer" printed on the cap.
(C) Engine Coolant - This helps keep the engine cool in the summertime, and prevent freezing in the winter. There are many different types of engine coolant available, so be sure to check the owner's manual to determine the proper one to use if additional fluid is required. A coolant tester can be used to determine the protection strength. Continuous low coolant will require a service center's attention. This reservoir can be identified by the word "coolant" on the cap. Never remove the cap of a hot radiator.
(E) Transmission Fluid - Automatic transmissions only. This fluid allows the transmission to change gears smoothly. The fluid is checked using a dipstick, usually red in color with the word "trans" printed on the handle. The transmission should be checked with the engine running. Remove the dipstick and wipe with rag to clean any fluid off the dipstick. Instructions on the dipstick will state if the automobile needs to be in "park" or "neutral", type of fluid that is required, as well as marks indicating fluid level. Reinsert the dipstick, and pull the dipstick out again and check the fluid level. If the fluid level is at or below the "add" mark, pour the required type of transmission fluid in the dipstick tube. Usually the "add" mark denotes one pint low. If the fluid is excessively low, service may be required. Note that some automobiles are equipped with maintenance-free transmissions, therefore the fluid can not be checked.
(F) Brake Fluid - This allows the automobile to stop when the brake pedal is depressed. This is usually in a container on the driver's side, toward the rear of the engine compartment. This can be identified by the words "Dot 3 only" printed on the cap. On most newer model automobiles the fluid level is visible through the side of the reservoir to determine if fluid level is low without removing the lid. If the fluid should become excessively low, service is recommended to determine the cause. Without brake fluid, the brakes will not operate properly.
(G) Air Filter Compartment - This is usually located on the driver's side at the front of the engine compartment and contains the air filter. Most are fairly easy to open and remove the air filter, however some require more time and would be best taken to a service center. Once removed, the best way to determine if it needs replacement is to hold the filter up to a bright light. If the light can be seen through the filter, then replacement is not necessary.
(H) Oil Fill Cap - Unlike the transmission, the oil is filled through an opening other than the dipstick tube when oil level is low. This cap is usually identified by the word "oil" or a picture of an oil can on the cap. In addition, the recommended oil viscosity, or weight, is usually printed on it as well. The oil viscosity will usually be 5W20, 5W30, or 10W30. When oil is added, be sure to replace the cap or oil could blow out causing the engine to run low on oil.
(I) Oil Dipstick - The oil level is checked in the same manner as the transmission fluid, by a dipstick. The handle is usually yellow in color, with the word "engine" or "oil" printed on it. The oil should be checked before the engine has been started, or several minutes after the engine has been turned off. This allows the oil to drain back into the oil pan to get an accurate reading. With the automobile on a level surface, pull the dipstick out and wipe the oil off. "Add" and "full" will be marked on the dipstick. Replace the dipstick and pull it back out, check where the oil level is. If the level is at or below "add", remove the oil fill cap and pour in one quart of the recommended oil. It is best to use the same oil as what was used at the last oil change because some oil can not be mixed. Repeat the process for checking the oil level. Do Not Overfill.
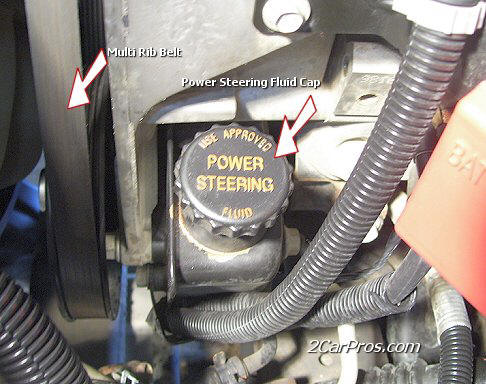
Power Steering Fluid (Pictured below) allows the driver to turn the steering wheel easier. This container can be identified by the words "Power Steering Fluid" or a picture of a steering wheel on the cap. Some models have a clear container that has the fill levels marked on the side, while others have a screw on cap with a dipstick in the cap. The location varies and can be very difficult to find. On a rear-wheel drive, the reservoir is usually located on the lower front driver's side of the engine.On a front-wheel drive, the reservoir may be located on the passenger side, toward the back side of the engine under the alternator (H).
Power Steering Fluid
Possible fluids needed
Tire Pressure
The tire pressure should be checked on a regular basis due to loss of pressure over time. Low tires can reduce gas mileage, as well as have the possibility of ruining a tire. Many people do not know how to check pressure in tires, or air them up when low. In the past a person could stop at the local full-service gas station and get the tire pressure checked by an attendant. However, full-service gas stations are hard to find because of the self-service convenience store.
The hardest part of checking tire pressure is determining the correct pressure required. Many owner's manuals recommend 32 to 35 psi. However, the recommended pressure of a standard car tire, which is usually found on the sidewall, can range from 44 to 51 psi, depending on quality and size of the tire. Usually the recommendation in the owner's manual will give you a smoother ride, the pressure recommended on the tire can give better gas mileage and longer tire life.
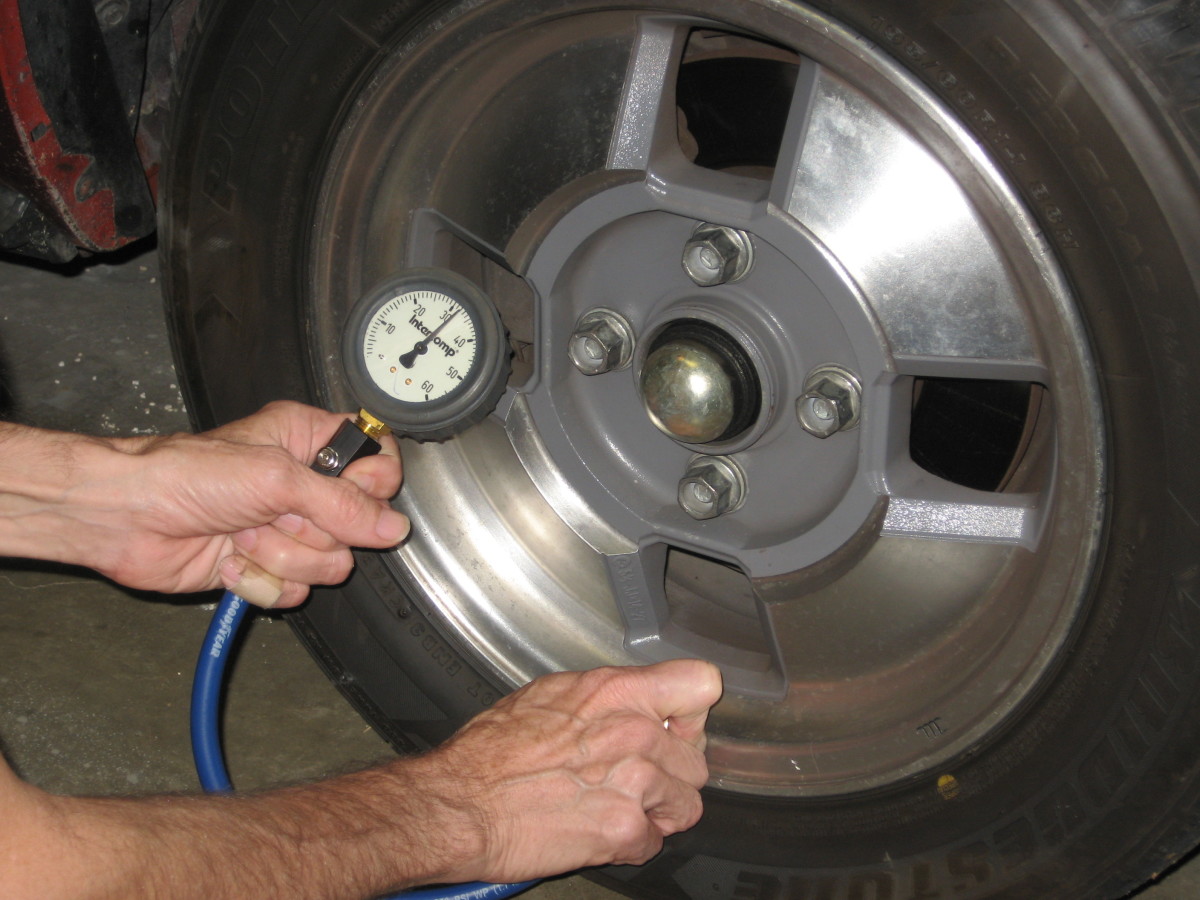
Actually checking the air pressure is not as hard as people may think. All it takes is a few minutes, a tire gauge, and some practice. There are many different types of tire gauges available to use. Whether it is a standard or digital, all work the same way. The opening at one end is placed squarely over the valve stem of the tire, then press evenly toward the base of the stem. If you hear air escaping, stop, re-position, and try again until no air can be heard. The escaping air can cause an inaccurate reading. On the standard gauge, a stem will extend from the bottom that has numbers showing the pressure in the tire, whereas a digital gauge will display the tire pressure on a screen. Digital gauges cost more than the standard gauge, but they are more accurate. There are also valve caps that display the pressure, but these can become damaged and cause the tire to lose air.
If it is determined that the pressure is low, airing the tires up is done with the same method as checking the pressure. Pressing evenly toward the base of the valve stem with the air hose, if there is escaping air re-position the nozzle and try again until air does not escape. It does not take long for a tire to reach the proper pressure, so be sure to check the pressure every few seconds until the desired pressure is obtained. If one tire is lower than the rest or requiring air more frequently, it is possible the tire may have a leak and in need of repair. A tire service center should be able to determine the problem quickly.


