How to clean and polish a car's headlights without an expensive kit


Polishing your headlights is a simple and quick way to increase your vehicle's light output. This will improve the car's appearance and offer more safety during night time driving. There are a few off-the-shelf kits for doing this, but many people have these same materials sitting around in their garage. Why spend cash on something you already have?
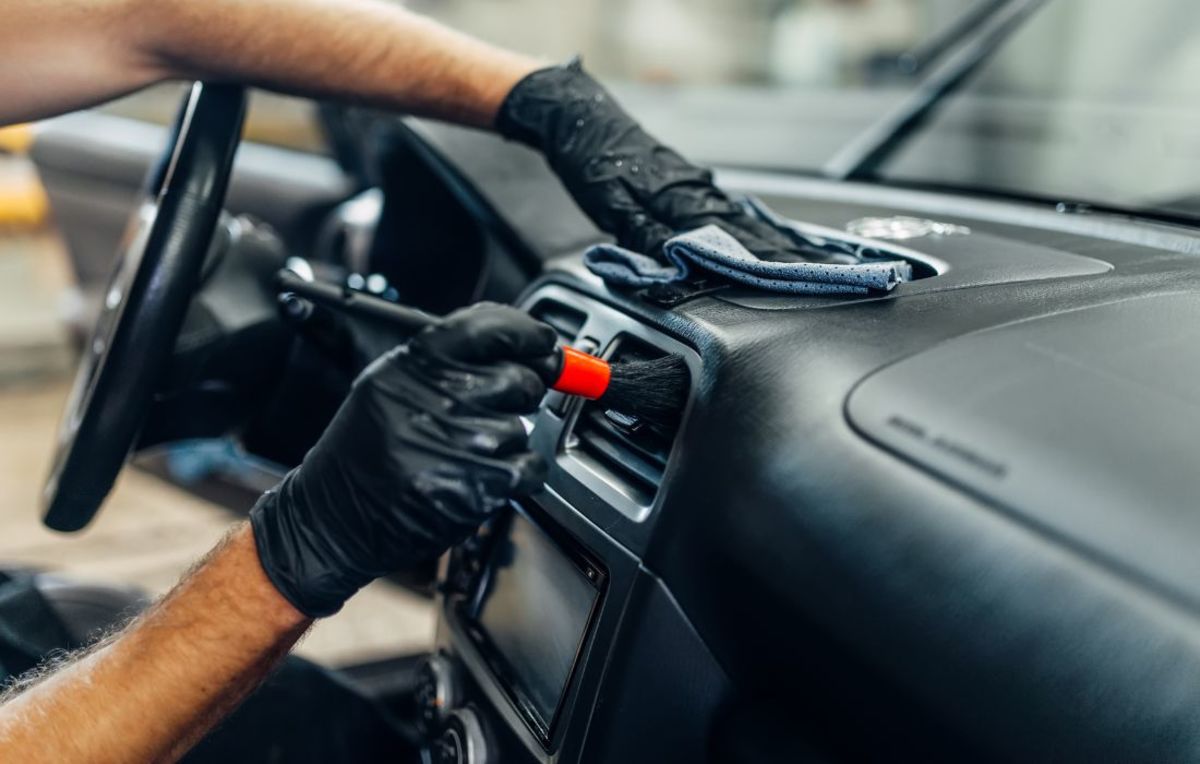
What you'll need
Before getting into the details, here are the materials you'll need. If you don't already posses most of these materials, you're better off buying a kit from your local auto part store.
- 2000, 2500, and 3000 grit sand paper
- Masking Tape
- Polishing Compound
- A bowl of water
- Any soft cloths - preferably lint free
A drill with sanding disks or an orbital sander will make the job easier but you can do without

Step-by-step polishing instructions
Now that you've gathered materials, I'll guide you through each step in polishing your headlights.
- The first thing you'll want to do is tape off the painted areas around your headlights. It's easy to slip and we don't want to accidentally sand away our car's finish. Mask off as much paint as necessary until you feel comfortable that you're not going to sand anything but the headlight. It might also be a good idea to use two layers of tape.
- Before sanding, we want to gently polish the surface of the headlight so that we can see which areas are the worst. This will make your job go quicker because you won't spend unnecessary time sanding areas that are already clear. To do this, put a quarter sized spot of polishing compound onto the headlight. You can then polish the headlight with a soft cloth or a buffing wheel. Just work your way around the headlight and after a few minutes you'll see a noticeable improvement in the surface's smoothness. At this point you can stop polishing and wipe off the headlight with water.
- After the polishing compound is removed from the surface of the headlight, you should notice a large improvement in clarity. There will be some areas, however, that don't look as fresh as when the car was new. If you're sanding by hand, wet both the headlight and your 2,000 grit sandpaper with water and sand across the headlight in only one direction (left to right or top to bottom, NOT circles). If you're using a drill or orbital sander, you still want to be sure to wet the sandpaper and headlight, but don't worry too much about which direction you move the sander. Focus your effort on areas that weren't as clear after the initial polishing. Keep the surface wet while you sand and never let the sandpaper dry out. After a few minutes you should have a uniform smoothness across the headlight. You can then wipe off the headlight with water to remove dust particles that you created. Dry the headlight before continuing.
- Repeat step 3 using 2,500 grit sandpaper and then again with 3,000 grit, wiping and drying the headlight off before changing grits. If you're sanding by hand, change the direction in which you sand after changing grits. For example, if you were sanding from left to right with 2,000 grit, sand from top to bottom when you switch to 2,500 grit. After sanding the headlight with 3,000 grit sandpaper you should have a very smooth finish, but the lens will not be especially clear. Don't panic, the clarity will come in the next step.
- The last step is to again buff the headlight with polishing compound. Do this exactly as you did in step 2, but you may want to polish a bit longer to be sure that we completely remove any marks produced while sanding. Then make sure to wash all of the polishing compound from the headlight and wipe it dry. After this polish you will have perfectly clear headlights that look like new. Adding wax over your headlights will help protect your new finish for a bit longer, but it's not absolutely necessary. You can do this with any common carnauba wax you may have sitting around.