Permatex 09142 Wheel Restoration Kit Review

The Story
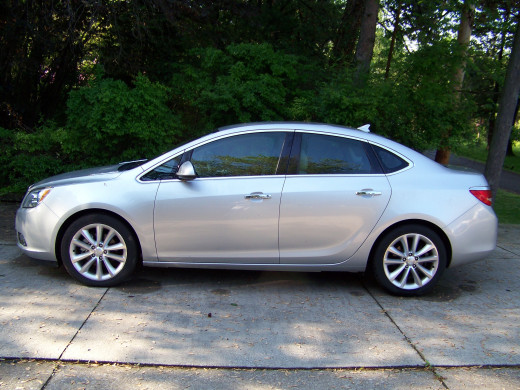
Like most families these days, we lease instead of purchase our cars. With a leased car, we get a lower monthly payment and get to drive a new car every two to three years. In addition, all car repair expenses are covered and we only have to pay for maintenance costs. The downside is that you can be charged extra dinero at lease end if you turn your car in and the leasing company determines that damages to your car are out of the usual "wear and tear" scope. I always warn my wife "be careful not to curb the rims on your Buick Verano". "Curbing the rim" means to scratch the edge of the wheel rim by contacting the concrete curb at the edge of the street. This would qualify as "beyond wear and tear" on a lease agreement. So imagine my horror when I hear this tell-tale scrapping noise coming from the driver's side front wheel when I was turning around in a restaurant's parking lot. Yep, you guessed it I "curbed" the front wheel on my wife's brand new leased Buick Verano. You can imagine how bad I felt given how I always tell her to be careful.


The Permatex 09142 Wheel Restoration Kit


Using the Permatex 09142 Wheel Restoration Kit
Below, I describe the steps required to fix the scratches and scuffs on the alloy wheel from my Wife's Buick Verano.
Step 1 Remove Wheel From Car
I recommend removing the wheel from the car and placing it on a waist high table in a temperature controlled, dust free, and well lit, area. This will ensure a pain-free profession restoration. I used the workshop area of my basement.

Step 2 Sand Damaged Areas
The next step is to sand the damaged areas with the course sandpaper provided in the kit. This is to remove the high spots gouged out of the rim making it easier to cover when filler is applied. Only sand 1/16 inch beyond the border of the damaged area.


Step 3 Apply Filler
Clean the sanded area with the provided alcohol swab, use the applicator to work the filler into the scratches. Only apply to the scratched and gouged area itself as you will be creating extra sanding work if you apply filler past the scratches.


Step 4 Sand Filler
Use the fine grit sandpaper provided to sand the filler smooth. Make sure you taper the filler so that it perfectly matches the contour of the rim's edge. Try not to sand too much past the edges of where the filler is applied as you want to keep the repaired area as small as possible.


Step 5 Masking And Paint Preparation
Use the remaining alcohol based pad to clean at and around the damaged areas and allow to dry. Use newspaper and masking tape (not provided) to mask off the tire and rim to avoid over spray.

Step 6 Paint
Make sure you thoroughly mix the provided Dupli-Color Silver Wheel Paint by shaking the can vigorously for a couple of minutes. Apply light coats of paint to the repair areas tapering at the edges so that the newly painted area blends in with alloy wheel color. Wait a couple minutes after the last coat then remove the paper and masking tape. I recommend allowing the paint to dry for at least 24 hours before installing the wheel back on the car.

My Review, Drum Roll Please!
The Permatex 09142 Wheel Restoration Kit is a bare bones system that contains everything you need to fix scuffs and scratches on automobile rims. There is enough filler and paint to fix more than one incident of "curb rash". The filler applied easily and evenly into the deep scratches and the provided Dupli-Color paint blended easily with the original silver color of the rim. The instructions were easy to follow and I believe this kit allowed a novice like me to perform a perfectly exceptable if not an extremely good repair. All in all, I give the Permatex 09142 Wheel Restoration Kit a "Two Thumbs Up".
Conclusion
You too can fix scrapped and scuffed alloy rims on your car with the Permatex 09142 Wheel Restoration Kit. Save yourself from exorbitant repair bills and post lease fees by fixing it yourself. Most important of all, the repair passed "the wife" test. She was extremely happy with the results of the repair!
Can you tell which Alloy Wheel was fixed?


 to Fix Them")


