Mini Sport Classic Car Restoration Part-2
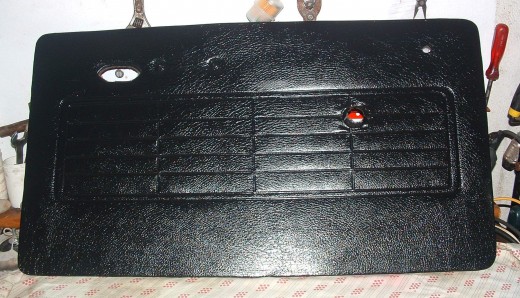
It’s been a few months since my last hub on this Mini Sport Classic Car Restoration! The next parts that were removed and restored after the roll bar was the inside panels! The panels next to the back seats were in very good condition, thus a bit of vinyl cleaner brought them a good shine and then wrapped and stored away. Now both the inside door panels were completely wobbly on the bottom! I thought of removing the vinyl trim and make new moulds, but a carpenter friend of mine told me trick in which one can straighten and save the press board moulds!
It´s so simple! Water! I placed a door panel on a large flat surface with the press board facing up, then got a few wet rags and placed them on top!
The press board eventually sucks up the water slowly and becomes more flexible, at this stage weights are slowly added on top of the rags, forcing it to slowly straighten! As more weights were added, straighter the panels became until the wet rags were removed and the panels left to dry, still with the weights on top! When fully dried, they were wrapped and stored away!
Haynes Mini Manual
In the mean time I received the Haynes Mini Service Manual! This excellent book for reference is a true Bible on the Mini! It will be studied front to back and vice-versa many a times, I know!
More on this Mini Sport
- mini-sport.net
A site that will share a complete from-the-ground-up Mini Sport restoration process.
Make it Easier Restoring Classic Cars
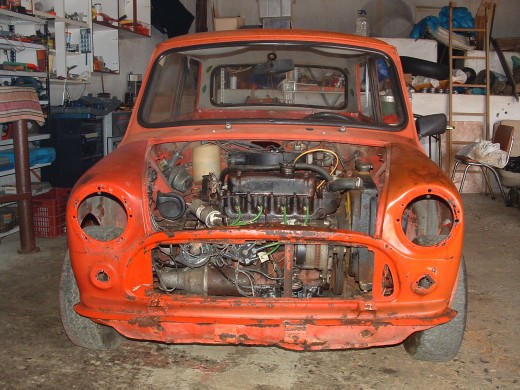
This is not the first Classic Car that I have restored, but one thing that I have learned to make things a lot easier with the restoration of this Mini Sport is that every single part you remove you inspect it if it is restorable and if so, restore it as best as you can, take photos, lots of photos before and after, wrap it, tag it and shelf it!
It makes it so much easier when you come to a turning point of reassembling your classic car!
Instrument Panel
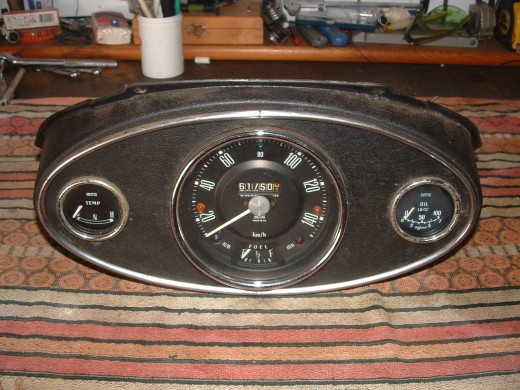
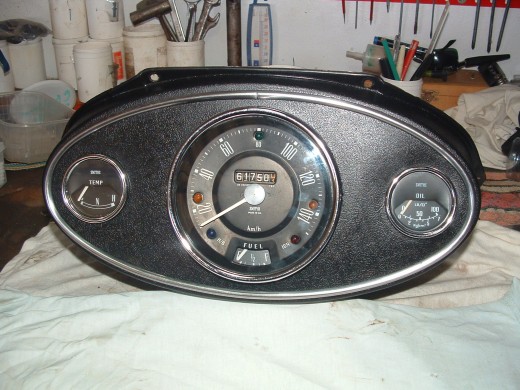
After removing part of the dashboard I detached the speedometer which includes the temperature and oil pressure gauge! Some of the electrical wiring had to be replaced due to being chewed by rats some time ago! After some hours of dismantling, cleaning, polishing and reassembling, the speedometer looks as good as new and stored away!
Fresh Air Heater
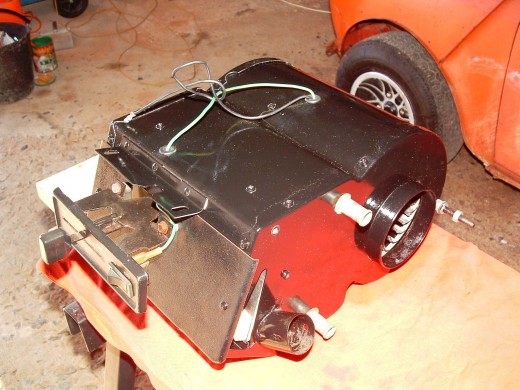
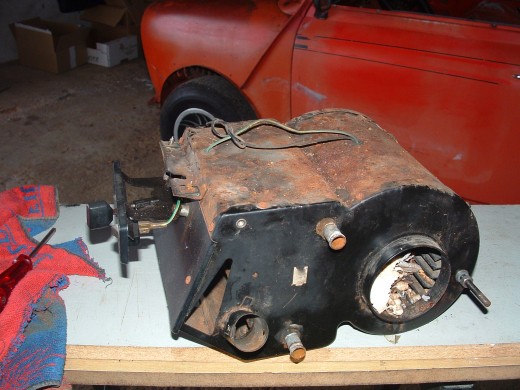
It was a wonder to me when I first got my Mini Sport up and running that the heater was one of the few things that didn´t work! I thought that the electric motor had seized or something! Upon removing it from the car did see that there was another rat’s nest! I dismantled the whole of the fresh air heater, cleaned the fins and the motor and then tested on a battery, it works! Then I removed the light film of rust, gave it a coat of primer and then two coats of black and after drying, assembled it back together and wrapped it!
Gasoline Tank
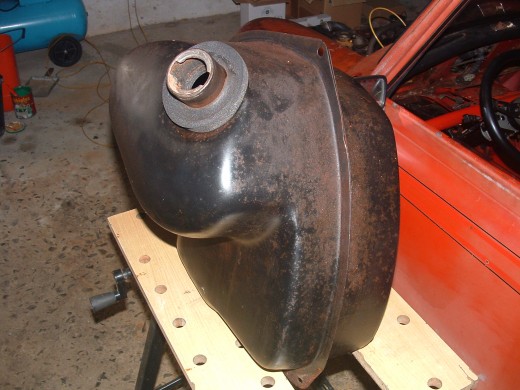
This is where I got a bit nervous! After removing the gas tank and making sure that there was no single drop of gas in the tank, I wasn´t going to remove the light film of rust it had with a drill and wire brush right away, NO! It took me a week to get rid of the vapors in the tank by blowing once in a while compressed air! I just did not want a spark to ruin my restoration project, and of course, hurt myself! After a coat of primer and two of mate black it looks brand new!
Windscreens
The front windscreen has minor scratches that can be polished away, now, unfortunately, the sealing rubbers on both front and rear were a bit brittle so I will not be able to reuse them! With an x-acto knife I cut out the inner sealing rubbers which made the windscreen removal very easy!
Thanks for reading and keep posted on this Mini Sports Classic Car Restoration!

