Radiator Flushing Is Important To Your Vehicle Engine's Life
Engine Coolant Service I Can Do Myself
What Is A Radiator Flush?
Flushing the vehicle engine's radiator is a simple procedure that is offered as a service at automotive garages and drive through oil lube shops everywhere. Often when you go to a drive through oil and lube shop they will attempt to upsell you from a basic oil change to an included coolant system flush as well. Your vehicle's engine does not need to have its radiator flushed every time you change its oil, but once in a while a radiator flush will be of tremendous benefit to your vehicle's motor.
How To Flush Your Vehicle Engine Radiator
Engine Coolant System Flush Procedure
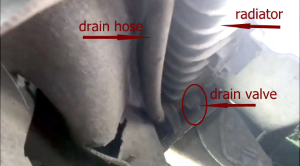
When the radiator is flushed all the coolant is drained from the engine's radiator and the engine cooling ports inside the engine and the vehicle's heater lines and heater core. The complete coolant system is totally drained. Most coolant system reservoirs have a petcock valve located somewhere along its bottom. You will likely have to look under the front of the vehicle's engine compartment to locate the bottom of the reservoir and its drain valve. After draining the reservoir drain valve is closed and the coolant system is refilled with only water. The engine is then started and let run for a few minutes to circulate the water through the engine coolant system. Then the engine is shut off and the coolant system is drained once again and the procedure is repeated over a second time and a third if necessary until the complete cooling system is clean. The process should be repeated many times until the water being drained from the radiator is clean and has no discoloration whatsoever. Once the coolant system water drains absolutely clean of all discoloration the drain valve in the radiator is closed again. The engine's cooling system is then refilled with antifreeze or coolant which is mixed with water at a 50/50 ratio - 50 percent water and 50 percent antifreeze. Flushing your vehicle engine's cooling system is something that you can do yourself with a little preparation and some simple tools.
You Will Need A Drain Pan
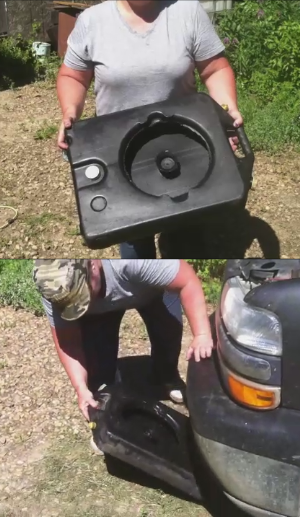
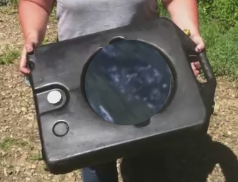
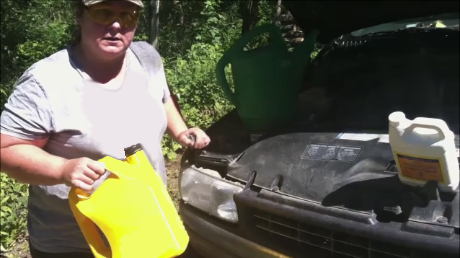
Though many types of containers will work for a drain pan a factory drain pan is the most convenient to use. Your vehicle engine's cooling system can contain over two gallons, 8 to 10 liters, of coolant fluid so a drain pan that will hold that amount of liquid will serve you best. If you decide to use a smaller container, you will have to shut the drain valve to stop the draining of the fluid while you remove the full container and replace it with an empty one. Then, you can reopen the drain valve and allow the draining to resume.
TIP: Coolant is a toxic fluid compound that should not be spilled on the ground and after collected in the drain pan should be poured into a leak proof container and transported to the local hazardous fluid disposal station.
The Drain Pan
The Drain Valve
Locate The Reservoir Drain Valve
After you have decided on the type of drain pan that you desire to use slide the drain pan under the radiator drain at the front of your vehicle. Your vehicle radiator will have a drain valve on the very bottom either on the left or the right hand side. Locate that drain valve and set the drain pan on the ground centered beneath the valve. Some radiators have a small hose attached to the drain valve and clipped to the side of the radiator while not in use. If your vehicle radiator drain valve has a hose, unclip the hose from its transport position and direct it into the drain pan below before opening the drain valve. If your vehicle radiator drain valve does not have a section of small hose attached to it, be certain to center the drain pan directly under the estimated path of the fluid flow.
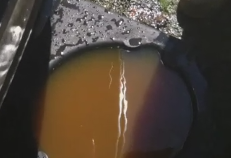
Dirty Coolant Drained From The Radiator
Cooling System Cleaner
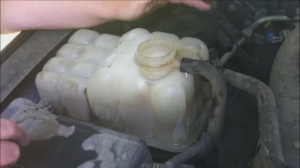
The Radiator Filling Reservoir
Draining The Dirty Coolant
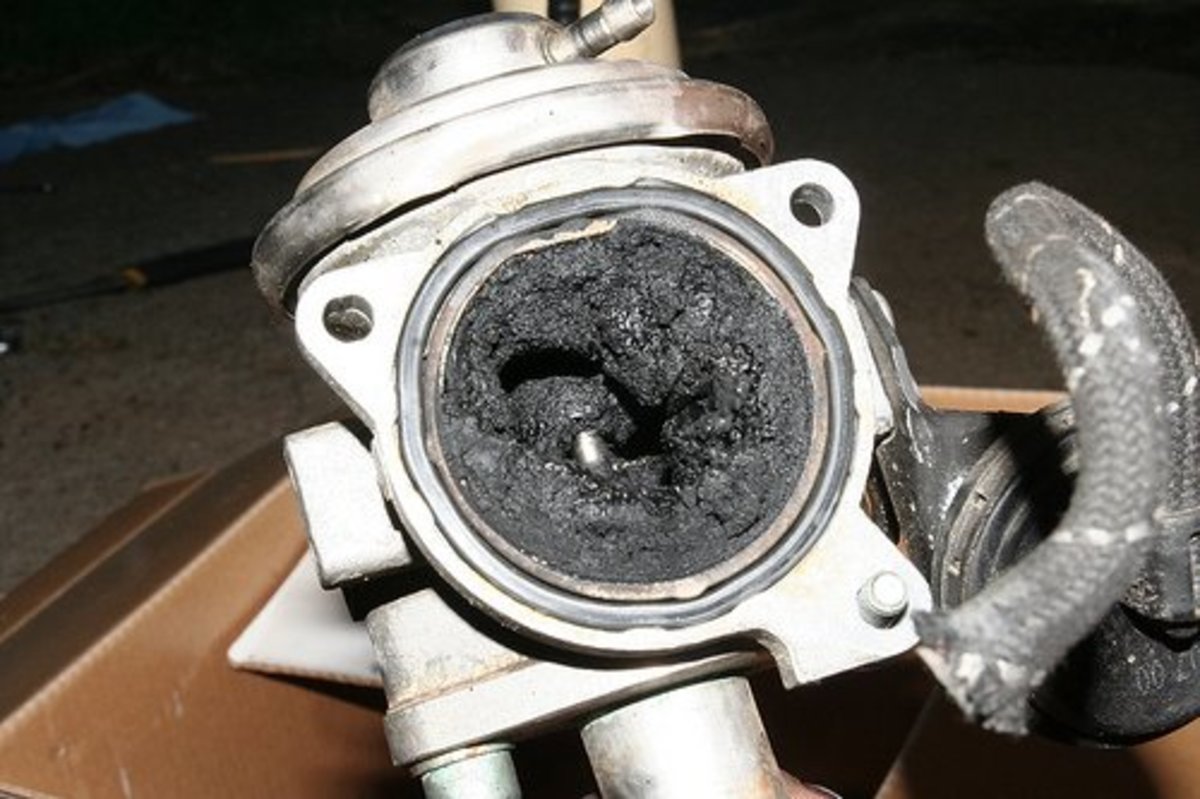
After placing the drain pan in a good location on the floor open the radiator drain valve and let the old coolant flow out of the radiator into the drain pan. You will need to locate the radiator filling reservoir and remove the twist off cap to allow air to flow into the cooling system displacing the coolant that is being removed. If you do not remove the reservoir cap all of the engine coolant will not drain from the cooling system because the system will become air locked. As the coolant drains from the radiator notice the discoloration - fresh clean engine coolant is a yellow or greenish color - not a dirty brownish color. The coolant becomes discolored because over time the engine coolant is heated and cooled when the vehicle engine is operating or shut off. As the coolant is varying in temperature from extreme hot to extreme cold and being circulated throughout the engine cooling system it reacts with the oxidation contaminants that are created through the condensation forming in the metal engine block and the radiator inner tubes and the heater core and its supply hose. This continual reaction creates corrosive compounds which causes the engine coolant to breakdown forming minute particles of sediment that collect inside the cooling system and settle at the bottom of both the heater core and radiator, clogging the internal cooling tubes.
What do you think?
Do most vehicle owners get their engine cooling systems flushed regularly?
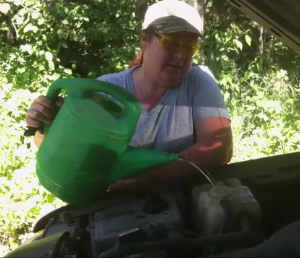
Add Clean Water To Begin The Flush
Important Notice
If the vehicle engine cooling system is not regularly flushed eventually the sediment created from perpetual internal corroding will plug off the tiny tubes inside the heater core and radiator. When those mechanical components become clogged the unneeded expense of parts and labor from having to replace those parts will be inevitable.
The Flush
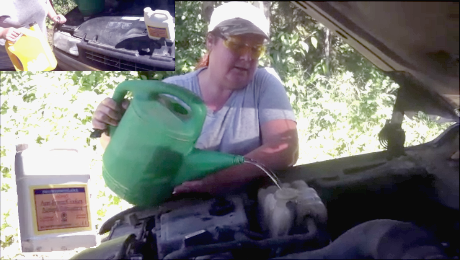
To begin the engine cooling system flush after the old coolant has been completely drained from the cooling system place an empty container under the radiator drain valve. Close the radiator drain valve and refill the radiator by adding only clean water through the radiator filling reservoir and then start the vehicle engine and let it run. After running for 5 minutes shut the engine off and reopen the radiator drain valve, letting all of the water completely drain out of the cooling system once again.
TIP: After the engine has ran for 5 minutes the water in the radiator will be HOT so use extreme caution when attempting to open the radiator drain.
Repeat The Flush Until The System Drains Clean
Flushing Using Continuous Water supply
Continue to repeat the filling of the radiator reservoir and the running of the engine and the draining of the radiator three or four times or until the drain water is without any color and is absolutely clean.
TIP: Some mechanical professionals will fill the radiator reservoir with a constant water supply hose while letting the radiator continuously drain. When using a water supply hose and a large drain sump the mechanic will allow the vehicle engine to continue to run as they are flushing the cooling system. They only shut the engine down once the water supply has been shut off. As long as the vehicle engine has water free flowing through the cooling system the engine will not over heat while running.
After The Flush
Fill Level
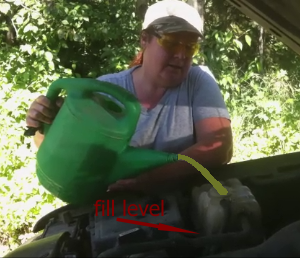
Refilling The Radiator With New Coolant
After the vehicle engine cooling system has been thoroughly flushed so that the drain water is absolutely clear and clean from contaminants and debris you are ready to refill the radiator with new coolant. Close the radiator drain valve and re-clip the drain hose back in its transport position. In a clean water jug mix the new engine coolant with water 50/50 or half and half. Add some coolant in the water jug and then add the same amount of clean water to the coolant in the jug. Once you have a 50/50 mixture in the water jug poor the mixture of coolant into the radiator reservoir.
Important Notice
TIP: The new engine coolant is readily available for purchase in both premixed at 50/50 and concentrate form as well. If you purchase the premixed coolant you will not have to add any water to the mixture.
All vehicle radiators are different sizes and require varying amounts of coolant to fill. The vehicle's owner's manual will state the capacity of the engine cooling system. If you do not have the information stating the capacity of the radiator you can roughly guess how much coolant you will need to refill the radiator by gagging the amount of coolant that was first drained from the system. Be cautious not to overfill the radiator reservoir. There will be a mark on the side of the reservoir showing the maximum fill level. When you first fill the reservoir to the maximum fill level you can start the vehicle engine and let the engine run. Then shut off the engine and check the coolant level once again. When the engine runs for the first time after adding coolant the complete cooling system will be filled including components like the heater core, causing the reservoir level to drop. Extra coolant will need to be added, bringing the coolant level in the reservoir back up to the fill level mark a second time.
The Reservoir Cap
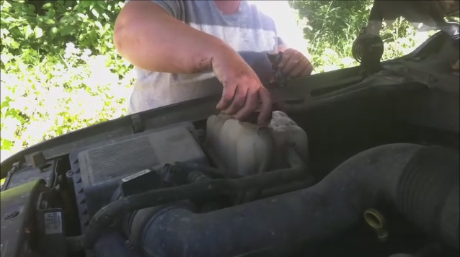
Adding Coolant While the Engine Is Running
As the engine runs for the first time with the new coolant the heater core and lines will fill and the coolant level in the reservoir will drop and you will have to add some more coolant. Continue adding the new coolant slowly as the engine is running until the coolant level stays at the maximum fill level marked on the side of the reservoir. Continue to monitor the coolant level in the reservoir for 5 minutes as the engine continues to run. When you are satisfied that the coolant level in the reservoir is not going to drop any further shut the vehicle engine off. Put the radiator filling reservoir cap on tightly and clean up your supplies. You are done the coolant system flushing job.
TIP: Be sure to check the coolant level in the radiator filling reservoir after operating the vehicle for an hour or more.
All Finished

Questions or Comments?
I welcome all your questions and comments as well as any suggestions or ideas of your own. Please contact me through any of my links with any input that you desire to contribute. I enjoy hearing from everyone.
Thank you
howtopam
This content is accurate and true to the best of the author’s knowledge and is not meant to substitute for formal and individualized advice from a qualified professional.
© 2014 howtopam


