The Fine Art of Spark Plug Maintenance
Introduction
November 19, 2012
When I wrote this article way back in January 2011 I had intended to cover the entire tune-up process, you know, points, timing, and spark-plug gap. Then it hit me. Points no longer exist. You need a computer to adjust the timing and spark-plugs now come pre-gapped.
All of these changes are due to cars now being run by computers. Points (don't worry about what they were) are no longer necessary because a computer takes care of when a spark-plug should create a spark. Timing is controlled by the computer too; you don't need to adjust it. And manufacturers have found that the most common spark-plug gap is really easy to set on the plug before it goes into the packaging. In other words they are pre-gapped. Customers like that too because gapping plugs is a pain and an obscure and mysterious procedure to the uninitiated.
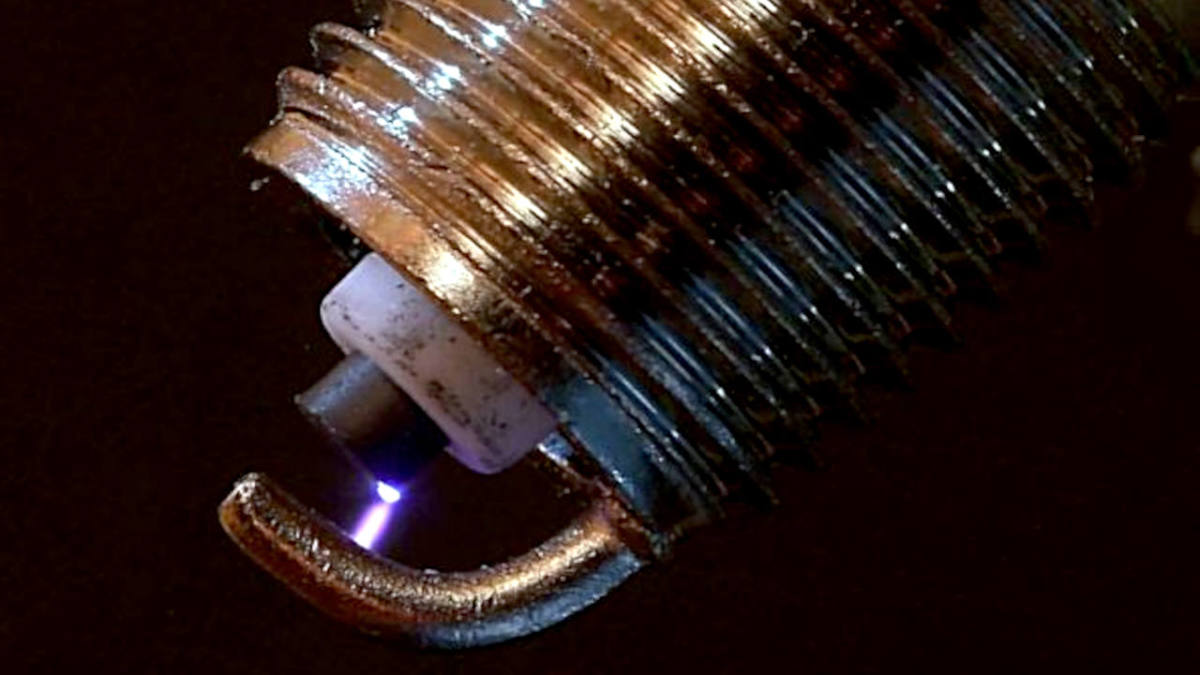
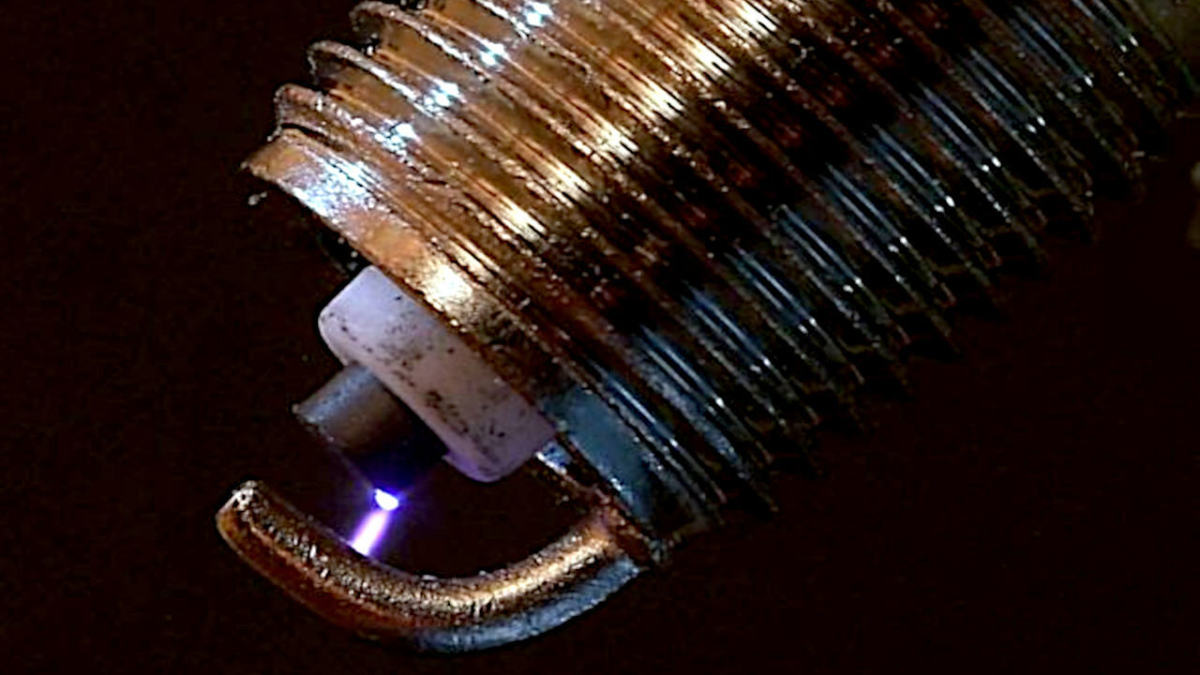
This allowed me to concentrate on the one thing that hasn't changed, the spark-plug. NiKola Tesla invented the spark-plug, a means of causing a spark to ignite a mixture of gasoline fumes in air. He invented this in 1893, over one hundred years ago. I'd say it's a real testament to his genius that it's one of the few things that we still use on modern engines from a century ago.
Spark Plugs, Like a Health Check Up, Can Tell You a Lot
The main purpose of this article is to convince you that the modern day tune-up, since it is really only changing the spark-plugs these days, is something anyone can do.
But there's more to this. Knowing what to look for on an old spark-plug can tell you the state of your engine. And that the second focus of this article.
Is it time to ditch "Bessie" for a new model or is there something simple you can do to keep your car running for years longer? A used spark-plug can tell you that.
Changing Your Spark Plugs
On most cars this is a very easy job. As long as you change one plug at a time (so you don't get the wires mixed up) you don't even have to worry about putting the plug wires back in the wrong order.
When you buy your plugs ask the parts house person to air-gap them for you. Though with many modern plugs this may not be necessary, be sure to check just the same. Also, buy or locate a short section of rubber hose (sometimes the parts house has little bits of it lying around that they can just give you) which has just a slightly smaller opening diameter than the spark plug terminal . You will use this short section of rubber hose to install the plug just before tightening it down with the wrench.
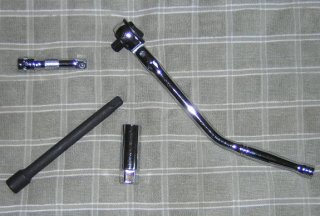
To change your plugs you will need the following;
- The correct spark plug for the car (four to eight of these depending on your car)
- Ratchet Wrench
- Spark Plug Socket
- Rubber Hose (to fit over the terminal end of the spark plug). Have the auto parts person check the fit of the hose to the terminal end of the spark-plug. It should be tight, but not too tight. You'll need no more than six inches (6").
- Ratchet extensions 1", 3", & 6"
Warning! Some spark plug sockets have a tight rubber insert that is there to grab the plug and hold it in the socket. The problem with some of these inserts is that they are so tight that when you install and tighten the new plug and try to withdraw the socket, the socket will stay attached to the spark-plug. You'll end up with the socket down in the spark-plug well while the rest of the ratchet/extension assembly comes off.
This is a real hassle so I recommend removing the insert from the socket. You only need to "grab" the plug when you are installing it and the short length of rubber hose will be used for that.


The Steps
First, you want to park your car where it can sit for a while undisturbed. It's best to change plugs when the engine is just warm. Trying to change plugs on a hot engine is frustrating and frankly you could end up damaging something trying to unscrew plugs that are tight in the engine due to it's heat. You can also get burned; not a pleasant sensation.
Now for the fun part:
- Locate the most difficult plug to change and start here. If you save this for last instead you'll be tired and easily frustrated. Do the tough one's first.
- Remove the spark plug wire from this spark plug; do not remove any others. If you remove all of the wires it will be very difficult to get them back on in the right order. It does matter where they go.
- Press the socket attached to the extensions down over the plug.
- Loosen the spark-plug. This will take about 1/4 to 1/2 turn.
- Remove the socket and wrench.
- Push the rubber hose over the terminal end of the plug and use the hose to unscrew the plug completely out of the engine.
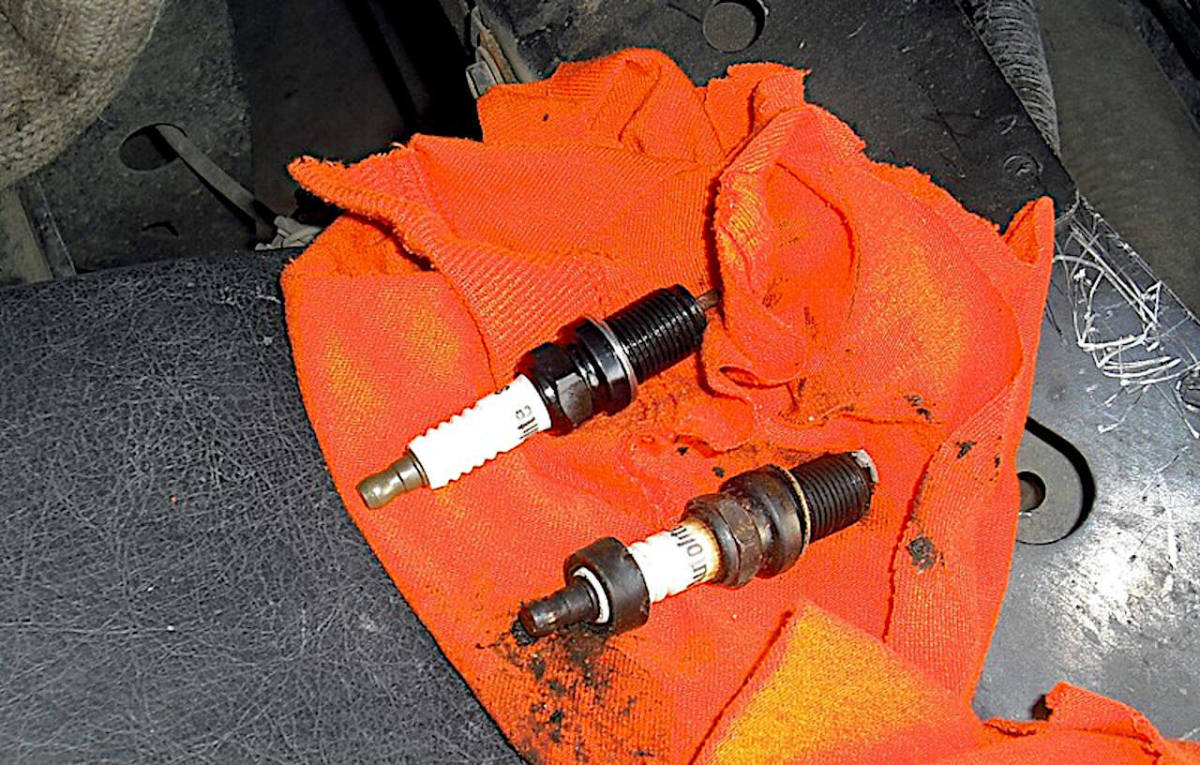
- Compare the plug to the pictures (below) to see if there are engine problems you may not have been aware of. Worn spark-plugs can tell you a lot about the state of your engine.
- Pull the old plug off of the hose and place the rubber hose over the end of the new plug. it's already gaped right?
- Use the rubber hose to lower the plug into it's hole and then tighten the plug in the spark-plug hole. Note that using the rubber hose to do this reduces the risk of "cross-threading" the spark-plug in the head. Cross-threading is really bad news if it happens.
- Pull the rubber hose off of the plug and using the wrench, tighten the plug by 1/4 turn. It shouldn't take much effort nor should you tighten much more than this. New cars have aluminum heads (where the spark-plug goes) and over tightening can ruin the head. New heads are very expensive!
- Push the spark-plug wire over the new plug terminal. You should feel a "snap" if you've done it right.
- Move to the next plug and repeat steps 2 through 11 above until you've replaced all of the spark-plugs.
- Once all the plugs are replaced and the spark-plug wires are back where they belong run the engine. If it runs rough or doesn't sound right turn the engine off and go over the spark-plug wires again to make sure you've gotten them all "snapped" over each plug properly. Run the engine again to make sure.
Because most cars built today use computer ignition control there's very little else that needs be done to perform a tune-up.
Congratulations! You've done the major part of a tune-up.
Analyzing your Plugs
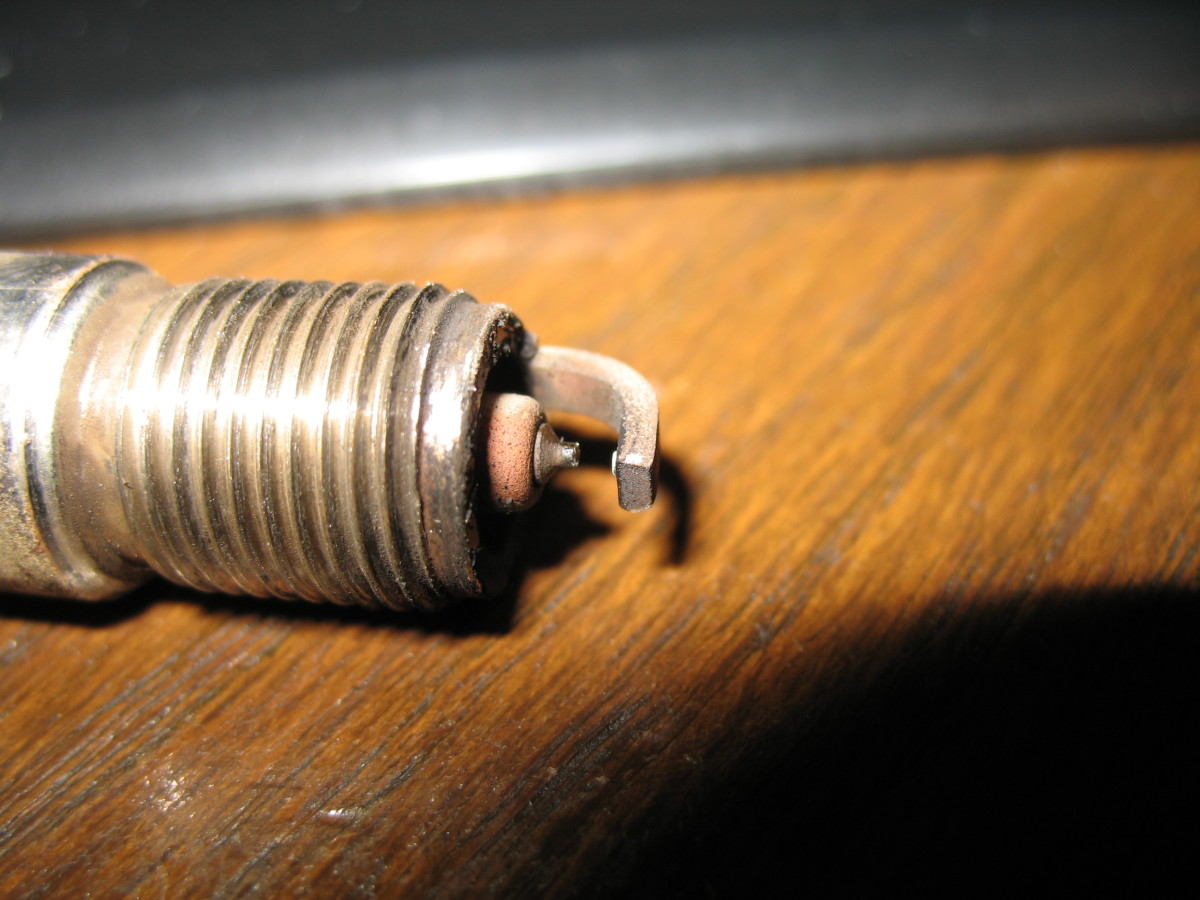
Now that you've changed them you want to examine the old ones for potential engine problems. Below is a table with pictures of spark-plugs in various states of wear/use. To the left of each picture is a description of the problem with that particular plug and the possible cause.
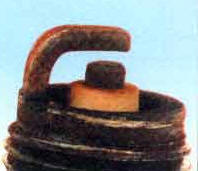
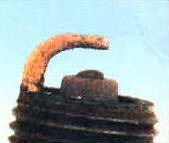
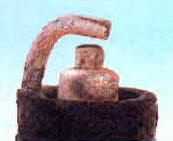
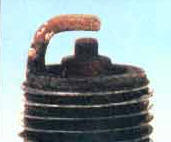
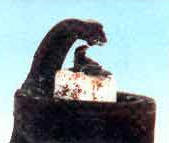
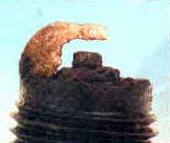
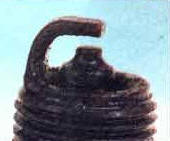

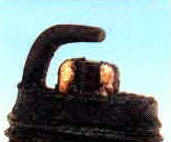
Plug Analysis
Normal Wear: The plug electrodes are still "squared off", but clearly have been in high heat. The gap may also be wider than originally set. This is normal.
Excess Wear: The electrodes are rounded and "worn" looking. This plug should have been changed much sooner.
Too Hot: This plug has what looks like fired pottery glaze on it. The insulator also has this whitish glaze on it. Likely this was the wrong plug or temperature range plug for this car.
Carbon Deposits: Dark, burnt looking areas on the insulator and around the rim of the plug. Could be caused by using the wrong heat range plug. Also, check to see if the air filter needs to be cleaned or replaced. Too little air in the air to fuel ratio can cause these deposits.
Electrode Damage: Both electrodes are damaged. Visible as pitting and melting. Can be caused by overheating which in turn is caused by a too hot engine, engine timing too advanced and/or a lean fuel mixture.
Ash Deposits: Ashy deposits on one or both electrodes. Possible valve guide seal problem. The ash is oil that saturated the plug and was then burned during ignition. Could also be caused by bad gas.
Oily Plug: Wet, oily plug. You can actually touch this plug and draw your finger back with wet oil on it. Could indicate worn valve seals or worn piston rings. Oil is somehow getting into the cylinder (something that should not happen) and fouling the plug. Could indicate a serious problem as with the Ash deposit example immediately above.
Gap Bridging: The gap between the two electrodes is filled with some sort of material. This plug will not fire or spark. This is caused by engine deposits lodging between the electrodes and being burned in place. May be indicative of a serious problem, but watch this cylinder. Could be caused by dirty fuel.
Center Electrode Worn: Center electrode is worn down with glazing around the insulator. Fuel may not have sufficient anti-knock additives. Try changing fuel.
Coda
You'll notice that some of the photos resemble each other and other are somewhat hard to figure out what the symptom is. Thus the descriptions on the left.
Please note that these symptoms are by no means a definitive indicator of problems, but they most certainly are a great way to determine if further tests are needed.
Disclaimer
Anyone following the above steps should exercise extreme caution. A hot engine can cause burns. The author assumes no responsibility toward the reader of this hub regarding personal safety or simple common sense.
The author, LiamBean, does not own stock or other holdings in any of the companies mentioned in this article. LiamBean has not been compensated monetarily, with free products, or discounts on those products mentioned in this hub.

