How to Replace the Front Sway Bar Bushings On a Gen 3 (2005-2012) Toyota RAV4

Did You Hear That?
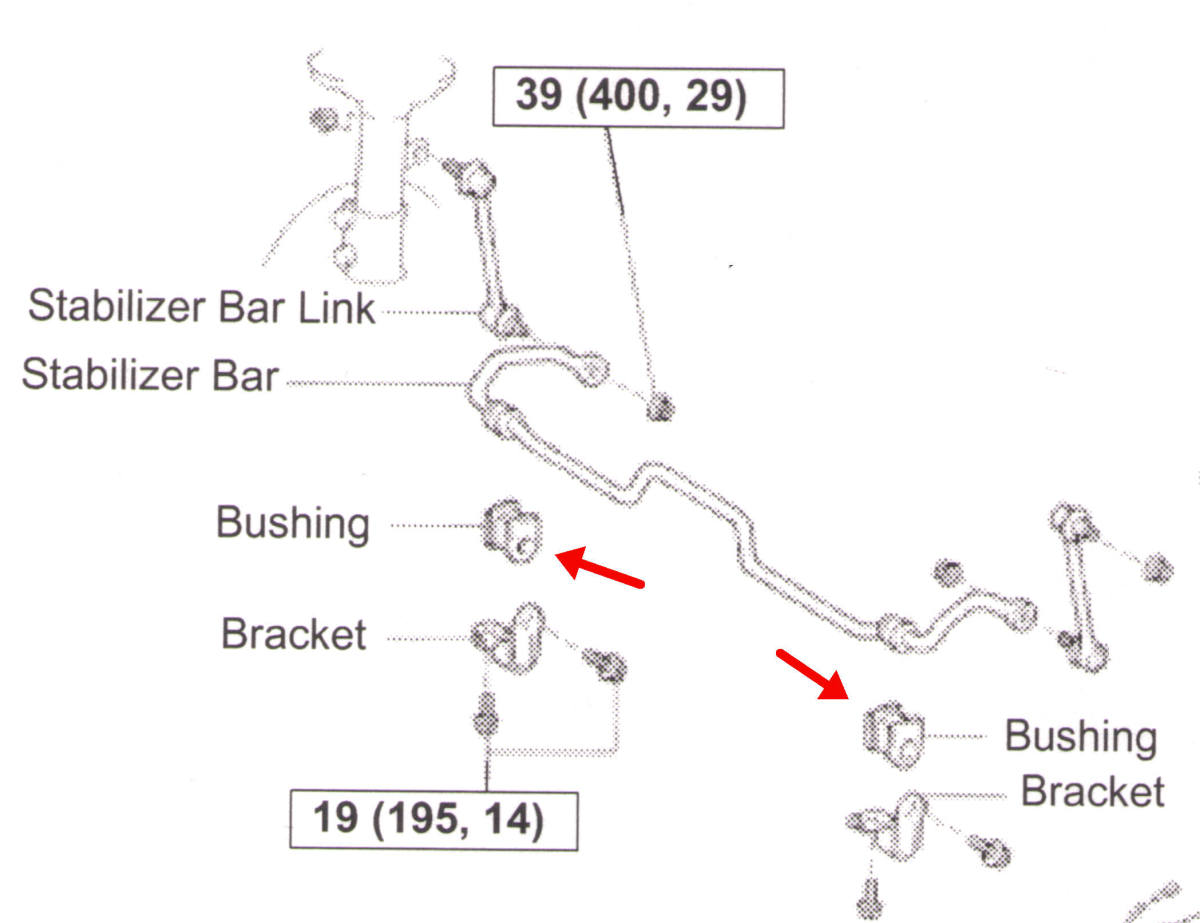
Noises from underneath your vehicle are always unnerving. You think your tire might come off, or perhaps you hit a cyclist, didn't notice, and are now dragging the bike under your car. One of the most common noises emanating from underneath a third generation Toyota RAV4 (2005-2012) can be worn out front sway bar bushings. The sway bar runs from the suspension of one wheel to the other. The bushings are made of rubber, and rubber has a limited lifespan. If you own your old RAV4 long enough, you will hear the inevitable clanking from underneath the hood area when you drive over bumps and potholes.
This happens because as the bushing wears out, it allows the sway bar to hit the lower control arm. Metal on metal hitting together makes for a worrisome clanking noise. The good new is, it isn't an urgent repair. You most certainly should replace the bushings, but it won't cause your wheels to fall off. Now the bad news: like all car repairs, letting a mechanic or dealership do the repair can be really pricey. But with a little knowledge and caution, you can easily to this repair yourself.

Tools Required
17mm Socket or Wrench
Small Bottle Jack
Jack Stand
WARNING!
You will need to shimmy at least a third of your body underneath the vehicle while a tire is removed. This means it will be jacked up. DO NOT trust the jack that came with the vehicle to hold it up the entire time you are working on it. Those jacks can easily tip over, crushing you in the process. People have died working underneath their vehicle. Use jack stands. They are not expensive and will make your time under your RAV4 much less nerve wracking and safer.

Prepare the Vehicle
Jack up the car until the wheel is off of the ground. Put a jack stand next to the car jack and lower it until the weight of the vehicle is supported by the jack stand. Leave the car jack snug as a backup for the jack stand.
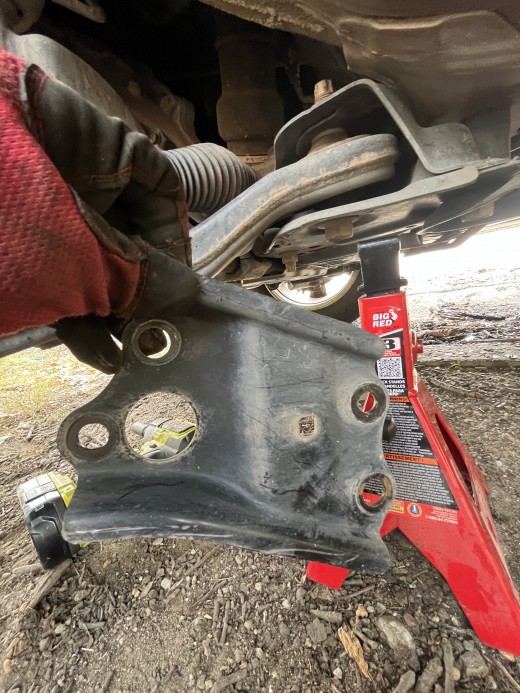
Remove the tire. If you don't have an impact wrench, loosen the lug nuts before jacking it up. Once the tire is removed you will have good access to the suspension area. You can see the sway bar and its associated bushing easily. Use a bottle jack and place it underneath the lower control arm (see photo) and raise the bottle jack until it is snug against the control arm. This is crucial as slightly raising and lowering the control arm will remove the pressure from the bushing plate and also make it easier for removing and installing the bushings.

Remove the Bushing Retainer Plate
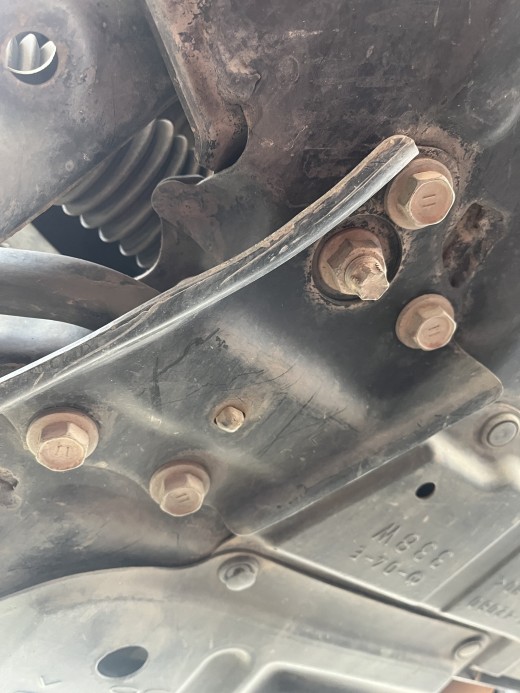
The sway bar bushing is held in place by a plate. It is easily located, and it is easily identifiable by the small rubber nipple protruding from a small hole in the plate. That nipple helps align the bushing when replacing it. There are four bolts that must be removed. Use a 17mm socket or wrench to remove them. The plate will fall off after the last bolt is removed. The bushing will now be exposed.
Remove the Old Bushing
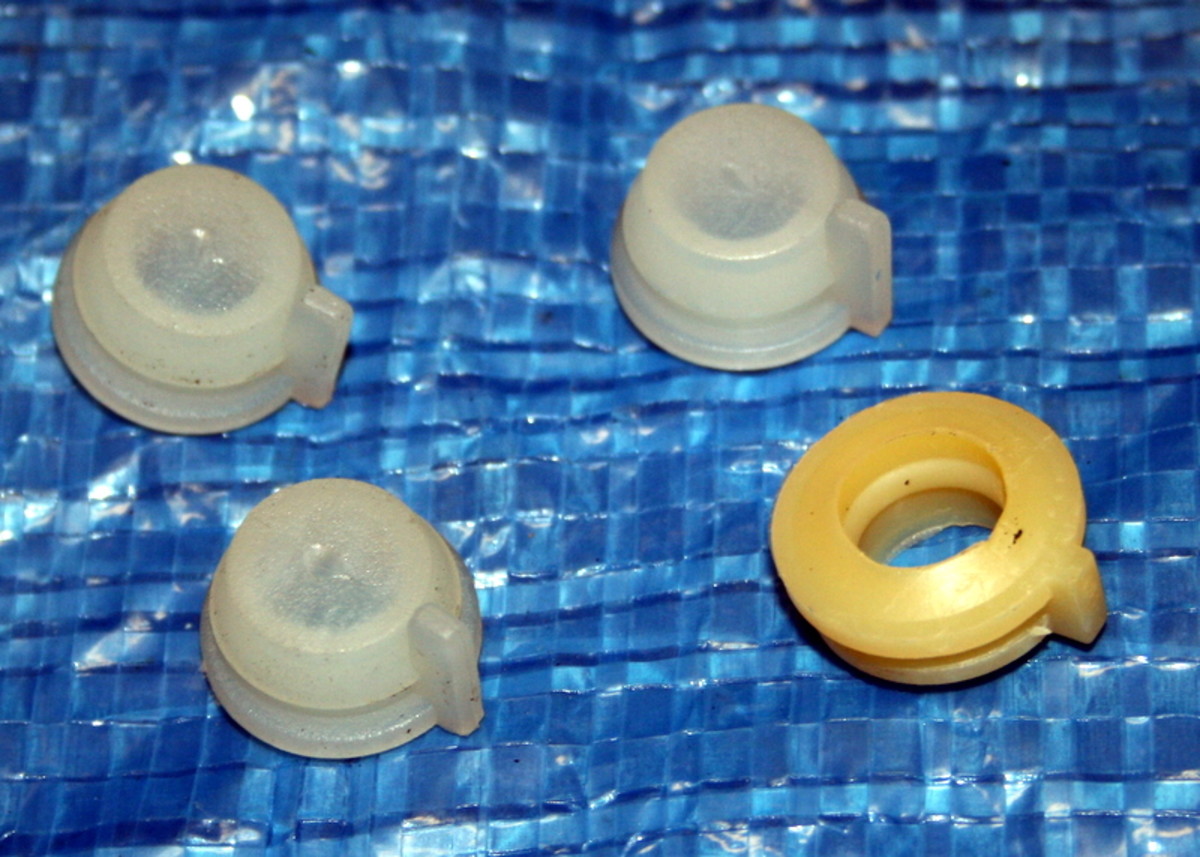
The bushings have a slit on one side so they can be pried open and slipped over or off of the sway bar for either removal or installation. The rubber is thick and stiff. It takes some finger and hand power to wrestle it off of the sway bar. It is possible that the bushing will look just fine, but it isn't. The rubber has worn down and is allowing too much sway bar movement.
IMPORTANT: the bushings come in pairs, and you should always replace them in pairs. They ARE NOT the same. There is a small L or R to designate left or right molded into the rubber. If you are confused as to which is which, after you remove the old one, replace with a bushing with the corresponding L or R on it.
Install the New Bushing
Installation is of course the reverse of removal. Pry the bushing open and slip it over the sway bar. This isn't as easy as it sounds. You can slightly raise or lower the lower control arm with the bottle jack to make some slight sway bar adjustments to facilitate putting on the new bushing.
Install the Cover Plate
While the installation of the cover plate is opposite of removal, you must ensure that he bushing is placed so that the small rubber nipple on the bushing lines up with the hole in the cover plate. You may also find that the cover plate is too far from the bolt holes to reinstall the bolts. Use the bottle jack to lower the lower control arm to match up the bolt holes on the cover plate and the vehicle chassis. Ensure the bolts are tight.

Finishing Up
Lower and remove the bottle jack. Mount the tire. Jack up the car slightly to remove the jack stand and then lower the car completely.
Finished! Well, not really. You need to repeat the process for the other side. It should go quicker from the knowledge you gained replacing the first one. ALWAYS replace the sway bar bushings in pairs.
Test Drive the Vehicle
After both bushings have been replaced, take your RAV4 for a test drive. The clanking should be gone and you should be set for at least another 100,000 miles. Relish the fact that you did the repair yourself, because if you own a Third Generation RAV4, it's old. There are more DIY repairs in your future. But if you can handle this task, you can easily do many more DIY repairs.

