How to Build Your Own Concession Truck to Sell Street Food
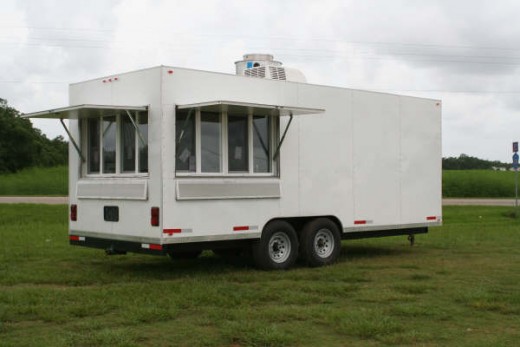
Starting your own business is a fun way to bring in income, but can be a challenge. Most people don't own their own business, or even know how to start their own business, let alone have the capital to buy one. Truth be told, one of the easiest businesses to start is a franchise, and those will still run you anywhere from $100,000 and up, on top of the other financial requirements. There has to be an easy way to make money, without much investment, that has positive returns on your money. There is. Owning your own concession trailer is a great way to bring in extra income, with minimal investment. But how do you build one?
Check your Health Department and City Ordinance Office
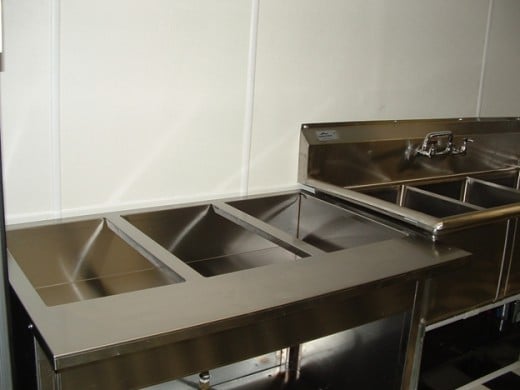
This is very important. Because your trailer will be inspected regularly, by both parties, this is a great place to start. Begin by checking in with your local health department or health inspector. Let them know what your planning, and they can help guide you, and determine what all things you WILL have to have. Yes, you will have to have certain things (such as 3 sinks for dish washing) in your trailer to be approved for a health permit. Its easier to get approved and plan out your trailer, if you know what HAS to be in it first. Once you know the codes, its time to check out your city ordinance office. Your going to have to build your trailer to local specs, the same that are in brick-and-mortar buildings. If you have wiring or plumbing that isn't up to code, you wont be approved for your business license.
Make Some Choices
Now that you know the requirements to get your business license, its time to actually start planning. Your going to need to ask yourself a few questions before you even put pen to paper. First, your going to need to know what your wanting to serve. This will let you know what all equipment is needed to cook the food. Next, you need to determine how many people you will want to serve. This will help you determine the size of your trailer, and how many of each equipment you will need (such as multiple fryers, or a second cold storage space). Now that you know what your cooking, and for how many, you need to determine how much storage space you will need. Storage space on concession trailers comes at a premium, so trying to fill as much empty space with storage space will be crucial.
Begin Drawing
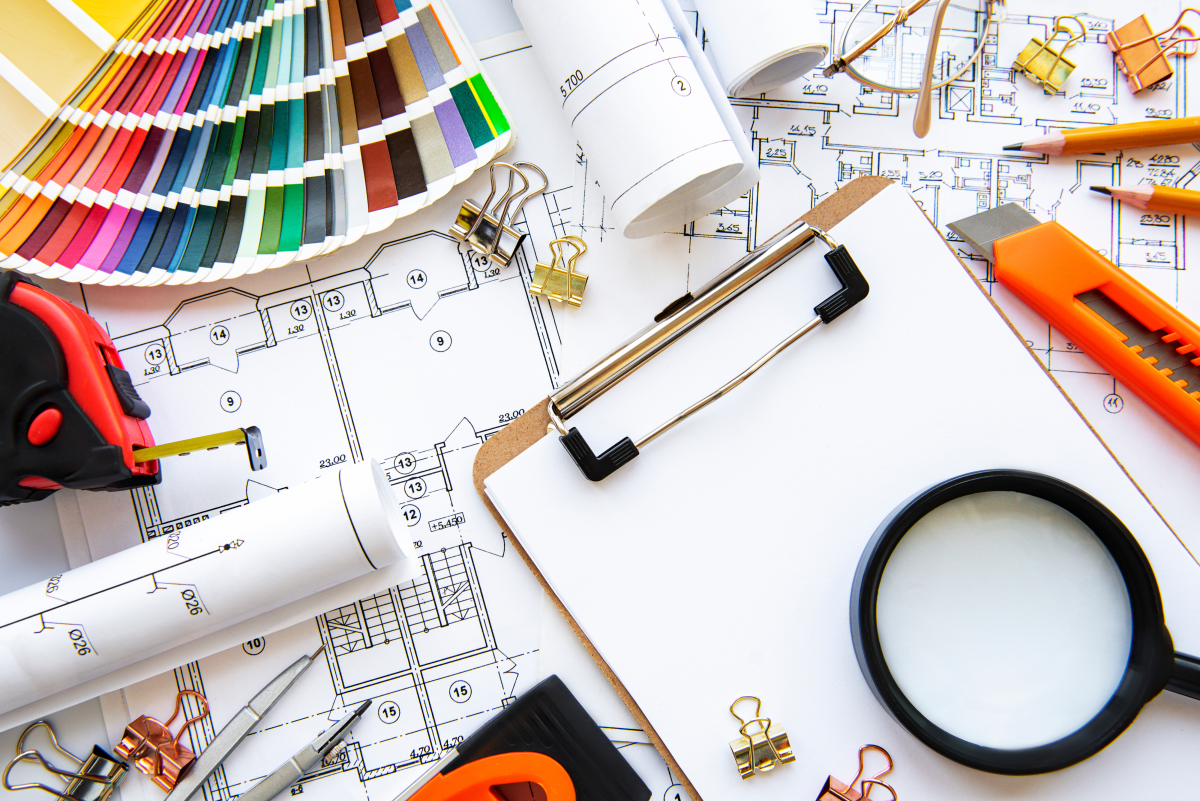
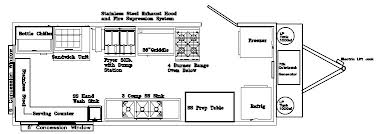
Now that you know what the requirements are (health department, building codes), and what your serving to how many, its time to actually come up with your plan. Take your time, use pencil, and some graph paper, and begin drawing. Remember that some of the items your going to need are going to be large (such as refrigerators, fryers, ect.), and most likely will not be able to be moved. Your going to need to add in items such as lighting, ventilation, electrical (for all appliances), serving windows, access doors, and more. Some things are easy to plan for, such as water storage and waste storage tanks, which are usually placed on the bottom of the trailer, and are attached to the frame. Your going to want drawings and plans for each part of the trailer, such as the electrical system, the plumbing, the frame, the suspension, and the body. Keep refining these designs until you have a finalized draft, and then submit this to your local health department and building code office for approval before even starting building. This can help you avoid problems down the road, especially if the departments have a problem with your plan. Its much easier to change something on pencil than completely rebuilding a concession trailer.
Begin Building
Now that your plans are back, and you have gotten the "It looks good" from the health department and the building code office, is time to start building. The best and most sturdy structures begin with good foundations. That means that your frame needs to be very durable. Take a look at other trailers, and design your frame to be as sturdy and durable, or more. Remember there will be a lot of weight on and in your trailer (from employees to food to equipment to water tanks and waste tanks being full, to more). Take this time to try to find as many places to put in quality storage. Even small spaces can be used for things. Once built, you will have to fill the trailer with items, such as plates, silverware, food, cooking utensils, ect. Finding places to put all this can become challenging if you do not have enough storage. On a concession trailer, there is no such thing as too much storage. This step is also where you will need to add the trailers lighting that is required by law, such as brake lights and turn signals.
Windows, Doors, Serving Counters
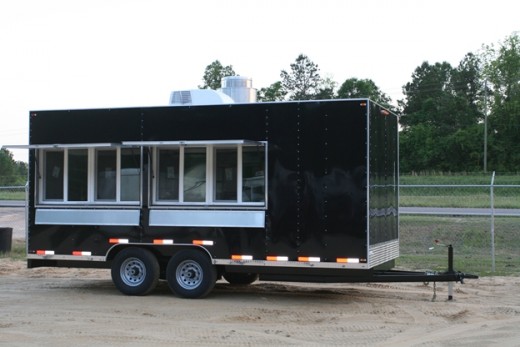
Now that your concession trailer is beginning to take shape, its time to build the floor, and add the walls, and roof. Once you have a trailer that is good, well reinforced in the walls, its time to add the doors, windows, and serving counters. You should already know where these are going based off your drawings. Windows can be placed anywhere in your trailer, and provided you put in enough, could actually light the trailer up, meaning interior lighting gets used less. Your serving counter should be low enough that people don't have to reach high to get their food, but be high enough so that you don't fall out the window when you hand them their food. A popular choice is to add a flip-down counter to the outside of a concession trailer under the serving window, and this works good for most.
Electrical, Gas, Lighting, and Plumbing
Now that your trailer walls are pretty much done being modified, its time to run your electrical, gas, and plumbing lines in the walls, before you put the interior skin and insulation in. Doing it this way will give you the free space to work, and will allow you to run them much cleaner. Keep electrical, gas, and plumbing lines separate from each other. Make sure to have an outlet for each appliance, and extra outlets for other needs, such as counter top appliances. Remember that larger equipment might require its own electrical circuit and circuit breaker boxes will be needed on your trailer, and that has to be labeled properly. Your also going to want to make sure to wire all lighting before you close everything up, including exterior lighting, such as accent lights, and exterior spot lights. One you get everything run, run anything else in the walls that is needed, such as other wiring, and then insulate the walls, and put in the interior walls. Most health departments can tell you what type of interior walls to use in your trailer to meet codes. Once the walls are in the inside, its time to cut out the outlets, wire those up, and finish that off.
Building the Interior
Now that your trailer is really starting to take shape, and the interior is ready, its time to add everything inside the trailer. Begin with the things that go to the farthest in wall, and work your way to the door. Make sure to plug in and hook up all appliances, as well as secure them, when installing. Your cabinets shelves, storage, and counters are going to be installed at this time as well. Take this time to also determine if you have extra storage space, and if so, add more cabinets This is also a good place to see if everything will work properly. Try opening multiple things at the same time, and get a few friends to stand inside and get a feeling of how crowded or small your work space is. This is a good way to tell what will work, and what wont, and adjust little things so that it works better.
Filling the Trailer
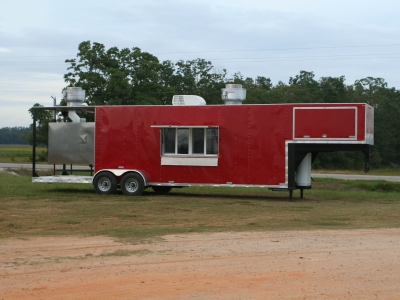
Now that your trailer is built, and everything is done, its time to put on the gas tanks and fill the trailer. Your going to want to fill everything full, from the water tanks, to the gas tanks. Check everything, electrical, gas, and water. Check to make sure everything works, and that there are no problems, such as leaks or shorts. Everything should work properly, and efficiently Once you have your trailer ready, and everything is working, its time to clean your trailer for the first time. The good news is that the trailer will be fairly easy to clean, since its new. Take your time, make sure everything looks good. This is also the part where you can get your trailer painted, or have decals put onto it. Choose pleasant colors and appetizing images for decals.
Health Department and Building Code Approval
Now that your trailer is ready to serve, its time to make it legal to serve. Your going to need to not only get your trailer inspected and approved, but your also going to need to get your business license. The health department and building permit departments will inspect your trailer, and determine if it is suitable for business, and if it is, approve it. If not, you will need to take your trailer back home, and fix the problems that arose. Your also going to need to contact your local DMV and have your trailer inspected, and approved for on-road use (and get your license tag). Once all this is done, pack up your food, utensils, and everything you need, and it the road.
Or...
If building your own trailer is just not possible, either due to mechanical difficulties (you have no mechanical know how), lack of time, lack of ability (such as not having a welder, or space to build a trailer), you can always buy a trailer. There are plenty of good quality concession trailer builders out there, that specialize in custom and generic concession trailers. They can not only help you determine what type and size of trailer you will need, but can also help you determine what equipment you will need, placement, and more. These companies will build you a trailer to your specifications and needs, and ensure that it will pass inspection. This is a good way to go if you happen to have the start up capital to buy a trailer instead of building one.


