How to print clean copies of your hubs

HubPages used to have a hub-copy feature that made it easy for authors to make a printout of the article and to transform its ordinary text and images into “PDF” format. As of December, 2012, that feature is among the missing – perhaps still available, but hidden from my view. This article is intended to help make up for the absence of the HubPages earlier printout feature using freely available computer software - Open Office (text) and Adobe Reader. Portable Document Format (PDF) documents can be produced using Open Office software and a number of other programs, the original one of which is another Adobe product.
I recently decided to make some booklets of various articles selected from among those I had posted here on HubPages. Here is how I did it.
You can make your copying life easier if you edit both the HubPages postings and your computer copies at the same time
Although I save folders containing both text and images for each article, it is not at all a rarity that the article texts posted on HubPages have received needed editing, usually to correct spelling and grammatical errors, but now and again, major alterations. Images may also be improved with some visual editing or the image roster may be increased by addition of new or improved images. Being the sort of person I am – mostly too lazy to correct both the posted article and the original copy kept on my computer – the HubPages posting is the corrected copy and my computer-stored copy contains any uncorrected items.
For that reason, a whole new computer file is made directly from the HubPages posting. It is not difficult to make those new files, but there are some “tricks” you should use in the making of them.

Capture the text portion of the HubPages posting
Activate your Open Office program and select Text. Minimize the program. (Click the dash at the upper right of your monitor screen.)
Access the article to be printed and have it on the screen just as you would have it for ordinary viewing.
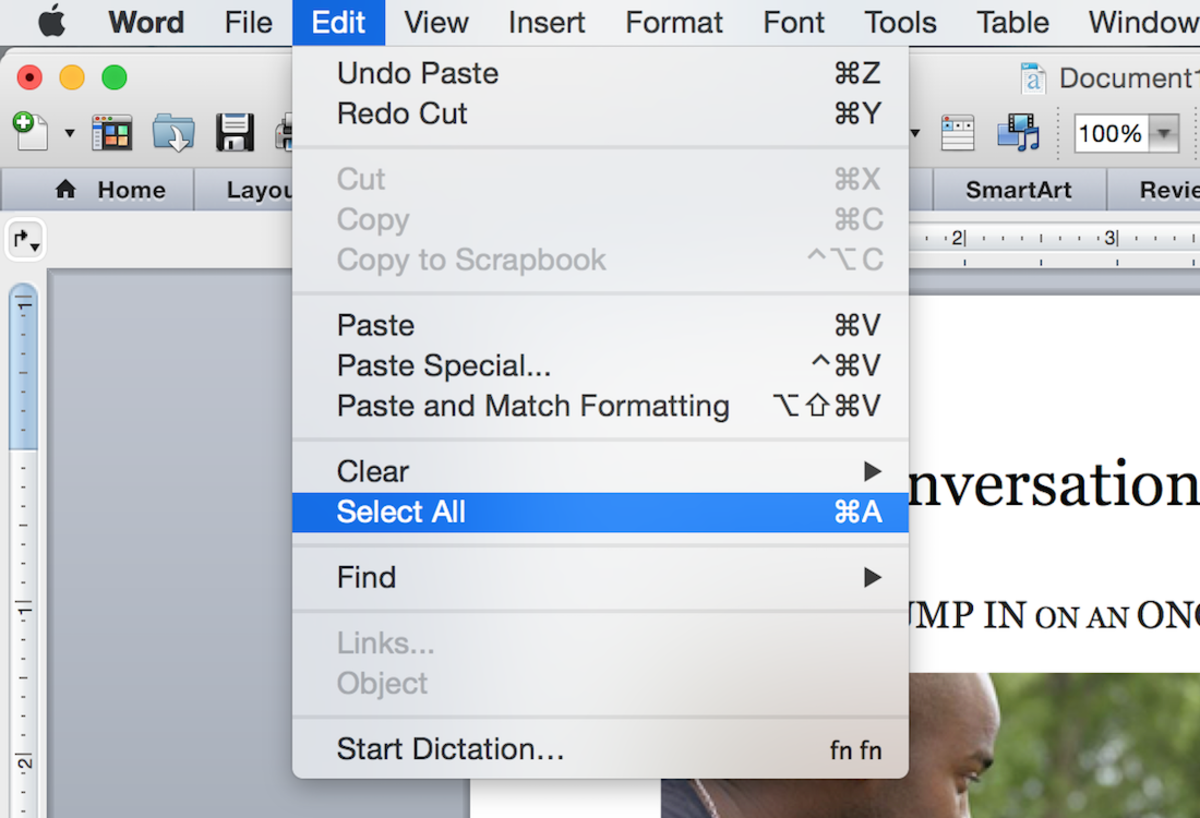
Highlight the article's title line(s) by holding down the left mouse button and sliding over the text with the mouse cursor. Temporarily save that text using the CTRL-C (select command) keys. [CTRL = control key and C= letter C]
Minimize the article. Then maximize the Open Office program. (click the single rectangle block icon at the upper right of your monitor screen such that it becomes a double rectangle icon.)
Move the mouse cursor to the spot on the screen where you want the title line(s) to begin and place the title there using the CTRL-V (copy command, where V = letter V) keys.

Avoid unwanted images and advertising
Repeat that routine for the rest of the article's text. You may have to transfer text block by block instead of doing so all at once. It depends on the presence of other items on the page(s). You do not want to transfer images at the same time you transfer text. Additionally, you probably do not want to transfer advertising or any of the HubPages command or selection texts, either.
Thus, when performing the text highlighting with your mouse, you should not move the cursor beyond the actual text you are trying to transfer. If you see that the highlighting has extended to undesired, non-article text items, like photos or advertising you don't want transferred with the text you do want transferred, simply back up a little with the mouse. The extraneous highlighting should then go away and remain only over the text you are planning on moving.
When you have the desired text block highlighted, capture it using CTRL-C (select command).
You will find that reducing the size of the highlighted text blocks reduces the problem of over-highlighting.
Putting the text onto your Open Office page(s)
When you have captured the text block to be transferred, it is a good idea to minimize the HubPages article before you maximize Open Office to receive the text.
Now maximize Open Office. There it will sit, title line(s) shining brightly to help remind you of what you are attempting. Move the mouse cursor to the spot on the page where your text block is to begin. Copy the selected text to your Open Office page using CTRL-V (copy command). Check the newly transferred text to make certain that it is complete and that it is free of unwanted material.
Again minimize the Open Office page(s). If there is more text to be copied to the Open Office text page(s), repeat the select-copy routine until you have transferred all of the text you intend to have on your Open Office page(s).
Adding images to your Open Office page(s)
Copying images from the HubPages article to the Open Office copy is somewhat easier, but, again, there are some caveats to be observed.
Open Office text has an Insert feature. You can access it by a left-button mouse click on “Insert” in the Open Office command in the main toolbar (upper left of the screen) or by keyboard-command, ALT-I (alternate key – plus letter key I). Click on “Picture” in the resulting drop-down menu and select either “From File” or “Scan.” Most likely, your image is a file on one of your computer disks. If not, you will have to put it there.
Before placing an image onto your Open Office page, move the mouse cursor to a place on that page where you want the image to appear. If you want to move the image after it is on the page, you can place the mouse cursor into the body of the image and, holding the left button of the mouse down, you can move the image about on the page until it is where you want it.
To reduce or enlarge the image size, put the mouse cursor on one of the tag blocks at the edges of the image and, holding the left mouse button down, drag the image to whatever size you want it to be.
Using your image files or HubPages posted images
If you do not have the necessary image files on your own computer storage, you may want to use to images posted on HubPages within your article pages. A suggestion as to doing so is to rename each image file to something understandable to you as you copy the HubPages images to your own computer storage. Why? HubPages identifies the images shown on its pages with coding. If you are going to copy more than one single image per article, you will soon find that you do not know which image is which. Rename each one to an image title you can understand.

Save the new Open Office article file
After all of the text has been transferred to the Open Office page(s) and all of the images have also been moved onto the page(s), the Open Office version of your article should be saved to disk. Go to the main toolbar (upper left of the screen) and select File. In the dropdown menu, select Save As. That is when you choose the place on your computer disk in which to save the newly created Open Office file of your complete article.

Produce a PDF file, too
If you like, you can also create a PDF file from that Open Office text file. It is easy to do that before you close the Open Office program.
Once again, go to the main toolbar of Open Office and select File. In the dropdown menu, select Export as PDF. A PDF choices menu will appear on the screen. The options to be selected are beyond what this article is intended to teach, but I ordinarily check the box for “PDF/A-1” if it has not already been selected. For additional information you might find instructions on Open Office Help or from the Adobe software help sections. I have found that my trust in Open Office software's default selections works well in creation of PDF files.
Save the PDF file to your disk.
Make a good printout while the file is still sitting there
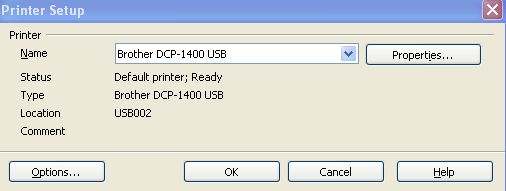
While the finished Open Office copy of your article remains on the screen, and if I want a printed copy of the article right then, I once again go to the main taskbar and click on File. From the dropdown menu I select Print with the mouse, or type CTRL-P (control – letter P) on the keyboard. It may be that you have more than one printer. If so, you must select the printer on which to make the paper copy. You can do that using the Printer Setup selection before you command Print.
Summing all of this instruction
These are a whole lot of instructions for something as simple to do as copying HubPages articles without there being extraneous advertising and misplacing of images. Actually, the doing of it is a whole lot easier than reading about it.
For HubPages authors who have good familiarity with the use of their computers, such detailed instruction is probably verbal overload. For those who want to make printouts of their articles without the extra stuff all over the printed pages, but with good imaging placement and with the opportunity to produce PDF files as well as ordinary text-image files, the instructions above should be helpful. Some of us computer geeks tend to forget that not everyone is as computer-nutty as are we.
As an aside, I just now ran the Open Office Spellcheck feature – and it found no errors. Recognizing, of course, that a Spellcheck “no errors” result does not really mean “no errors.” I wanted to point that out. Why? Because it is the first time it ever worked out that way. “No errors.” Unbelievable.”

