Promoting Hubs And Blogs
Do you ever start to feel a bit burned out on social networking? Do your friends and family mostly use Facebook as a place to post family pictures, and to play a truckload of games? There is nothing wrong with this if you are simply using Facebook for entertainment and amusement purposes, but if you want to get the most out of Facebook as a writer, artist or a business, then I would recommend starting a Facebook fan page. Have you been wondering how you can do that? This hub will teach you how to create a Facebook fan page in conjunction with NetworkedBlogs, which will then automatically post your blog updates to your fan page.
However, before you start let me share a word of caution. I have noticed that my posts for my main arts and crafts website, Sweetbearies Art Tips, only sporadically post to my fan page via NetworkedBlogs, but my posts on blogger.com are far more consistent. Actually, most of my blog posts on blogger.com post to my Facebook fan page within a minute of hitting publish. I have seen a few hubbers use NetworkedBlogs to pull the feed from their hubs, but I am not at all sure how that works since I have never tried that. You are welcome to follow my directions for creating a Facebook fan page to experiment with your hubs, but as I said, I have learned from my experience, that blogger.com works best. I am the type of person who loves to figure out how things work, so what I am sharing here is simply my own experiences.

Why Create A Facebook Fan Page?
Why not just post everything to your wall! Well, I no longer do that because I did not find this to be the most effective way to promote my writing via Facebook. One day when I was over on the eXaminer Facebook fan page, I learned that many writers are doing this to promote their online articles. Facebook fan pages come up in search engine traffic, which will bring more traffic to your blogs. Since I do not post my hubs via NetworkedBlogs, I simply manually post hub URLs on my fan page. Also, I have a widget for my hubs on my blogger.com and my sweetbearies.com art site, which are all backlinks to my hubs.
Another reason I decided to create a Facebook fan page was that I grew tired of posting everything to my wall, which was not bringing that much traffic anyway. My traffic via Facebook has actually gone up since I created a fan page for my websites. So let me explain how to do this so you can create your own fan page, and then promote it via NetworkedBlogs. Doing this will give you the option of having blog posts automatically post to your page without even having to log into Facebook each time to do it. How great is that?
Make A Facebook Fan Page, And Use NetworkedBlogs To Post To Your Wall
Step 1
Log out of your Facebook account.
Step 2
Scroll down to the link “Create a Page” at the bottom of the Facebook sign-in page. Click on this!
Step 3
Select the type of official Facebook page you would like to create. I decided to create “Artist, band, or public figure,” page because I am a writer and an artist. You could also create a page for your business.
Step 4
Create a name for your Facebook fan page. I decided to name my latest Facebook fan page “The Pedestrian Walking Life,” because this page is going to promote my blog about pedestrianism and all things walking related.
Step 5
Make sure to check the box letting Facebook know you are the official representative of the business, or website you will be promoting. Do not start a page for someone else because Facebook will shut that down! Only start a page about your own website or business.
Step 6
Click the button “Create Official Page” once you are finished with the above steps.
Step 7
When the screen goes to “Create a Facebook Account,” select the option that lets Facebook know you already have an account. I like to have my regular Facebook account linked to my fan pages, so I can manually post things to the latter when I am logged in. This eliminate the hassle of having log in and out between accounts.
Step 8
Click the “like” button on your new Facebook fan page, which will show up on your main profile feed. This lets all your family and friends know you have created a new page. Some of your friends and family might even be intrigued enough to stop playing games to come look and see what you are up too.
Step 9
Upload a picture to your Facebook fan page so it is not so boring! Make sure you own the copyright to any pictures you will be uploading to this page.
Step 10
Post a link to your blog or hub so visitors will have something to look if they happen to come to your page before you can add anything intriguing.
Step 11
Click on the “info” tab on your Facebook fan page, and add your website’s URL and biographical information.
Step 12
Go up to the Facebook search box and type in “NetworkedBlogs,” which will take you that page’s Facebook application.
Step 13
Click the button “Register a Blog” to submit your blog’s feed to NetworkedBlogs, which will now be able to post to your Facebook page and/or Facebook fan page. As I said I only like to post my blog's feed to the Facebook fan page, which is crawled by the search engines.
Step 14
Set up your blog’s name and description with NetworkedBlogs, and then click on next.
Step 15
Click the “yes” button to let NetworkedBlogs know you are the author of the blog you are submitting.
Step 16
Select the widget so you can embed the HTML code for NetworkedBlogs on your website.
Step 17
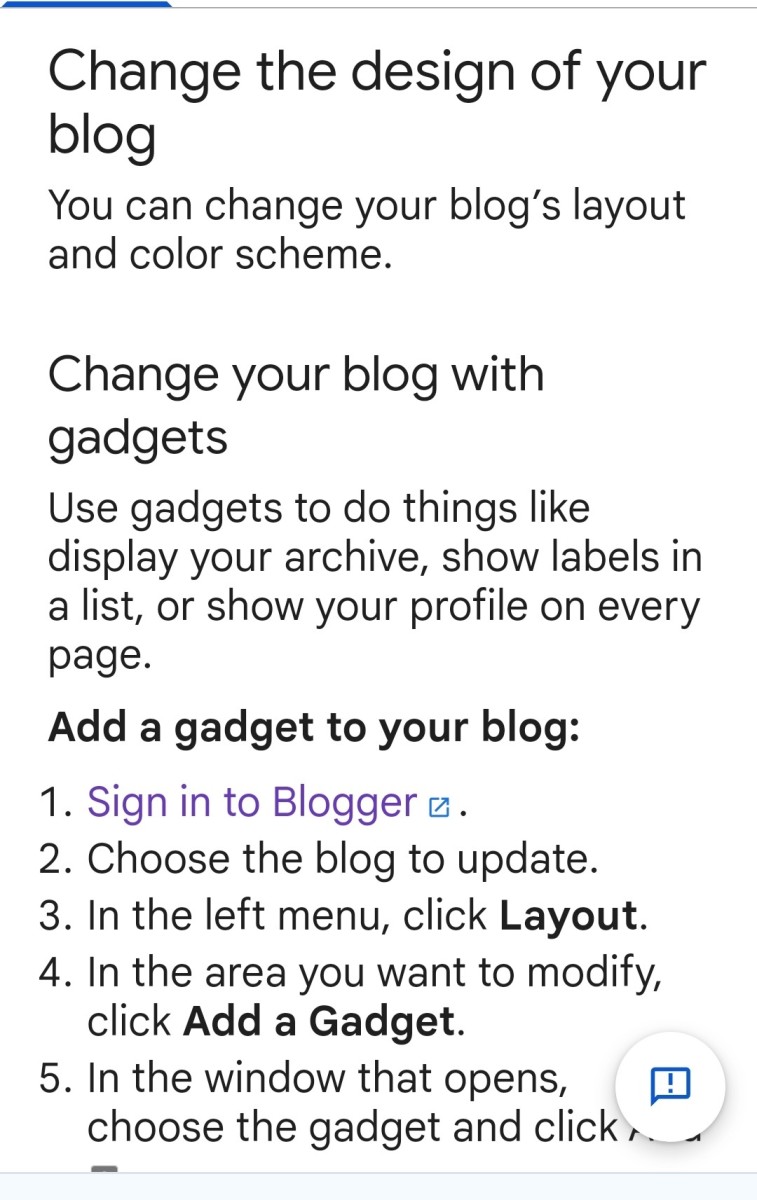
Paste the HTML code for the widget on the desired part of your website. Personally, I prefer to put the widget at the bottom, but you can do this however you like!
Step 18
Select “Verify” to let NetworkedBlogs know you have pasted their widget on your site.
Step 19
Click on “Next,” which will take you to the syndication button for posting your blog’s feed from NetworkedBlogs to your Facebook fan page. Now if you post on blogger.com then your blog posts there should automatically post to your fan page without you having to do anything else. I still recommend manually posting hubs to you Facebook fan page as I have not played around with that feature.
Step 20
Go to each NetworkedBlogs blogger page and select "Add Facebook Target" to select which blogs are supposed to post to which Facebook fan pages. Otherwise, all of your blog posts could be posting to all of your pages! It might be a good idea to start several different fan pages if your articles and hubs cover various niche topics.

