Resize an Image

Modify Your Image In A Few Simple Steps
Hi there and thank you for stopping by! I hope your day is going great!
In this lens, I am going to explain in easy-to-follow directions how to change a photograph or image to a desired size and shape using the software program Paint, which comes standard with Windows, or the free downloadable software called GIMP. I have added the link below.
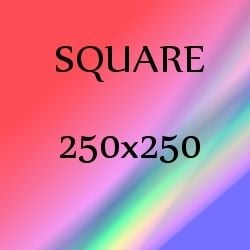
I decided to create this lens to help other Squidoo lensmasters (and anyone else) who may need some help with changing the shape and size of photographs or images to fit correctly into the introduction module of Squidoo lens according to the guidelines provided by Squidoo that images should be of a specific size and shape. For those aren't familiar with this, it is suggested by Squidoo HQ that in order to be included in the featured lenses, the image in the introduction module (of both new and older lenses) should be in the shape of a square that is no more than 250 by 250 pixels.
When deciding what image to use in the introduction module, try to use a good -quality image that is relevant to what the lens is about. This is important because one of the purposes of the introduction module image is that it works as an attention grabber. Try to use photographs that you took yourself or images that you have created, but if you have to use images you locate online, please remember to give proper credit to the origin or owner of the image.
Don't Be Intimidated When Editing Photos
Don't ever be intimidated when editing photos (or any documents), you can always click undo; or, if worse comes to worse, you can just close it without saving it.
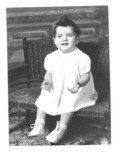
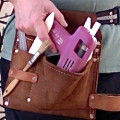
Some Photos I've Taken
Click thumbnail to view full-size


April 2012")


April 2012")


Don't Be Intimidated When Editing Your Photos
As with anything in life, don't let it intimidate you! Luckily, with computers, there is the great feature of UNDO! If you really want to be safe, you can open the image/document you're working with, immediately do a Save As to save it with a new name and that way your original will be preserved.
Below I am demonstrating how to change the shape and size of your images. The first method I've chosen to resize your image into a 250 by 250 square is by using Paint, which comes standard with Windows. I'm pretty sure something like it comes standard on Macs as well. I have outlined three easy steps to make the changes to your image.
The next method is by using the free software program called GIMP. GIMP is pretty user-friendly and has a lot of features for being a free download. I really like it, but I generally only use Paint to resize because I think it's the easiest way. However, I'm not sure, but I think sometimes Paint can change the quality of your images.
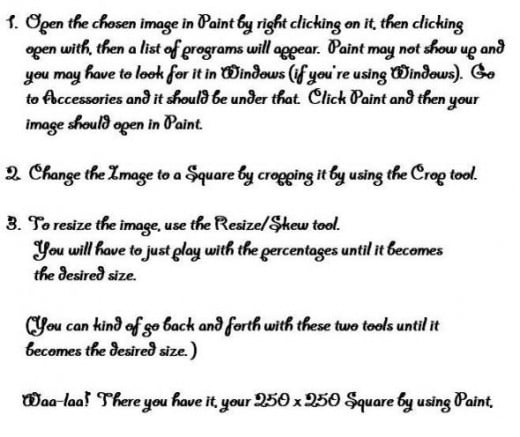
Three Steps to Editing Your Image into a 250 by 250 Square - Using Paint
Step 1 - Open Image with Paint - (For Windows Users)
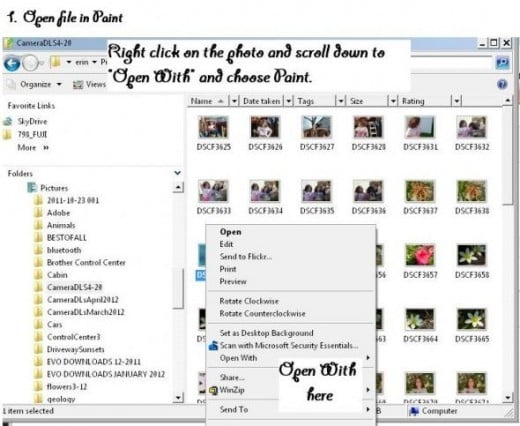
1. Locate the image you are going to use. Select it. Right click on it. The screen will appear for you to select "Open With". Click that and then you will see another screen appear. If Paint doesn't appear, you will have to browse for it. Once you find it, click it and then your image will open in Paint.
If you don't have Paint on your computer, you will have to go to the Control Panel and add it under Windows Programs.
Step 2 - Crop the Image with the Crop Tool
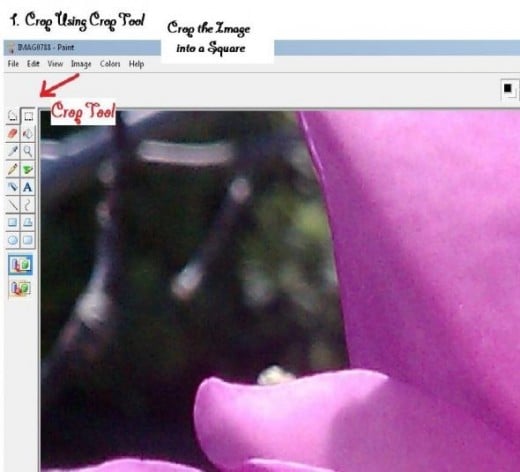
2. Using the Crop tool, drag a square around the image capturing as much as the image as you want in the picture. Once you have the square selected, click Image/Crop.
You may need to play with it a little to make sure it's a square. You can check to see what size it is under Image/Attributes which will tell you whether it's a square or not. You may need to crop it a couple more times to get it in the shape of a square.
Step 3 - Resize the Image with the Resize/Skew Tool
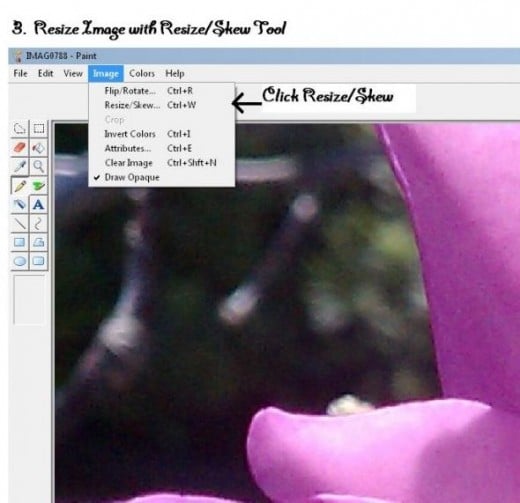
3. Once your image is in the size of a square, you can adjust the sizing down to the desired size by using the Resize/Skew Tool. Start with reducing 70 percent and then check to see what size it is. Depending on the original size of your image, this may only need to be done a couple of times to get it to be the size you want it (such as 250 by 250).
Resize/Skew Screen - This is the box that appears after you click resize/skew. You will adjust it down in percentages.

Free Photo Editing Software You Can Download
- Picasaweb from Google
- GIMP Free Photo Editing Software
- Pixlr Photo Editor
How to Modify Your Images Using GIMP
See images below.
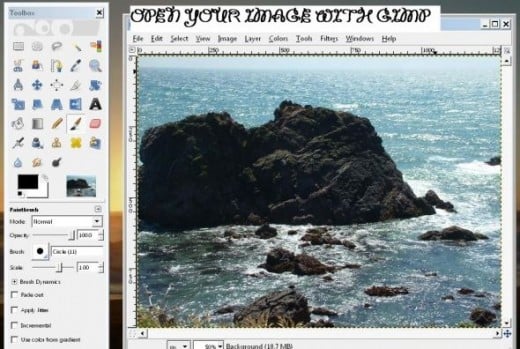
- Open your image with GIMP.
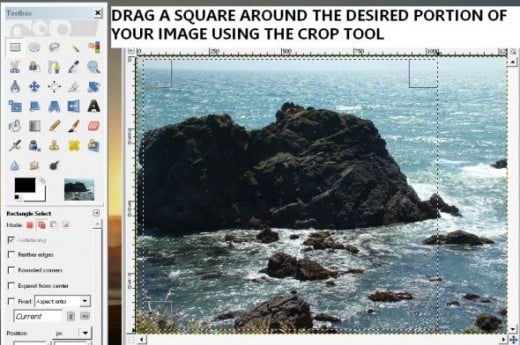
- Using the Crop tool, drag a square around the portion of the image you think looks good.
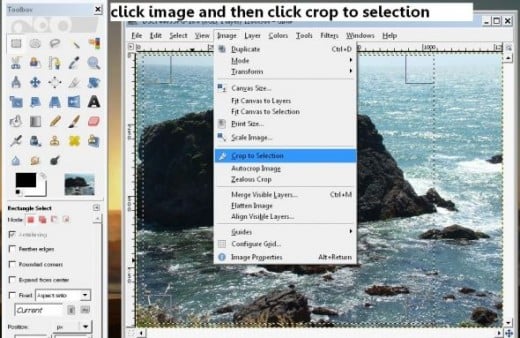
- After dragging the square, click on Image and then click Crop to Selection. Now you have a square.
- Now that you have a square, click Image and then click Scale Image. Scale your image to 250 by 250. You may have to mess with it a little before it is perfect.
Modify Your Images Using GIMP - Step 1
Modify Your Images Using GIMP - Step 2
Modify Your Images Using GIMP - Step 3
Modify Your Images Using GIMP - Step 4
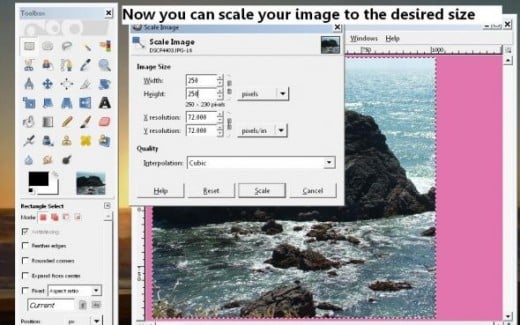
Photo Editing Software You Can Buy
![Quickstart: Photo WorkStudio Pro [Download]](https://m.media-amazon.com/images/I/61R5br8AesL._SL160_.jpg)
![PaintShop Pro X4 [Old Version]](https://m.media-amazon.com/images/I/51Cfam8RcnL._SL160_.jpg)
Free Photo Editing Software I Have Used
- Link to Picasaweb
With Picasa, not only can you store and share your photos, but you can edit them as well. - GIMP - The GNU Image Manipulation Program
GIMP is a cool photo editing software that is free to download. It is fairly user-friendly and has a lot of features. - GIMP - Downloads
This is a direct link to the downloads section of GIMP. - Link to CNET downloads for different photo editors
Come to CNET Download.com for free and safe Photo Editor downloads and reviews including IrfanView, PhotoScape, FastStone Image Viewer and much more.