Examining the properties of soil: pebbles & gravel lesson

Learning Objective: The student is expected to examine properties of soils, including color and texture, capacity to retain water, and ability to support the growth of plants.
Materials:
Focus: Inform students that today we will begin are study on different soils. We test the soils to see how they react to water. Students will watch a video about Pebbles and or Gravel and how they are created and why they are earth material.
1. Define soil as The top layer of the earth's surface, consisting of rock and mineral particles mixed with organic matter. Define earth material as Earth materials are a general term that includes minerals, rocks, soil and water. These are the naturally occurring materials found on Earth that constitute the raw materials upon which our global society exists. Earth materials are vital resources that provide the basic components for life, agriculture and industry. Earth materials can also include metals and precious rocks.2.Define pebble as a small, rounded stone, esp. one worn smooth by the action of water3. Define capacity as the ability to contain, absorbs, or receives and holds. Define retain the amount of space that can be filled. To keep or hold in a particular place. Define gravel as mixture of rock fragments or pebbles.
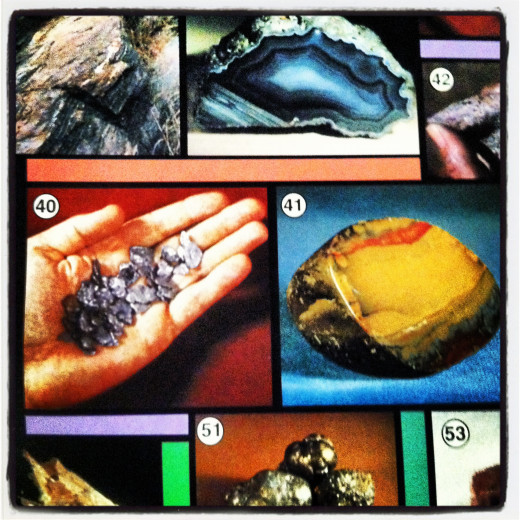
Pebbles & Gravel
Instructional Input: Inform students that today we will make a graphic organizer that we will use throughout the week to collect data about the different soils that we test and observe. The will work with their table groups2. Instruct students to write down your hypothesis about how you think that the soil type of the day will react to water. (“I predict that…”) Today students will only look at pebbles and or gravel.
Have students quickly investigate the different characteristics of the pebble and gravel. They should be able to look at the rock particles and determine the color, they should be able to touch it and look and record the texture,
Soil Texture
1. Place a spoonful of each type of earth on a paper plate.
2. Use the medicine dropper to add just enough water to each earth sample to moisten it.
3. Pick up the moistened earth and try to roll it. You might need to add more water.
4. Use your Soil Texture Feel Guide to determine the kind of soil it is.
Fill out the Soil Texture chart in your Journal.
To measure mass students will use a triple beam balance. Tell them that each day they will measure a ½ cup of the particular soil. At the end of the study they will compare the masses of all the soils. Students can also describe the size.
Water Retentio
Option1
have each group pour water over the pebbles and or gravel. Have them look at the bottom, and talk about what they noticed. Talk about how the soil overtime might react to the water? Allow the mixture to sit in the windowsill. Or Make further observations about it tomorrow.
Option2
Wrap the open ends of a nylon hose over four beakers. Secure each nylon hose using a rubber band.
2. Place 150 ml of different types of earth in the nylon hose in each beaker.
3. Pour 200 ml of water over each type of earth.
4. Let the water drain for one minute. Make sure the earth sample does not sink into the drained water.
What’s with all the different colors of soil?
5. Pick up the hose full of earth and hold it over the
Beaker until it stops dripping. DO NOT SQUEEZE
SOIL.
6. Use a graduated cylinder to measure the water left in the beaker. Fill out the How Soil Retains Water chart in your journal.
Part III
Closure: What are the color, size, texture and mass of the pebbles? Gravel?
Facilitating Questions: So What was our variable(s) today?
Evaluation-Journal Answers and each table groups’ graphic organizers.


