- HubPages»
- Education and Science»
- Teaching»
- Lesson Plans
Hand "Self Portrait" Project for Elementary Students
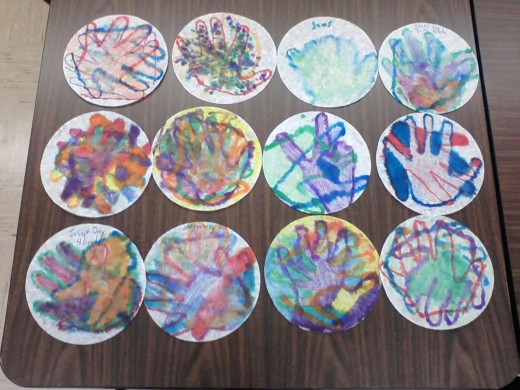
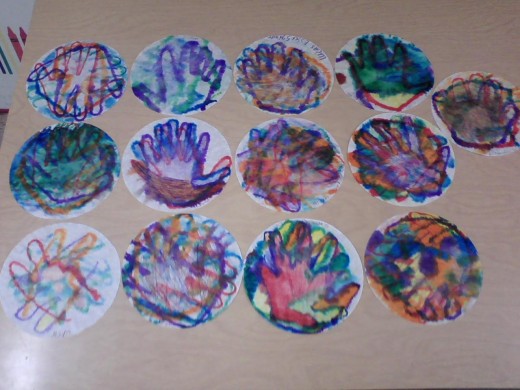
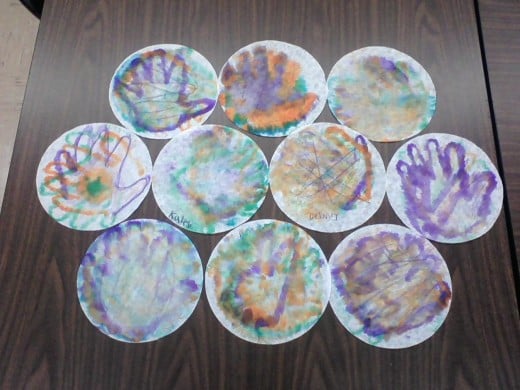
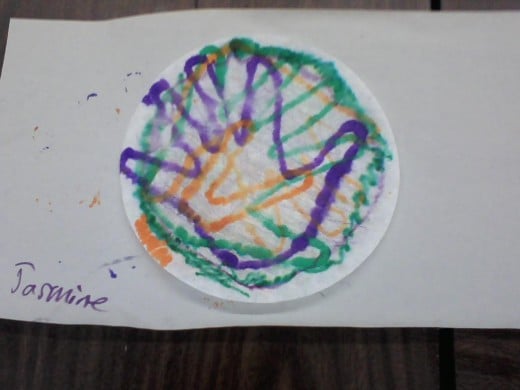
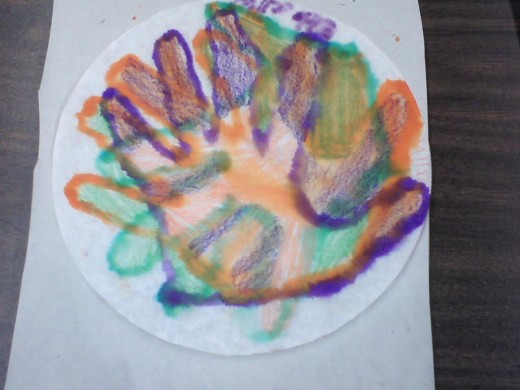
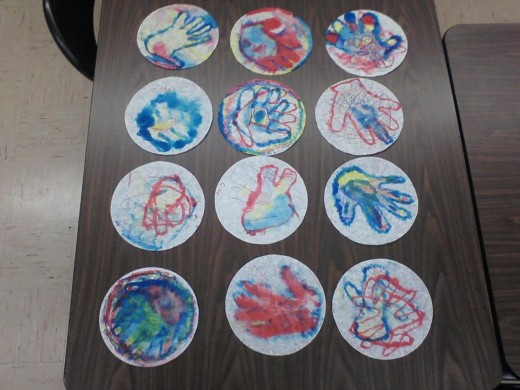
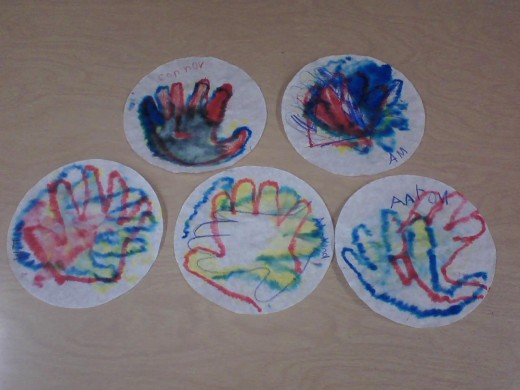
Traditionally, self-portraits have been considered drawings or painting of the artist's face or whole body, representing their own likeness. This project is my take on a self-portrait lesson I found on Pinterest that was called "The Hand of the Artist". It is a self-portrait of the artist's hand, the students trace their hands and use the specified color direction. The original project was done at the end of the school year. The students completed this as a color study project where they needed to use specific color groupings. Examples of color groupings include: complimentary colors, split-complimentary colors, analogous colors and mono-chromatic colors.
This year in class we have discussed the primary (red, yellow and blue) and secondary (orange, green and purple) colors. My color lessons have not gotten into the more advanced groupings of color theory yet, I may not with my younger students. I had my youngest students (K and 1st) use primary colors only and the 2nd and 3rd graders used only the secondary colors. The 4th and 5 grade students used both primary and secondary colors. My students hands will be put into a large poster frame and then sold at a silent auction fundraiser for the school. They look absolutely beautiful arranged together, it is a very colorful project that was so fun for the students to complete.
Instructions
- Materials needed for the project include: pieces of newsprint to place under the coffee filters, filters, permanent markers, washable markers and crayons separated into specific color groups. Also needed is a spray bottle with water. For the K-1st grade students I had primary colors ready for them. I had secondary colors separated and ready for the 2-3rd graders. The 4-5th graders used all six colors.
- At the beginning of the hour, I reviewed primary and secondary colors using a large color wheel with the students. We discussed how all colors are created by the three primary colors. We talked about what colors are made when certain colors are mixed.
- I had a coffee filter for each student, and some extra filters since I knew some students would want to do more than one or maybe need a redo. I had the students write their name or initials on the coffee filter with crayons. The crayons will not run when the filter becomes wet, the markers will run. Of course, a few students used markers to write their names, so I had them write their initials on their piece after it was wet. Then they could see that their name ran a little bit in marker and they could understand better why following directions is important.
- I had the students trace their hand a few different times, turning the filter around so the hands created a pattern of different shapes. Some students made peace signs with their fingers and traced their hands with the peace symbol. I told them it was up to them as to how many hands to draw on the filter, but they should do at least two. There were still some students that only traced their hand once, and that was ok, too. I collected the permanent markers after they traced their hands.
- Then I handed out the washable markers. They needed to color in their hands with crayons and markers. I told the students they needed to use at least one or two washable markers to color with so that the colors would have a blended appearance after they got wet. The markers all bled some, but the permanent makers bled less than the washable markers.
- Once the students finished coloring their hands in, I came around to each of them individually and lightly sprayed water onto the filter. I had newsprint underneath the filters because the markers do bleed through them when wet. It also gave the piece something a bit more rigid to make it easier to place on the drying rack. I did not allow the students to spray the water on because it only needs to be done lightly. If it is overly wet, some of the design will be completely gone. The finished pieces are really gorgeous!
