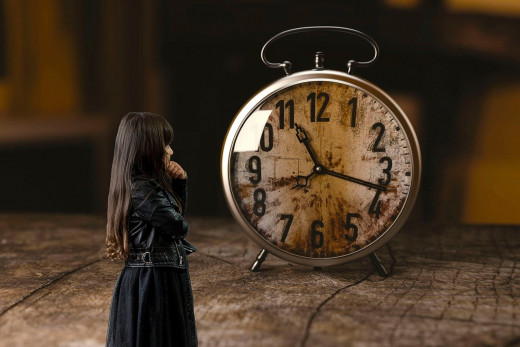
How to Teach Young Children to Tell Time

Teach Time In Few Minutes A Day
With young children, telling time is a skill that can be learned incrementally in a few minutes a day and with nothing more than your regular schedule, two inexpensive analog clocks and batteries to run one of them.
Start With Patience
Learning to read a clock will not happen in one sitting. It may take a combination of several different methods to help your little one learn how to tell time. So, as with so many other things involving kids, take a breath and mentally prepare yourself to have patience with your child.
Can They Recognize Numbers?
If your child can't yet recognize the numbers on the clock face, you can still teach them the basics of the hands pointing straight up at 12 (or o'clock), :15 (quarter after), :30 (half past), :45 (quarter to), but you'll have to wait on the rest of the numbers until your child can read them.
The clock face does present an excellent way to help your child strengthen their number recognition.
Pop off the clock face and write the numbers beside the ticks for the smaller time fragments like :05, :10 etc.
The Order To Teach Time In
Your child may recognize you saying, it’s “6:30, time for your bath!” but reading 6:30 on a clock is an entirely different story.
Start with the easiest time to tell: o’clock, when the big hand is pointing up at 12.
Next move on to half-hours (:30), then quarter-after (:15) and finally quarter-to (:45).
When they’ve mastered these principles, then introduce the smaller numbers around the clock that are often marked with only a small line. Counting these lines may be the most difficult. If you can, pop off the clock face and write the numbers in.
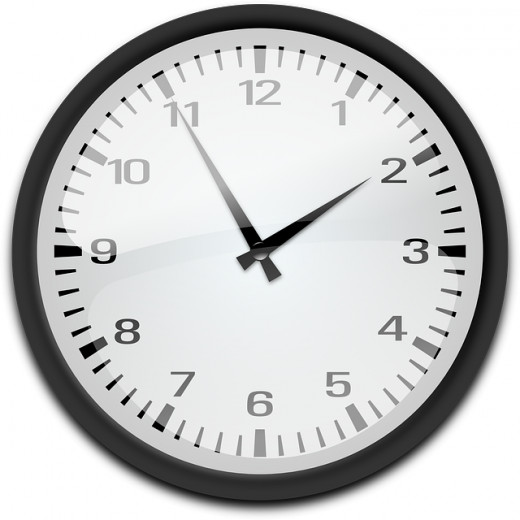
The Two Clocks Method
The power behind this method is to buy two identical clocks. They don't have to be expensive. As long as they have a simple face with easy to read numbers.
TIP: It won’t make a lot of impact if the clocks have a seconds hand or not since you will be focusing on teaching hours and minutes at first.
Put batteries in one clock and hang it on the wall or in an easy to see place. Keep the other one battery free and at eye level to your child, for example, on a lower bookshelf.
Choose an important event that will occur during the day. It could be the time you go to the park, pick up siblings from school, are allowed to watch TV or have a treat. Choosing an exciting event helps make the clock interesting to your child and more likely to pay attention to it. For example, if you know your child can have one treat a day, like a lollipop, choose a time they can have it.
Collect both clocks and sit with your child. Try doing this in the early morning, for example, during or after breakfast, so you have the opportunity to give a reminder or two about the time as the day progresses.
Explain you will go to the park at 2 o’clock, then set the time on the non-working clock to 2pm. Explain the principle of “o’clock” that the hour is changing as the day gets older. Show (or remind) them the long hand and how it points to the 12. Point out the short hand pointing to the 2.
On the clock with batteries, ask your child to find the 2 and 12. Ask them where the long and short hands are pointing right now. Ask: Is it time to go to the park? Explain you will go to the park when the working clock matches the other. Use your finger to point out the long hand at the 12 and where that is on the working clock, and the short hand pointing at the 2 and the same on the working clock.
Remember they won’t be able to tell you what time it is in the beginning. The focus is just on matching the clock faces.
Once or twice during the day, point out the clocks and ask your child if they match yet.
When 2pm arrives, take down the clocks, point out the matching times, then go to the park.
It’s important to follow through on whatever you have linked to the time-telling exercise. If you don’t, your child may create negative associations to learning to tell time. So, be prepared to give them a treat if that’s what you promised.
Using a specially designed teaching clock is useful when you move onto teaching the minutes because they also often have the words ‘half past’, ‘quarter after’ and ‘quarter to’ written directly on the clock, so every time you go over it with your child, these concepts get reinforced easily. You can buy two teaching clocks, or just match it with the simple clock you’ve already been using.
How Young Or Old Should My Child Be For This Method?
I started using this method with my first child when he was 2 1/2. We used different time tags including: being able to watch TV for a half hour at 4pm, going to the park, having a lollipop or ice lolly, helping bake or cook (kids love to make homemade pizza!) Within a year, after doing this once a day, 3-5 times a week, he was able to tell the time.
We then bought a teaching clock and by the time he was 4, he was able to use the smaller time units of :05 etc.
This content is accurate and true to the best of the author’s knowledge and is not meant to substitute for formal and individualized advice from a qualified professional.
© 2020 Amanda Hare