Simple Seed Science Activities
Students learn best by building upon previously known knowledge. So, when teaching science concepts, it is good to use materials that students are already comfortable with. Children have seen plants popping up out of the ground, but they may wonder what is going on under the surface, and why. Give kids a better understanding of the wonderful world of science. The following experiments are great for students in kindergarten through third grade.
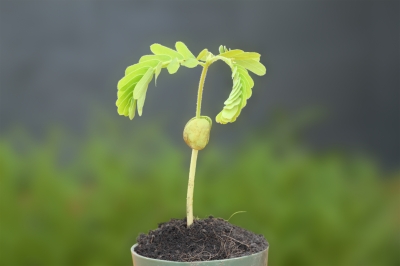
Video of a Seed Growing
Observing Seed Growth
Sure, kids may have seen a plant sprout outside in the garden, or even inspected their veggies on the table, however they may not understand what is happening under the ground. Solve this lack of knowledge by planting a lima bean seed in a clear plastic cup and observing the growth process. Here's the simple process:
- Fill a cup ¾ full with potting soil, and poke three to four holes near the outer edges of the cup.
- Place one seed in each hole, and fill the holes with more soil.
- Water the seeds.
- Set the cup in a warm, sunny place.
- Water the seeds only when the soil feels dry to the touch.
- Observe the cups daily for changes, and ask students to record what they notice.
What you should see:
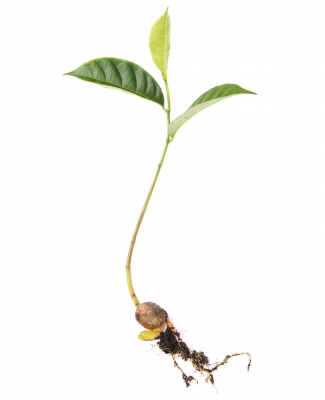
If the beans are placed close enough to the edge of the cup students should be able to see the root structure, and the shoot coming up from the bean and through the soil. Point out the different parts of the plant, and have students memorize the terms and locations for the root, seed, stem, and leaf.
Visit EnchantedLearning for a printable download of a "sprouting bean shape book" that helps students understand the stages of plant growth.
Do Plants ALWAYS Grow Up (Instead of Down)?
Everyone knows that plants sprout up from the ground, but will a plant ever grow down? Does it matter which way the seed is placed in the ground?
- Fill two plastic cups ¾ full with potting soil. Poke one hole in each cup near the outer edge of the cup.
- Label one cup “point up” and the label other cup “point down.”
- Place a garlic clove pointy side up in the “point up” cup. Place the garlic clover with the pointy side down in the “point down” cup.
- Cover the holes with more soil.
- Water the seeds, and set the cups in a warm, sunny place.
- Observe the cups daily for changes, and ask students to record what they notice daily.
What you should see:
Garlic is a type of bulb that has a natural “up” position. The pointy portion of the bulb grows up towards the light whereas the rounded portion of the bulb contains the roots and grows downward.
No matter which way the bulb is positioned in the soil, the plant will eventually grow upward. It will take longer for the shoot to grow upward, however it will still grow up, and the roots will still grow down.
Watch 10 days worth of corn seed growth in about 30 seconds.
Do Seeds REALLY Need Water to Grow?
Just how important is water to growing a new plant? Compare two potted plants to each other and compare the differences.
- Fill two cups ¾ full with potting soil, and poke three to four holes near the outer edges of the cup.
- Place one seed in each hole, and fill the holes with more soil.
- Label one cup "water" and label the other cup "no water".
- Water the seeds in the cup labeled "water".
- Set the cup in a warm, sunny place.
- Water the seeds in the "water" cup only when the soil feels dry to the touch. Never add water to the cup labeled "no water".
- Observe the cups daily for changes, and ask students to record what they notice.
What you should see:
Students should observe the that seedlings watered grow, whereas the seeds not watered do not grow at all.
Conclusion
The preceding experiments help students better understand the different parts of the plant, and help students to see what is normally hidden underground. Students should also discover how important soil, water and light is to growing a plant, and should be able to discuss the different stages of the growth cycle.


