How to Tie a Bowline Knot (For a jib sheet)
Bowline
I've recently begun to pursue a lifelong goal; to learn how to sail. If you ask anyone who has never sailed they'll insist it's quite hard and takes years of knowledge and experience. If you ask anyone who sails, they'll insist quite the opposite. Somewhere in the middle lies the truth.
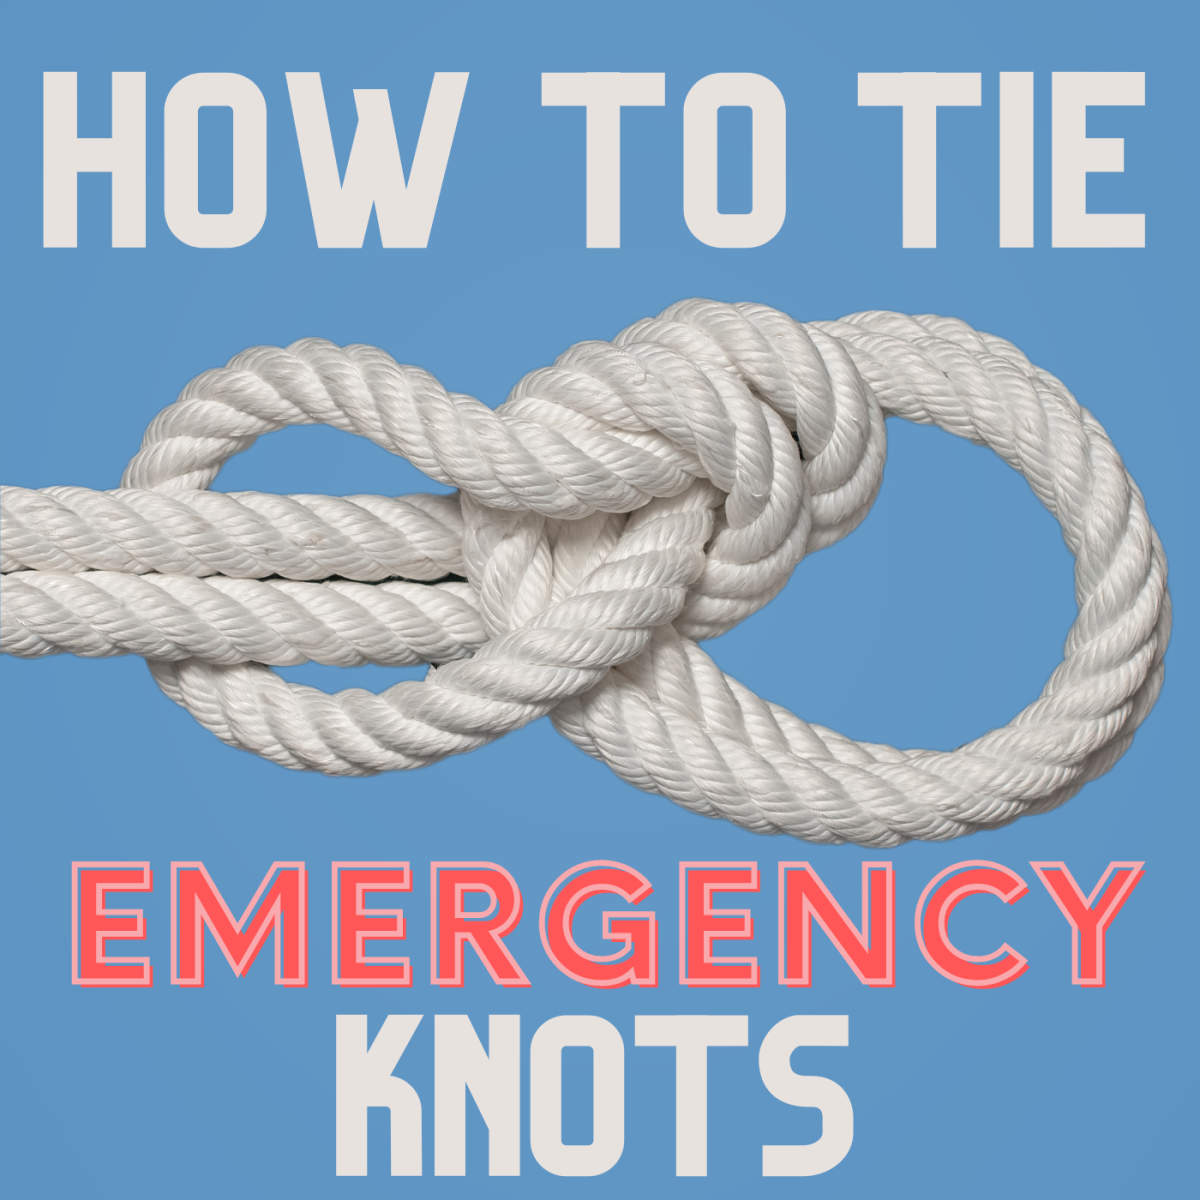
The hardest part about sailing is probably remembering all of the specialized sailing knots. Today I am going to show you how to tie a bowline. A bowline is used on the jib, connecting the jib to the jibsheet which are used for tacking. A bowline is extremely strong, does not slip and is easy to untie even after enormous amounts of pressure has been put on it. All three are reasons why it's used for one of the (arguably) most important roles on a sailboat.
A quick vocab definition section:
Jib - any of various triangular sails set forward of a forestaysail or fore-topmast staysail. Generally on a Sloop, it's the front most sail.
Sloop - Single mast sailboat with a jib and mainsail.
JIbsheet - Rope connecting jib sail to boat. One sheet (or rope) is connected on each side of the boat.
Get some rope
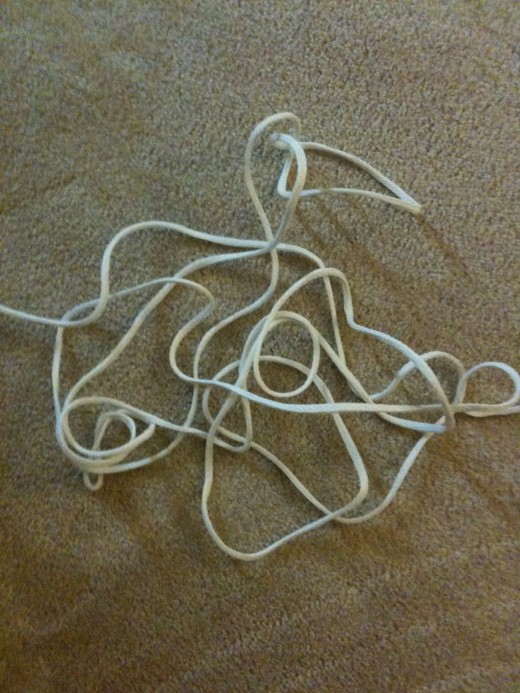
First Step: Get some rope. It doesn't matter what kind because you need practice the knot. When I was first learning I didn't have any rope so I used the electrical cord on our iron to practice with. Point is, you want to be able to do this knot quickly and easily.
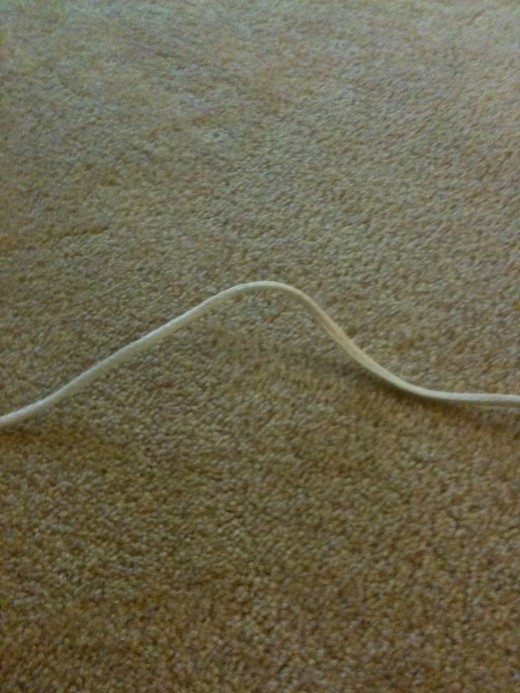
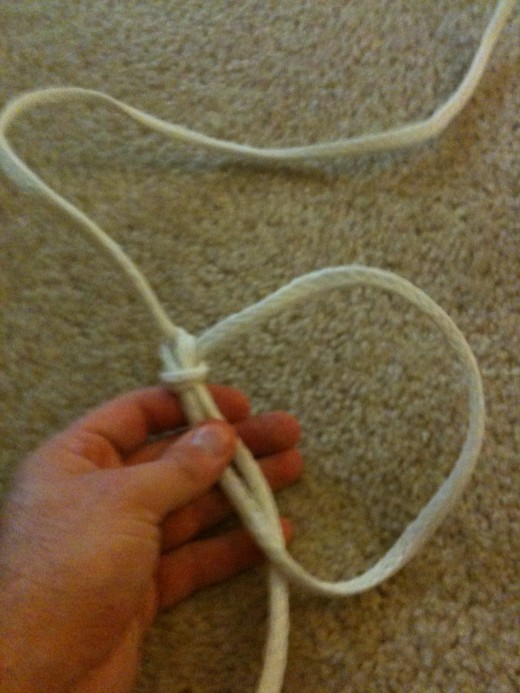
Step Two: Grab one end of the rope and get it straightened out. You'll need about two feet of rope to work with, and maybe more if you're making a larger 'loop' or need a longer 'tail'.
Loop
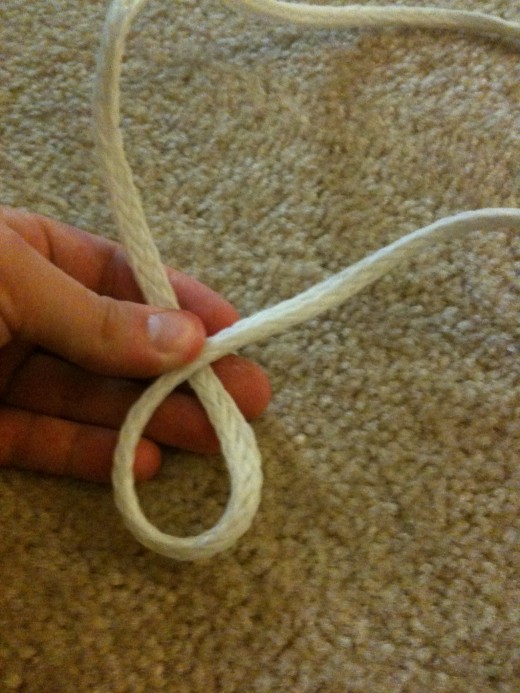
Step three: Make a loop in your left hand. The direction and lay of the loop is very important. If done the wrong way, the knot will not work. The shortest end of the rope should be pointing left; the rest of the rope should be pointing straight out. The shortest end will go through whatever you're connecting the rope to. For a sail, it'll go through the clew.
Go through the loop

Step four: Once you have put the short end of the rope through the clew, you now bring it back to the loop and bring it upward through the loop.
Wrap around
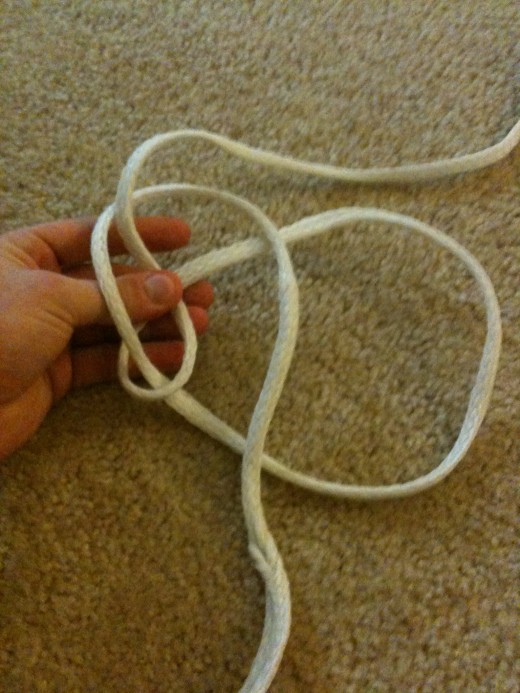
Step five: Bring the section of rope you just brought through the loop behind the longer part of rope. The section brought behind the larger part of rope should look like it's running parallel with the loop through the clew.
Now back
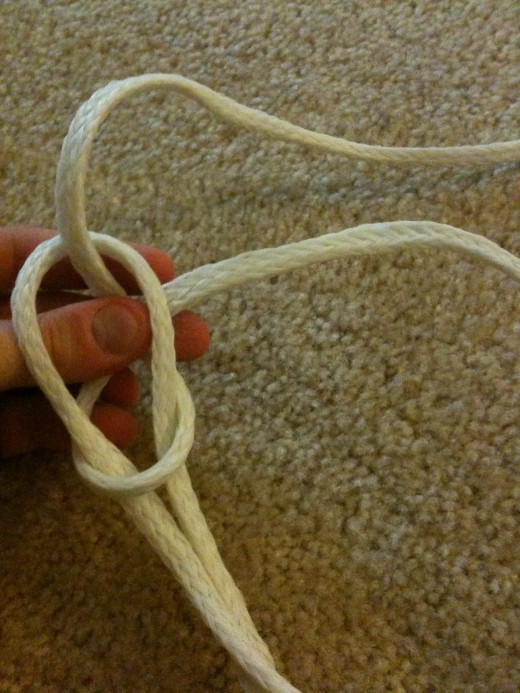
Step six: Now back through the loop you had just come through. pull both end of the rope to make the knot tight, you've successfully tied a bowline! The left over rope is called the tail, and should be about six to eight inches long to ensure if the knot does slip, that there is extra to be pulled through. Don't make this too long as it will get tangled in forestays and other rigging.
Completed bowline
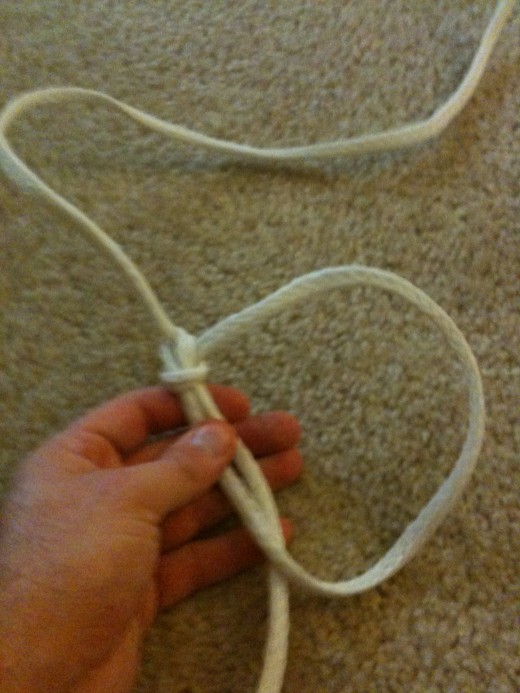
Close up of a bowline
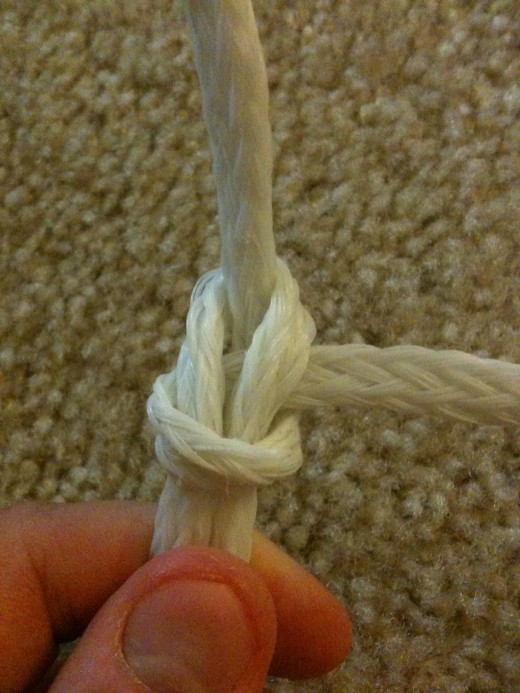
Close up of opposite of bowline (from underneath)
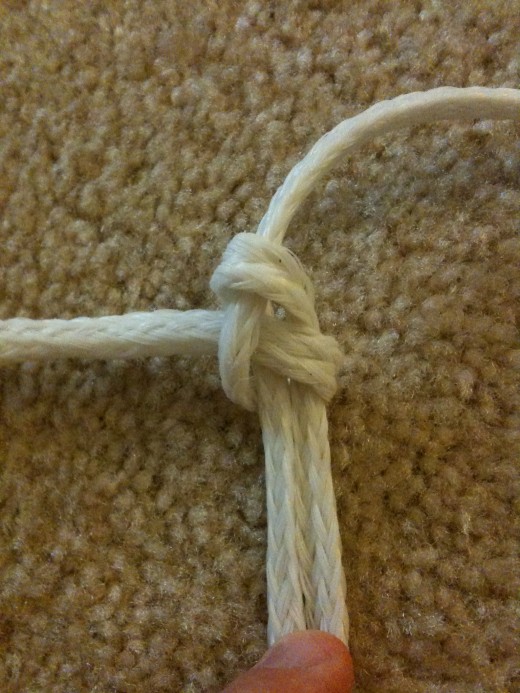
Read more from this author HERE. If you found this article interesting or helpful, please share, by clicking the social media buttons above (Facebook, Twitter and Google Plus). Thank you!

