Teaching Children How to Read

Teaching Struggling Children
Reading is not an easy task...
Some of us take our reading ability for granted. For some reason, we caught on to the lessons, bought into the strategies that we most likely can't even remember now and found reading to be natural for us. If you are a struggling reader or have a child that struggles with reading, you find that your loved one will do anything they can to avoid having to read.
When someone struggles with reading, they don't see what we see when they look at a page in a book or a sheet of paper with words on it. They see a foreign language; a bunch of scribbles that they have to decode and then after fixing that visual mess, they have to decipher meaning and figure out what it all means.
There are two very strong programs when used together, can make reading easier and almost fun for children. They are Guided Reading and Project Read.
Guided Reading
All children and adults can learn to read and write. No matter the level of disability. Time is the key as well as patience with the learner and yourself.
Children can learn to write in an environment that is print rich. This means that writings have value; are recognizable and depict issues that are easy to visualize, have clarity and focus the child to correlate what is being read to what is being seen.
Guided reading also promotes social learning. Expecting a child to learn how to read and write without making it social will defeat making reading a joyful experience. Drilling and quizzing only raises frustration and emotional response; it is important to make reading enjoyable and natural; just like discussion.
Just as we learn to talk by talking; children learn to read by reading and write by writing. You can't expect a couple lessons to help the child master our complex language.
The learning environment needs to be cheerful and engaging. Pictures need to be rich with detail in a story when beginning to teach Guided Reading. If the child is drawn into the picture, they will most likely be drawn into the text as well.
There are three steps in the traditional Guided Reading lesson. I work with special needs children who have difficulty with independence so I will show both ways this can work.
Step 1: A Picture Walk
Pictures in the story need to be rich and full of explanation. As I cover the words on the page, I discuss each picture on the pages, using the vocabulary that I know the book uses as I discuss the picture. This way, I am introducing vocabulary and making it seem natural in my conversation. For my special needs students, I repeat the vocabulary a few times per page. Ask questions and have the child point out items too. Change their vocabulary in a non-challant way to the vocabulary you would like them to use.
Step 2: Independent Reading
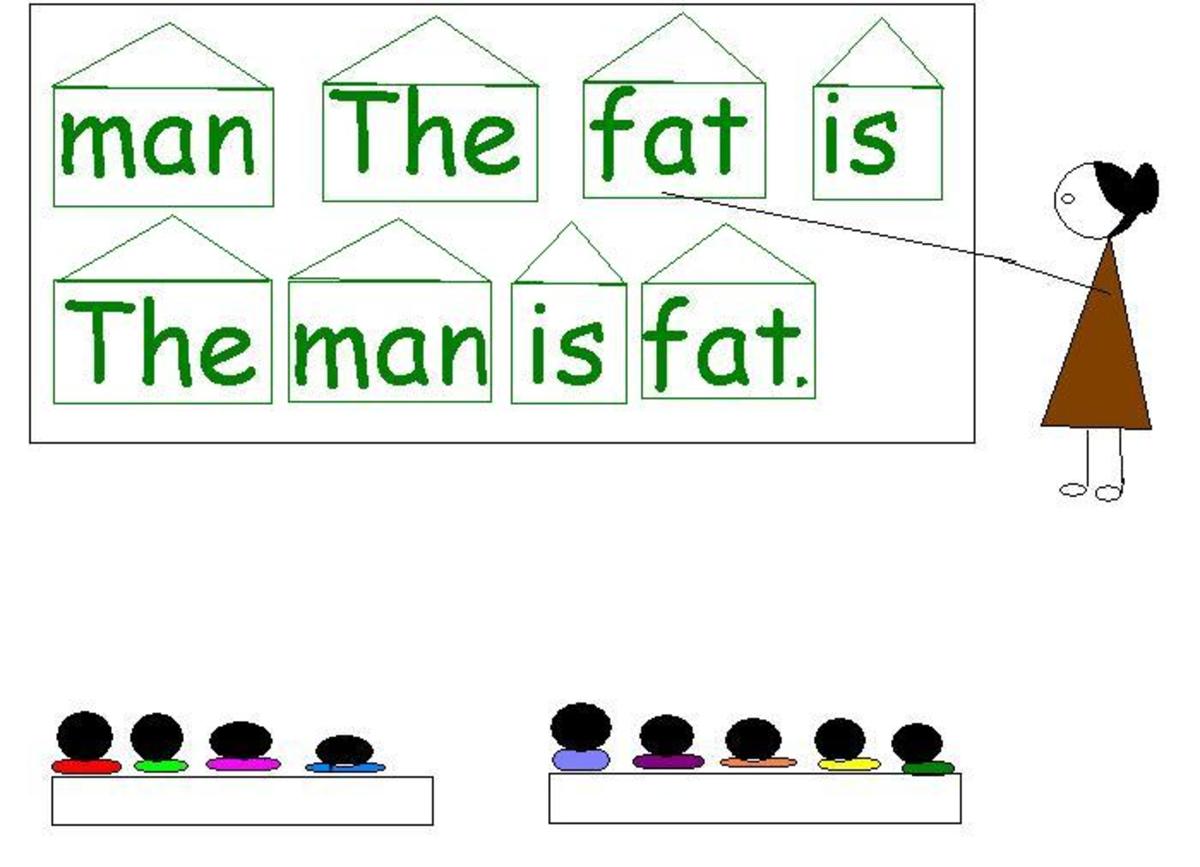
This is where the child attempts to read the short passage themselves. For children that have no exposure to text, the teacher can first list commonly occurring words on a dry erase board and go over them. For example, and, I, have & more really don't have pictures to match them and so the teacher (that means whoever is working with the child) can talk about how these words are used in our everyday vocabulary. If a child has experience with text, then at this point, he/she reads aloud the passage and the teacher makes note of words the child passed over or misread. After the reading of the page is over, the teacher asks the child to relay the meaning of the passage. If the child could understand with a few minimal mistakes, then proceed on. If the mistakes causes misinterpretation, stop, review the words and have them repeat the page aloud.
With my special needs kids, I read the story together with them one time aloud. I have them point to the words as we read and then pick out the rich vocabulary on each page and have the kids explain where in the picture these words are represented.
Step 3: Have a discussion about the book; drawing personal experience into the reading
Children will remember text that has meaning to them. It is important as well that language become natural to them and filling in words that make sense as they read become a natural process. For example, if a sentence has the words: The night was _____and dark. I was afraid of what was ______, so I wouldn't open the door. The words I omitted were scary and outside. A child can "get their mouth ready" to focus on the beginning of those words, and should be able to make an educated guess as to what they may be using the sentence sense. This is where reading takes on the naturalness of speaking.
After discussion, refocus on words that gave difficulty to the child. If they were able to self correct themselves, ask the child what strategy was used to help them. If they were not able to figure out a word and you gave it to them (you want to keep reading fluent and not painful as a child struggles), go back and talk about how it was used and ways to remember the word the next time it is used.
Remember, Guided Reading is not used to promote assessments and writing assignments. It is a method used to encourage enjoyable reading time, discussion and the teaching of strategies to the child.
Using sign language to learn short vowel sounds: (see pictures below for letters)
A=pretend to bite the apple, focusing on the short a sound that begins the word and toss away
E=put both hands making the e sign to the corner of your mouth and say the short e sound (like in elephant) as you "pull" on Mr. Ed's reins
I=pretend to itch your chin, focusing on the short i sound in itch and chin
O=hold the o sign in front of wide open lips and say the short o sound in opera as you spread the imaginary lipstick
U=push up an imaginary umbrella focusing on the short u in push, up and umbrella
Project Read
This program focuses on a strong phonetic base but does teach words that don't fit specific rules; better known as sight words or as Project Read calls them; Red Words. Project Read teaches many strategies to students that focus on reading and spelling. This program is used commonly for adults that struggle with reading too.
The Project Read program is a worthy program that takes some investment of your time. Every word has a rule or a saying that helps children remember how to spell it or read it. I will list some of the rules that I use in my classroom. The aspect that I love about Project Read is that it teaches through visual, auditory and kinesthetic means. This way, three of your senses are involved when learning to read and write/spell. For special needs children, this program is wonderful because it reaches areas of the brain that may not get stimulated with regular reading programs.
1. Every word has a rule...
I begin with introduction of the short vowels. I also couple sign language with them to help provide a visual and kinesthetic movement for the child.
Short a is touted as an "apple" that I eat and throw away
Short e is Mr. Ed the horse and when I pull on his reins, he says the short e sound
Short i is where I itch my chin
Short u is putting up the umbrella
Short o is Miss Odd the opera singer who when she puts on her lipstick says the short o sound
After teaching the short vowel sounds, we look at a bunch of letters in a mixing bowl. Using magnetic letters works well with this as they can be manipulated and stuck to a cookie sheet while you are working on sounds.
Work on each letters sound. Have the child pull a letter out and think of words that begin and end with the sound. If they pull out a vowel, go back to the vowel sounds and the little stories that go with them. Stick on a cookie sheet when you are finished.
You can also use sign for each letter as well. For children that have learning problems, I find this actually helps with the child's retention of the letter and its sound.
Putting sounds together
When the child has mastered the sounds of the letters, you are ready to begin putting the sounds together. I begin with word families. Endings such as ad, am, at for example. Then, we pull a consonant, one at a time out of the mixing bowl and add it to the front of each "family". We read the family as one sound and add the beginning consonant. For example: b ad= bad. I brainstorm with the child where I might see a representation of this word. We look for one, or draw one and move on. The visual and manipulation of the letters all help to ensure memory of the experience. Using sand in a colored bowl, corduroy or sand paper and having the child write the letter with their finger in or on these items also helps cement the word into their memory.
Learning the rules
Teaching rules of spelling while learning how to read helps provide carry over of knowledge. Some popular rules of spelling shown below, also focus back to the sound of the vowel (short or long).
Sammy Loves Fried Zebras- the doubling rule
This rule fits if a word has one syllable, one short vowel and ends in s,l,f or z. If so, double the last letter. Examples: fluff, pass, fizz, pill Some exceptions: gas, bus
CK Rule
If a word has one syllable, one short vowel and ends in the "k" sound; end it with ck
V Rule
If a word ends in the "v" sound, put a silent e after the v
TCH Rule
If a word ends with the "ch" sound, has one syllable and one short vowel; end it with tch
Long Vowel Rule- silent e
If a word has an e on the end, it is most likely silent (can't hear it). It also makes the other vowel long by whispering, "Pssst. What's your name?" The other vowel says its own name and the e stays quiet. Example: bike (i says "i" and the e is silent)
There are so many rules to learn in Project Read and making the word cards and posters, etc. that come with the program can be time consuming but very beneficial to the child.
Talk, Read and Play with Language
Reading should be enjoyable and not a task. The excitement a child feels when they can read the words on a page are immeasurable. Beginning with your child at any age, engage in frequent conversation and throw new vocabulary into your speech. Make using larger words part of daily conversation. Then, it will become natural.
When a child begins reading a story, use rich looking pictures. Do your picture walks and use the vocabulary that will be used in the story.
While he/she is reading, there are times when you can state the rule learned in Project Read, or show them a quick glimpse of the sign that represents the short vowel sound to help them decipher the word.
The two programs really work beautifully together. Use manipulatives like magnetic letters, sand trays, corduroy, sand paper, writing really big in the air, tapping out the letters as you spell the word; all of these techniques provide visual, auditory and kinesthetic ways to imprint the idea upon your child's brain.
Helping your child or an adult learn to read is a challenge. It can be done however. It is important to move at the pace of the student and make your reading time together engaging and an anticipated event. Use daily items such as cereal boxes, labels, signs seen outside, bill boards as ways to integrate reading in the real world.
Everyone can learn to read. Some just take longer than others. Never give up on a non-reader. They are more frustrated than anyone. If you take most of the stresses out of reading, it will become natural and will cease in becoming a chore.
If you could read this article, thank a teacher that touched your life at one time


