How To Sew a Log Cabin Quilt Square

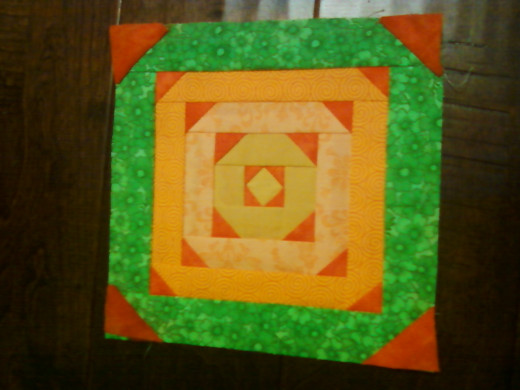
A Little History
I have always possessed a love of sewing ever since I was in elementary school. My mother would cross stitch and I wanted to be a copycat and try my hand at it too. At first my projects were quite pathetic, but after several years of practice, I was soon making my own beautiful creations.
The same goes for quilting. My first quilt was a bulky, falling apart eyesore, but I persevered. Practice led me to making nicer versions that were actually pleasing to look at, functional, and able to survive multiple machine washings. However, I have always loved the scrappy log cabin look but had little desire to attempt a scrappy creation. Who wants to spend hours measuring and cutting all those teeny little different colored pieces of fabric and then have to sew them all together to somehow perfectly make a cute little heart, birdhouse, log cabin, or swirly looking design? Not me! I have little patience with such things. I had already attempted to make my own pinwheels, four patches, and nine-patches with much frustration. No matter how perfectly I measured and cut, never would ALL my corners match. My impatience combined with my desire for perfection was not a good combination. I put it aside and just gave up.
After a few months, I picked up a book my Aunt had given me that contained over 100 log cabin block patterns in it. I just could not resist. I loved the look of the blocks so I tried to measure and cut perfectly to make it look right. Of course it did not come out right, because that's not how to do a log cabin block. After actually reading the directions for a change, I figured it out and was amazed. This was the easiest type of patterned quilt block I had ever created. Why hadn't I know this years ago?!
Free Printable Log Cabin Block Patterns
- Free Printable Log Cabin Block Patterns
This link has several pages of free printable log cabin block patterns with specified dimensions
What You Will Need
1. A foundation based log cabin quilt block pattern that specifies the finished size. If you are planning to do multiple blocks, make sure all of the block patterns specify the size you want your finished blocks to be. A usable pattern will have numbered sections that you must follow, for example, starting with 1 and finishing at 25.
2. Scraps of different colored fabrics.
3. Sewing machine or needle and thread. Thread color is not too important, but if using white or very thin light colored fabric, it's best not to use black or very dark thread. Likewise, if using black or thin dark fabric, you may want to avoid white or very light colored threads.
4. Scissors
5. Seam ripper - Yes the dreaded thing. At one point or another you will probably need it, but not for long.
6. Sharpie - This is to trace your pattern.
7. Sewing ruler, preferably one with a quarter inch notch or line through it - This is only to be used to create your seam allowance.


Before You Start Sewing
• First, trace the entire quilt block pattern with a sharpie. This is so you can see the pattern on both sides of the paper. To make things easier later, you can also use a ruler to draw a quarter inch line around the outside of your pattern. This will give you a seam allowance for you to use when you sew your block onto other blocks or fabric.
• Next, decide on a color scheme for your block. It can be yellows, blues, and pinks, or it can be totally random, whatever you decide. Go through your fabric scraps and fat quarters and cut each coordinating piece of fabric that you want on your finished block. For example, if I want number 1 to be red, I would cut a piece of red fabric that was large enough so that it overlapped my number 1 square on the paper pattern. No measuring required. If I wanted numbers 2-5 to be brown, I would cut three brown pieces of brown fabric that were large enough to overlap the number each piece corresponded to. If you are in doubt about the scrap of fabric you cut, just place it on your pattern to make sure it overlaps its corresponding number.
• As you choose and cut your fabric pieces, place your fabric pieces face down as you go, with number one being at the bottom of the pile. This way, when you start to sew, you can flip the pile over and have your pattern pieces in their proper order.
Directions
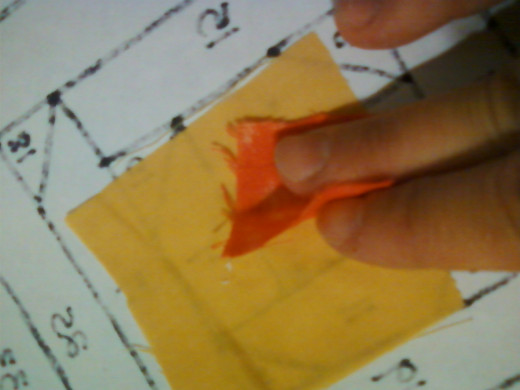
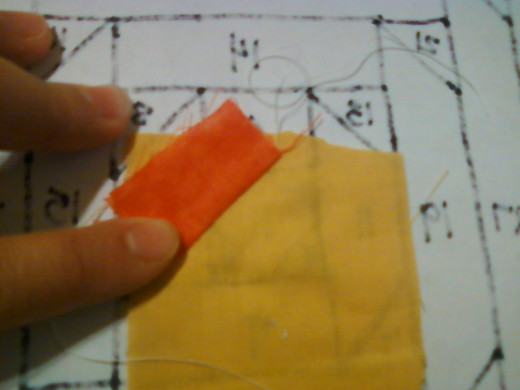
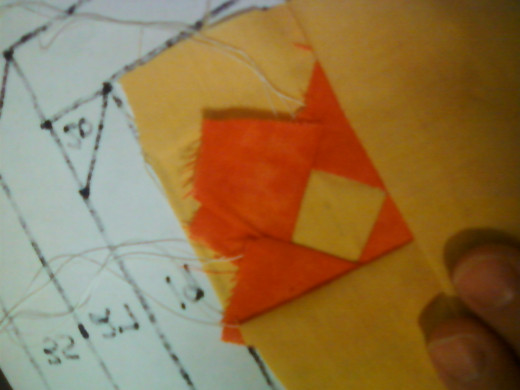
1. Place your paper pattern right side facing DOWN. Then place your first fabric scrap FACE UP over number 1 on the back of your paper pattern, making sure that the fabric overlaps the borders of number 1. You should be able to see the lines of number 1 through the back of the paper. As you see from the below picture, I have a lot of overlap, but since I'm not measuring anything, that happens sometimes.

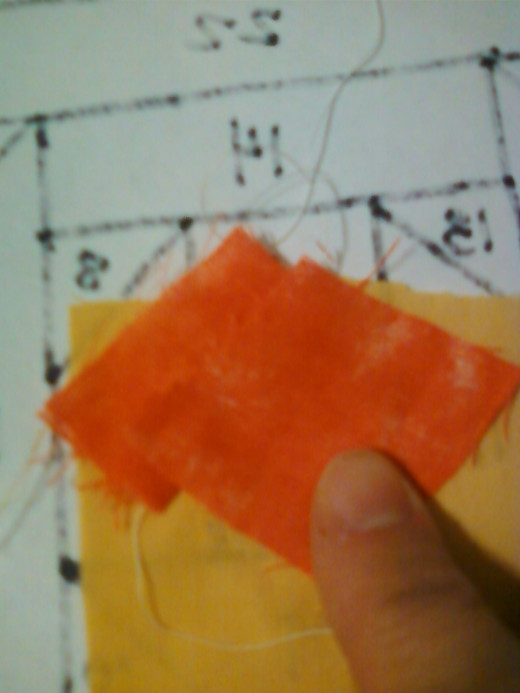
2. Next place your second fabric scrap FACE DOWN over the number 2 on your paper pattern. Make sure that the bulk of the fabric scrap is facing toward the center of the pattern, toward number 1 and that there is some overlap beyond the line that borders number 1 and number 2. You may have to flip the pattern over to double check that your placement is correct.
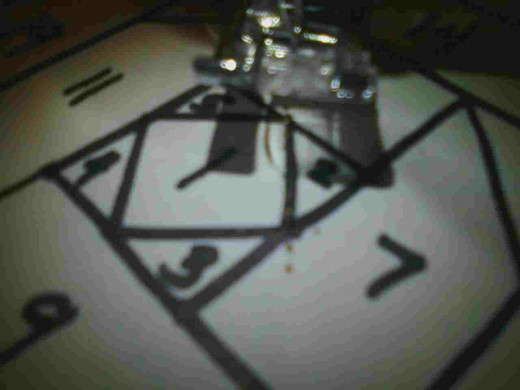
3. Flip your pattern over to the correct side, holding your two fabric scraps together with your hand or with pins and making sure that the fabric does not bunch under the pattern if you are using a sewing machine. Sew along the line that borders pattern number 1 and pattern number 2, making sure to sew a little before and a little after the line on the pattern.
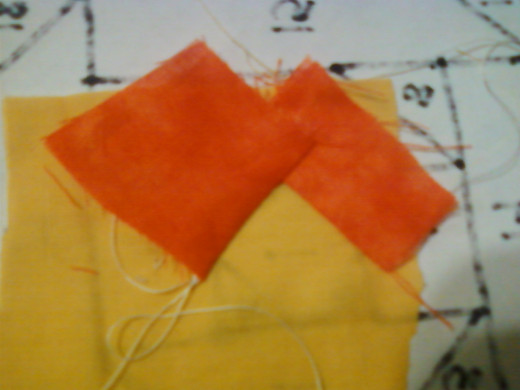
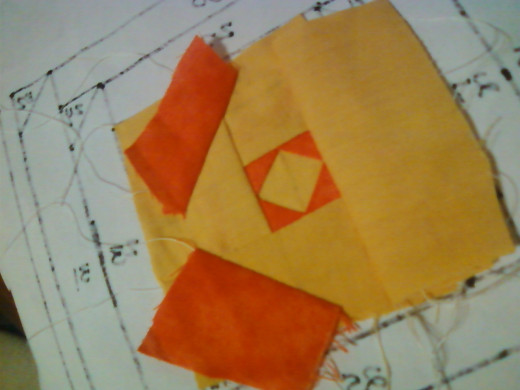
4. Flip your paper pattern over. It should look something like this on the back ....
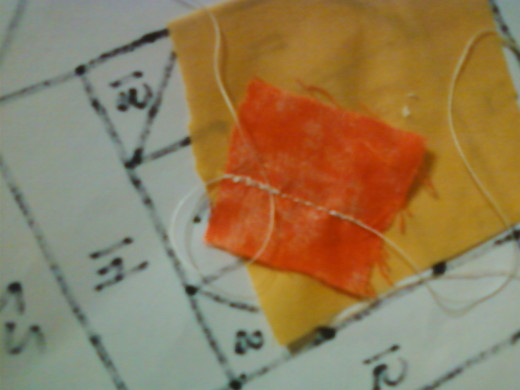
5. Open fabric piece number 2 and press the seam with your finger.
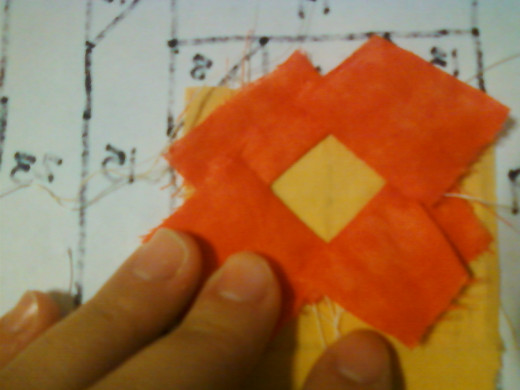
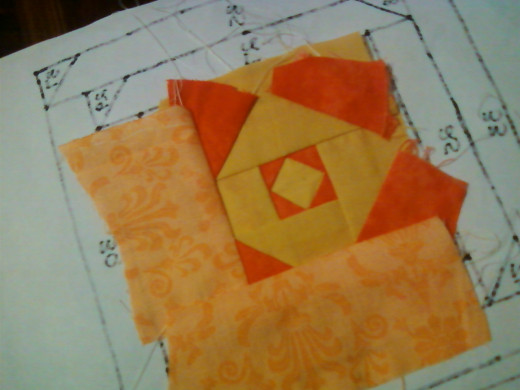
6. On the back side of the paper pattern, place fabric piece 3 FACE DOWN over the coordinating pattern number 3, once again making sure that the bulk of the piece is facing toward the center of the pattern. Leave some fabric overlapping the line between number 3 and the preceding number's border, which will be either number 1 or 2, depending on your pattern.
7. Once again, keep the fabric in place, flip the paper pattern over to the front side, and sew along the line which has number 3 on one side of it, and a preceding number on the other side of it (will be number 1 or number 2, depending on the pattern). After sewing, turn the paper pattern back side up and press piece three open with your finger.
8. Continue to do this for all of the pieces until your pattern is complete.


Cleaning Up The Quilt Block
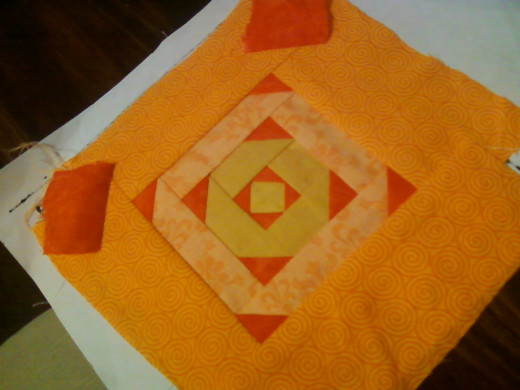
After all pieces of fabric have been sewn on, the nest of threads on the front of the pattern need to be cut. Also, you can now trim around the seam allowance line, cutting through the paper and the fabric underneath to create a neat square. The front side of the pattern can now be torn away. The sewed lines will create perforated tear lines all over the paper.


If you have a better or different way of creating a log cabin block or know of a good resource for free patterns, please feel free to leave a comment. I am always open to new ideas and projects!


