Get The Most From Your Portrait Location
Most people who like to take portraits usually end up selecting a nice looking location , take one shot, move on, take another shot, move again and so on.
This has a tendency of quickly exhausting the available nice looking backdrops to the point that you quickly run out of good background elements.
By utilizing a simple technique you can basically use the main or rather , the best element that a background can offer and maximize it to its full potential.
The technique is simple and it involves basically two methods: the first is to find a good location that is full of interesting details that will enhance the shot. Rich with colors and with available usable ambient light the outdoors usually work best.
Would you consider doing portraits more in an outdoor setting or do you like the conforts of a studio more?
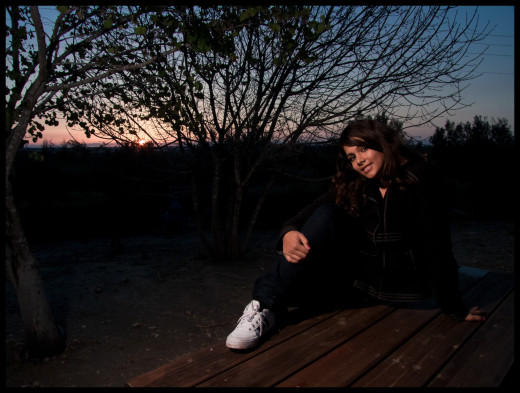
The second is to plan your shots to pose your models in various poses like standing, sitting, laying on the ground, kneeling, smiling, full body, partial angles, looking away from the camera, close ups, long shots wide angles, having the models off center, in the center of the frame, head shots etc. In fact the more poses the better.
If you can bring along at least a couple of lense like a zoom and a wide angle then your goal of fully utilizing a good backdrop is almost complete. By using you various lenses you can make the background more preva,net, less visible, almost completely blurred, very sharp and so on.
Don't forget the you can also change the perspective like horizontals, verticals, using filters and more.
It would also work to your advantage to bring along some props and take shots with props and without.
Liked these quick tips?
The key is to shot many images and use many poses in the same location. This way your shooting goes much faster and you get many more choices should you choose to move somewhere else within the locale.
This way you can see many more options for one specific location instead of limiting yourself to what came to mind at first.
Some of your images might look very similar to the rest but by cropping creatively you at least have the option which you would not have had if you had used many different sittings within one location. Keep in mind that it is better to crop with the lens than to do it digitally. Everytime you edit a digital image you lose some pixels. This is true with any digital image no matter how advanced your camera is.
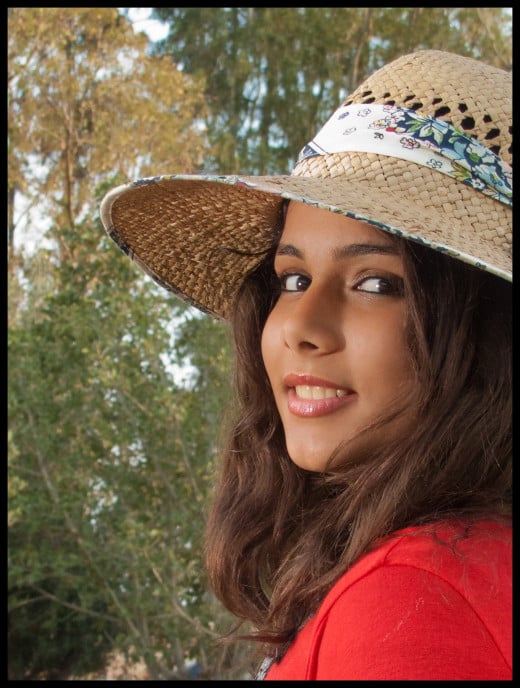
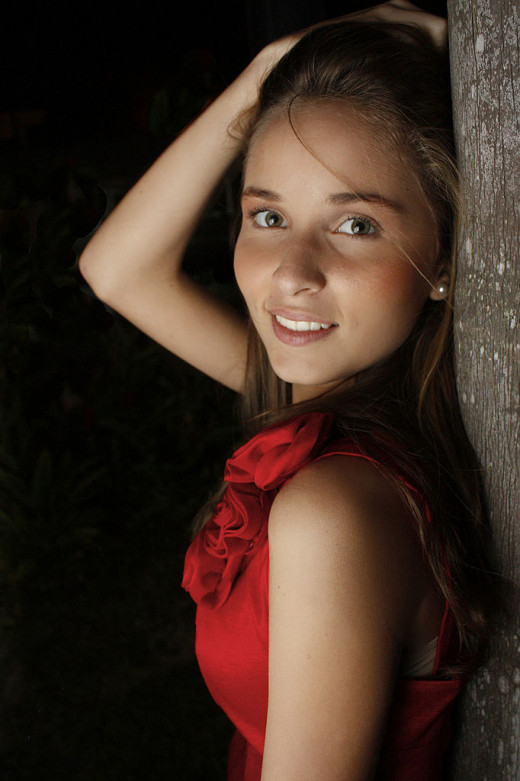
BY utilizing this technique you get more use out of a location and you do it in much less time than going around and searching for appropriate backdrops constantly.
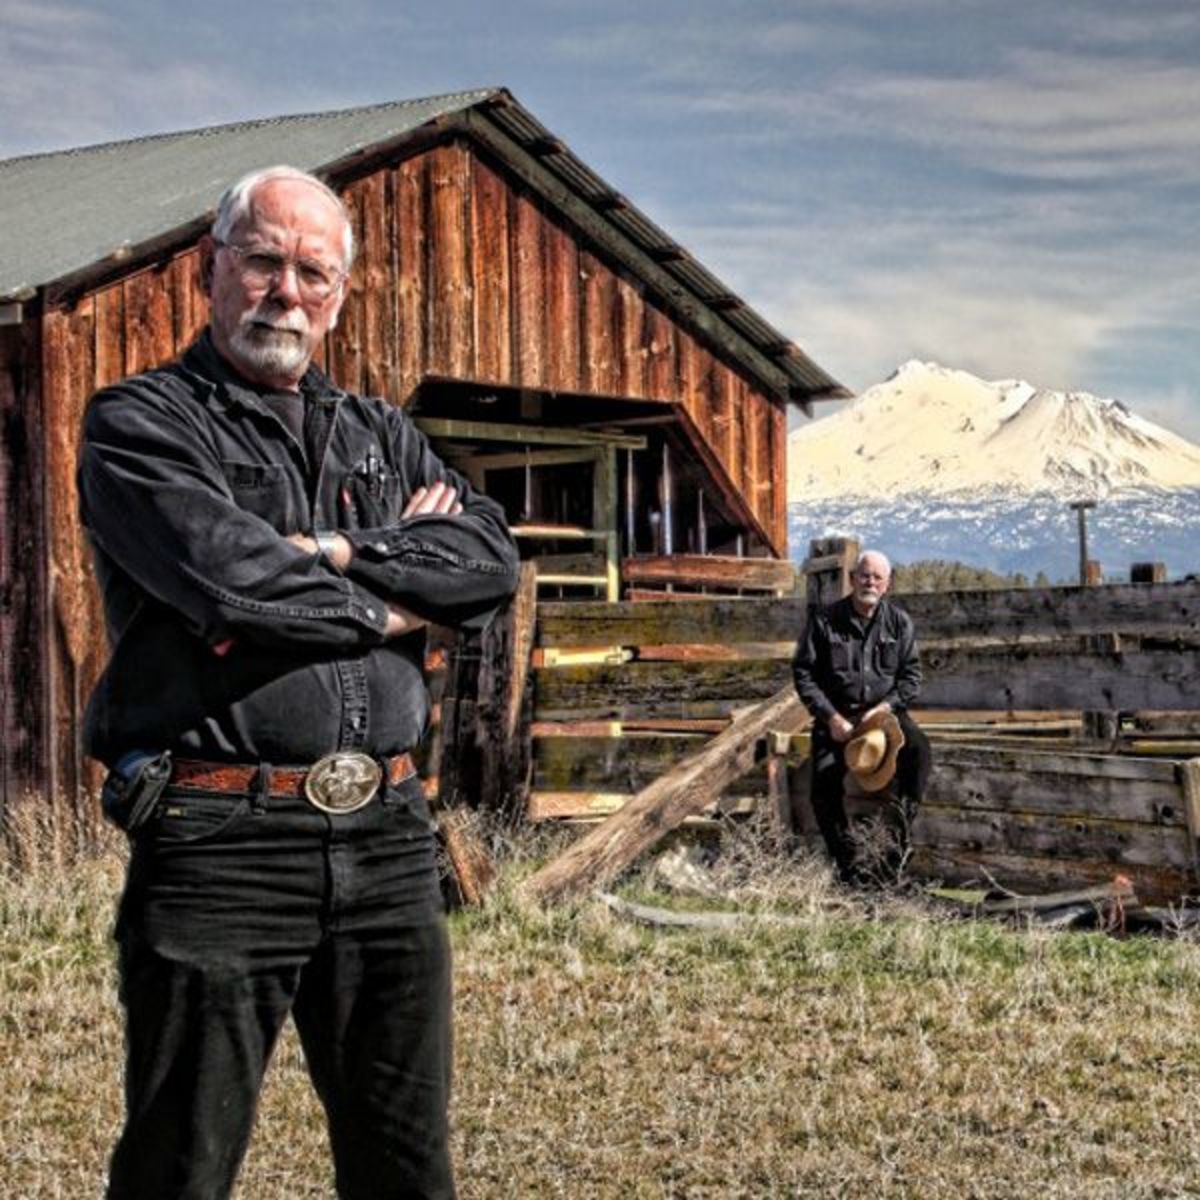
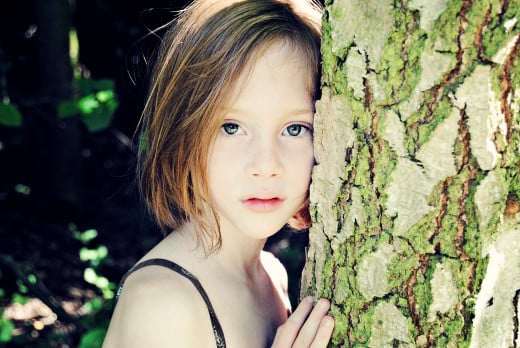
To put it in a nutshell; try not to have one person against one tree equals one shot. This is the typical way. Instead try one person against one tree shot in different angles and in different poses.
You end up with several shots that feature a pleasing backdrop instead of just one. Rule of thumb is to take around five to ten shots in the same spot before moving on.
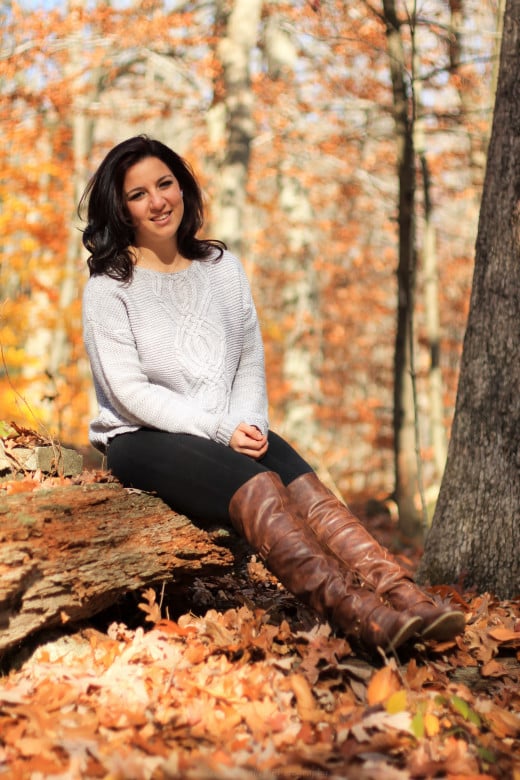
If you can you might also want to try doing black and whites, some shots at night with your flash and maybe a couple of different outfits that the model can change into in no time since this is easier that moving from place to place.
Taking portraits the typical way is often a good way of doing things but if the location that was chosen does not have many nice looking elements you need to have a backup plan.
To exemplify the typical way we approach shooting a portrait on locations, we usually take one shot next to a tree, another next to a boulder, yet another next to a nice green or flowering bush and before you know it you run out of backdrops to use because in essence you have used all the good ones.
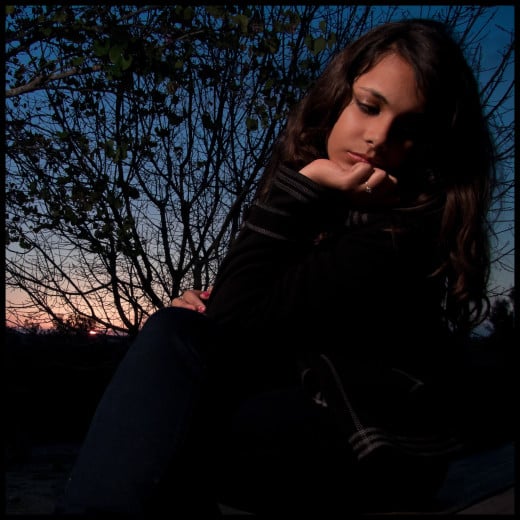
- Where is Your Subject Looking and Why Does it Matter? - Digital Photography School
When posing a portrait subject, two important questions to ask yourself include: 1. ‘where are they looking?’ 2. ‘what impact does this have on the shot?’ Where your subject is looking can have a real impact upon your image and how those looking at
© 2015 Luis E Gonzalez


