Lightroom Adjustment Panels
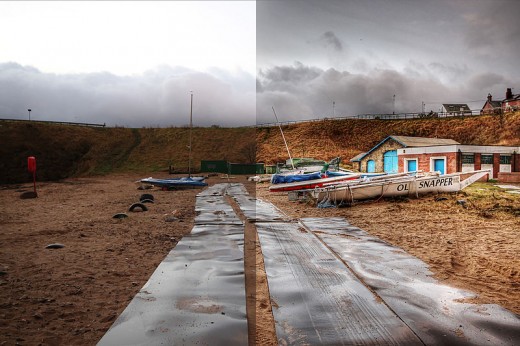
After Lightroom

"Adobe Lightroom (Lr or LR) is a photo processor and image organizer developed by Adobe Systems for Windows and OS X. It allows viewing, organizing and retouching large numbers of digital images.[1] Lightroom's edits are non-destructive. Despite sharing its name with Adobe Photoshop, it cannot perform many Photoshop functions such as doctoring (adding, removing or altering the appearance of individual image items), rendering text or 3D objects on images, or modifying individual video frames.
Lightroom is not a file manager like Adobe Bridge. It cannot operate on files unless they are imported into its database first, and only in recognized image formats." Wikipedia
Lightroom is a nice tool found in Adobe's digital imaging software program. It is very useful if you like to edit your images, give images a more pronounced boost in color and give your images a better enhanced presence.
With that said when I take a picture what the lens sees is what I see and what I see is what I want my viewers to see.
I do crop and I do remove unwanted noise or dust but for the most part I tend to leave my images the way the were when I first took the photograph. In a sense I am a purist but if you like to edit , like playing with the computer and do commercial work then you really need to become familiar with quite a few digital editing software programs and Lightroom is ideally suited for this purpose.
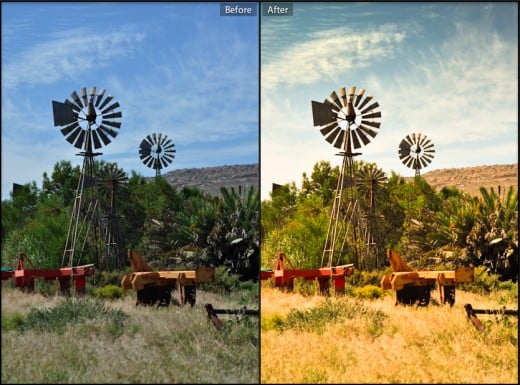
Before Lightroom

Once you get comfortable with your lightroom program and know how to use the basic sliders then you can begin to play with the Adjustments Panel. This lets you change one color at a time; make it brighter or darker, highlight it more or less and so on.
- To access this panel click on the Develop Module and then look on the right-hand side of your computer screen. It is the third one down. Right-click on any of the Develop panels and make sure the Adjustments option in the pop-up menu is checked.
Become familiar with at least these three basic tools or settings before you begin editing your images;
- HSL: Allows you to control the Hue, Saturation, and Luminance of all the main colors that make up a picture like reds, blues, greens.
- Color: This is the same thing as in the HSL panel but the options are organized in order to help you focus on specific colors thus focus on specific types of adjustments within each of the colors.
- B&W: This panel is one of the most useful tools found in Lightroom for adjusting and converting color images into monochromes or black and whites.

The HSL panels stands for Hue, Saturation, and Luminance and her you can control all three settings at once or one at a time.
- For adjusting all three at the same time select the ALL option.
- By selecting or rather clicking on the Hue panel option you will be able to change the look of specific colors at once for the entire image. For example you can make greens greener, blues bluer or reds redder and so on.
- The good thing about this option is that even if you are not really sure what color to adjust you can click on the target icon that is found on the top left corner and drag it to the color that you are unsure about.
- The program will then suggest the closest color hue match. You will see numerical values (starting at O) on the right hand side. It is better to add small increments like 3 to 5 at at time and see how this works for you.
The Saturation and Luminance tabs function in the same way as in the HSL tab. You use sliders or enter numerical values in order to adjust how much of each color is saturated or even how much brighter you want to make each color appear.
When you click on the Color tab you see that everything appears very similar to the other two previously mentioned tabs but here you can again by adjusting the numerical values on the right hand size for each color, you can make small adjustments to each color or do everything at once by selecting the ALL option.
For many photographers it is often better to work with this tab than to use the HSL one since you are doing pretty much the same thing but you will notice that the selections are better organized. I basically only use this tab if I use anything at all. Again keep in mind that I tend to be a purist when it comes to my images.
In this tab you are really working on on color at time instead on one adjustment at time. In other words this is for use in a per-color basis as opposed to a per-adjustment basis.
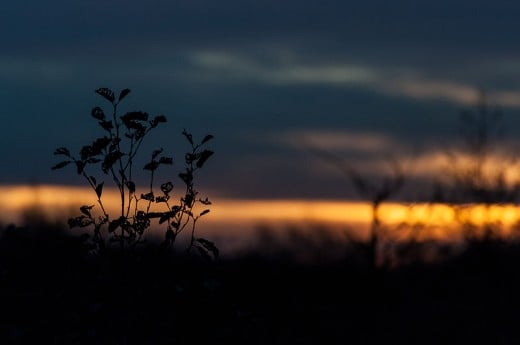
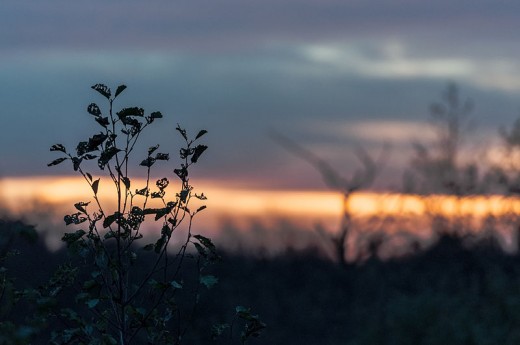
Before and after
Found this useful?
- The black & White panel lets you turn a color image into a black and white. Once you click on it your image will immediately turns into what seems to be a gray-scale. Here you use the numerical values on the right hand side to adjust how dark or how light you want the entire image or portions of it to be.
Do not be too concerned with any adjustments that you make to your images as the changes can be undone at any time. Just remember to save your original before you start working on it which is always a good idea before working on any digital editing program.
- The Difference Between Photoshop and Lightroom Explained
While Adobe Photoshop and Lightroom share similarities, they each serve a unique purpose and are different in some major ways. Find out how they differ.
© 2016 Luis E Gonzalez

