Setting Up Your Guitar in 6 Steps

Many budding guitarists (and quite a few experienced ones) find it quite surprising that their shiny new axe isn’t ready to go right out of the box. Indeed, the history of amateur guitar is littered with tales of people struggling to get to grips to with their instrument, only to find that it's far more playable after a proper set up.
There are many reasons why this is the case for a large number of guitars. The most obvious one when it comes to inexpensive models is that the build quality will likely not be up to the standard you might hope for, and certainly not the standard of more expensive models. Even with more costly guitars, however, there’s often some setup required as they will be shipped with the strings detuned and the truss rod slack in order to minimise the chance of damage to the instrument during shipping.
Whatever the reason, a proper setup can greatly improve your playing experience, so let’s get into it.
1. Start with the Neck
Setting up a guitar neck is probably the scariest part of setting up a guitar. It’s also the most effective when it comes to increasing the ease of use and comfort of play. To do this properly, you need to start from scratch, and that means ensuring your neck is as close to perfectly straight as possible before you begin adjusting it to suit your needs.
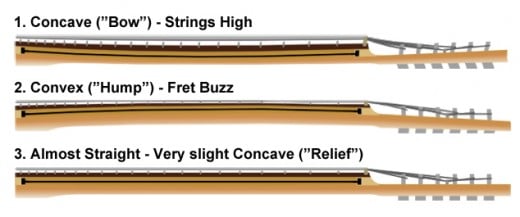
The easiest way to check for the straightness of your neck is to find something long enough to reach from the bridge to the nut that is straight itself, and rest it across them. Measure between your straight edge and the fret board at either end to check they’re the same. If they’re not, your bridge or nut may need adjusting. If they are, measure the centre (usually somewhere around the 8th or 9th fret). If the measurement is greater (fretboard is farther from the straight edge), your neck is bowed, also known as relief. If it’s less, your neck is back-bowed. If it’s not straight, you’ll need to adjust the truss rod. If it’s straight, you can move on to setting it up to suit you… which will likely involve adjusting the truss rod.
2. Adjust the Truss
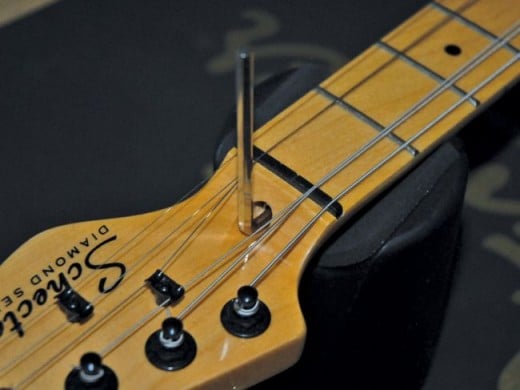
Messing with the truss rod is usually the part that scares people. Essentially, the truss rod is a metal bar that runs the length of the neck and can be adjusted to bend one way or the other. Tightening the truss rod (turning it clockwise) will bring the middle of the neck up, back-bowing it, whereas loosening it (anti-clockwise) will bow the neck, providing relief.
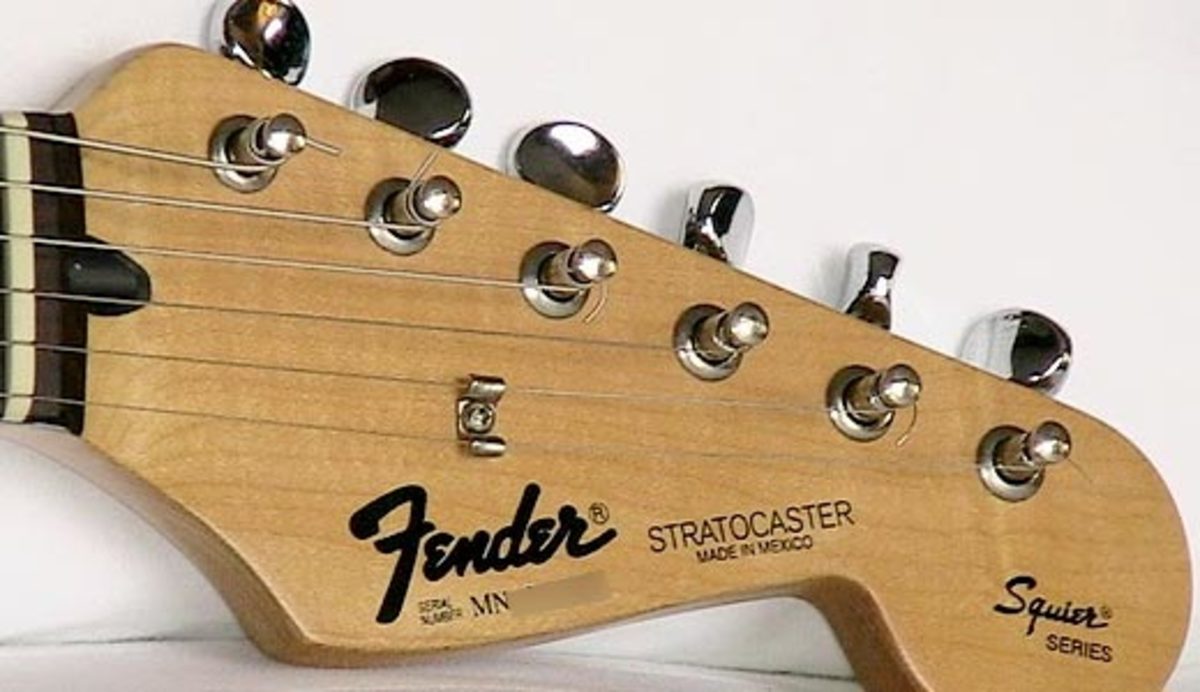
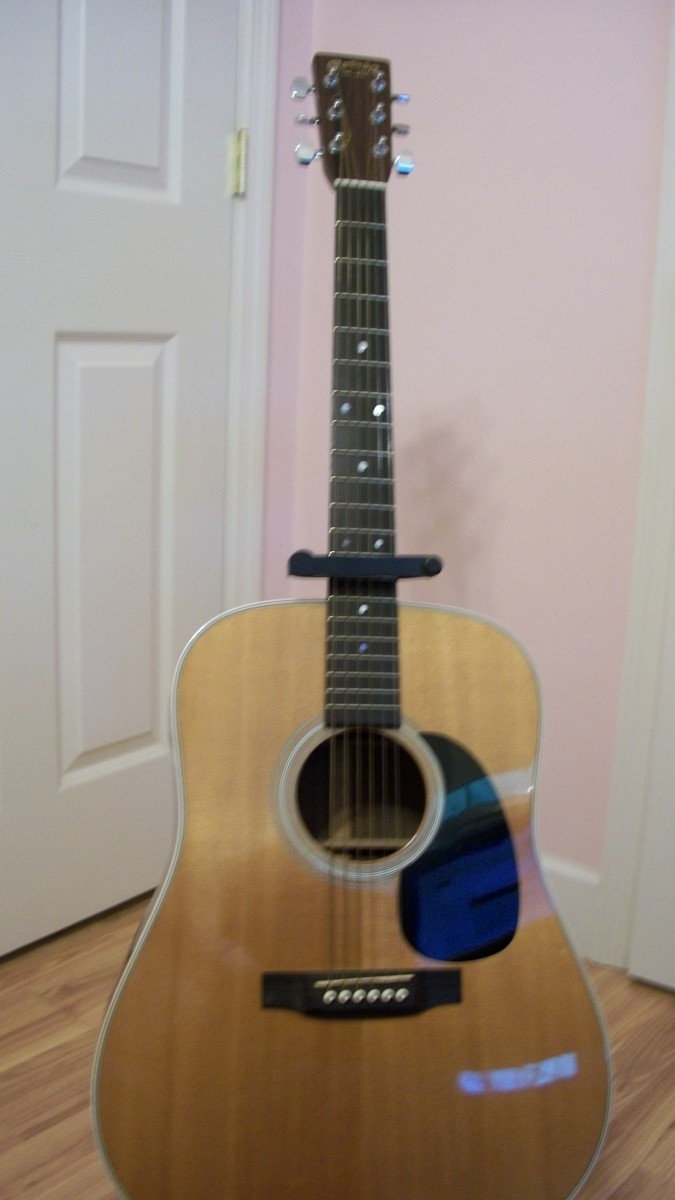
The truss rod usually requires an allen key (though sometimes a different tool is needed) to turn, and will usually be adjusted at the headstock just below the nut for electric guitars (you may have to remove a small cover to get to it). Acoustic guitars may still have the truss rod adjustment at the nut, but it can also be found at the other end of the fret board, inside the acoustic sound hole.
When adjusting the fret board it is essential that you don’t apply too much force. If you strip the thread, or worse, snap the rod itself, it’s serious guitar surgery to repair. In the case of inexpensive guitars, it would probably be more practical to simply replace a guitar with a broken rod than to repair it. You don’t need to turn the rod by much to move the neck.
As for how to adjust it, you’ll need to do some research with regards to what would suit your style of play best, or you could simply try minor adjustments and see what feels the most comfortable.
3. New Strings
This is a no-brainer for pre-loved guitars, but brand new guitar owner’s shouldn’t rule out a string change either. Obviously pre-owned guitars will likely have a set of well used strings on them (unless the previous owner was kind enough to change them before you bought it), and one should never underestimate the improvement in tone that fresh strings can bring.
Still, even if the strings are new, be they fit by a previous owner or fresh from the factory, they might not be the right strings for you. If you’re playing a lot of heavy metal, you don’t necessarily want light gauge strings. Similarly, if you’re playing a lot of bluesy solos, you probably don’t want heavy gauge strings.
Again, do a bit of research. Find out what strings suit you.
4. Don't Fret
While your strings are off, it might be a good idea to thoroughly inspect your frets. There’s only so much you can do with them without legitimate luthierian knowledge, but if you give them a good checking over you’ll at least know whether they need attention.
One of the simplest and most underrated things you can do for your frets is to polish them. Sure they look prettier, but they actually play better when they’re bright and shiny than when they’re dull.
5. String Action
Once your neck is how you want it and your strings are fresh, you can get to work on refining the string height, or “action”. This is another aspect that will be largely determined by what feels comfortable for you, however there are hard limits. For example, if you lower the strings to the point where the strings begin to make unwanted contact with frets, creating the dreaded “buzzing” that so many guitarists loath. At the other end, if you set the action too high you’ll likely find it very uncomfortable to play.
6. Intonation
Properly set intonation will ensure your guitar remains in tune no matter where on the neck you’re playing. You achieve this by making very fine adjustments at the bridge end of the guitar, essentially altering the scale length of each particular string by a small amount. Unfortunately, as there are many different styles of bridge on many different kinds of guitar, we’re not going to go into specific instructions here. Generally speaking you will need to wind the individual saddles in or out using a screwdriver.
In order to check your intonation, you first need to make sure your strings are tuned. For this to work you’ll need to tune them open using a tuner. Tuning the strings open means they are in tune at the nut, whereas tuning a string using, say, the 5th fret method, would give inaccurate pitch on a guitar that is not properly set up.
Once your strings are tuned, play each one at the 12th fret and check the pitch with your tuner. The 12th fret should produce the same note as the string does open (albeit an octave higher) so if it’s higher or lower, you’ll need to adjust your bridge saddles accordingly. The quality of your tuner will make a big difference here; the more accurate the tuner, the more accurate your intonation will be. Wind the saddle toward the neck end of the guitar to raise the pitch, and to the base of the guitar to lower it.
Play!
That’s it. Now your guitar is properly set up, enjoy it. You’ve earned it.
© 2016 John Bullock

